- Help center
- Content management
- Real Estate Clip
-
Training
-
Quick Start Guide - Sanitizer Kiosk
-
Content management
- Media clip
- Clip settings
- File management
- Playlists
- Advanced Distribution Module
- RSS
- Weather forecast clip
- Web page clip
- Display my content on a monitor
- Message
- Google Clip (Sheets, Docs, Slides)
- Office 365 Clip
- Urgent message
- Input Source Clip
- Parking Clip
- Transport Clip
- External Data
- Real Estate Clip
- Schedule Clip
- Directory Clip
- Social media
- Live stream
- Message group
-
Screen frames
-
Player and screen settings
-
Edit your profile
-
User management
-
FAQ
-
ITESLIVE Installation
-
Template Editor
-
Directory management
-
Free trial
How to add a filter in a listing clip
Learn how to add a filter in a listing clip
| available with: |
| Windows Player : Starter, Pro, Premium, Interactive Web Player : Starter, Pro, Premium, Interactive LG webOS Signage Player : Starter, Pro, Premium, Interactive Samsung SMART Signage Platform (SSSP / Tizen) Player : Starter, Pro, Premium, Interactive BrightSign Player: Starter, Pro, Premium, Interactive Android Player: Starter, Pro, Premium, Interactive Linux Player: Starter, Pro, Premium, Interactive macOS Player: Starter, Pro, Premium, Interactive |
On the ITESLIVE Studio, navigate to the player that contains the desired listing clip.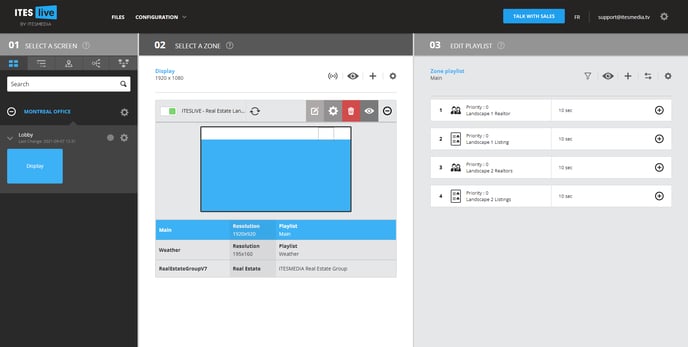
Click on the "+" icon to the right of the clip in the playlist.
Click the icon that represents a pencil in a small square.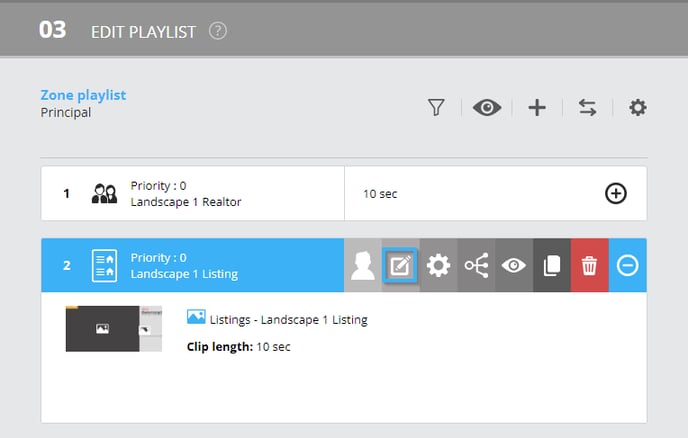
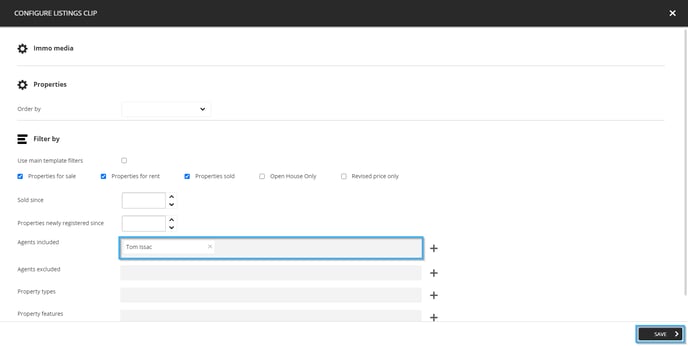
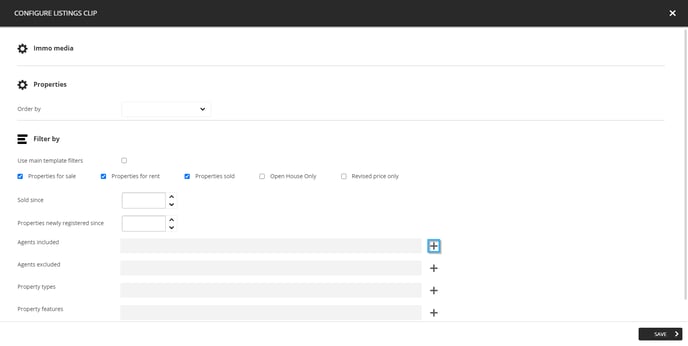
Once the listing clip configuration window opens, you can see the filter list at the bottom of the window.
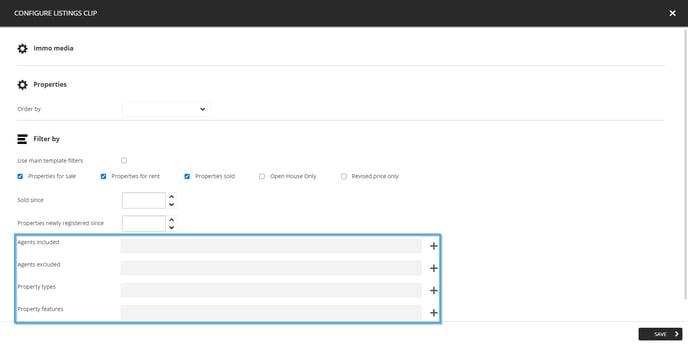
Click the "+" icon to the right of the "Agents included" filter.
Note: The realtors selected in the "Agents included" filter will be displayed exclusively in the clip you are editing.
In the list of realtors that is displayed, click on the name of the desired realtor and click the "Select" button.
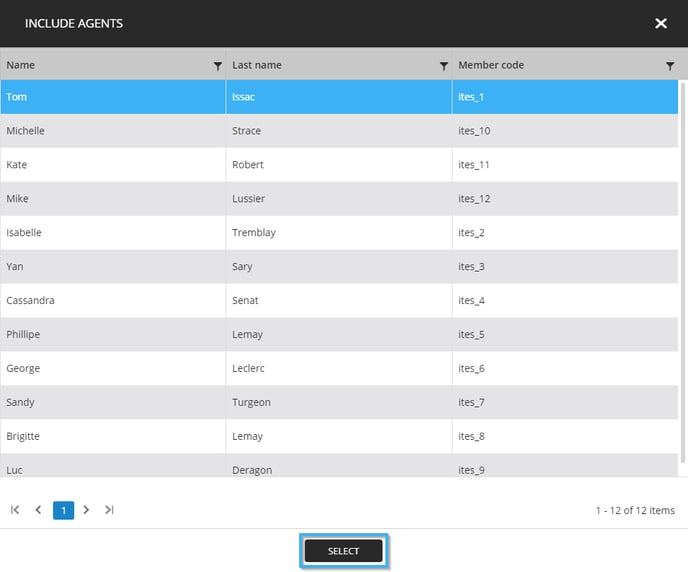
When the realtor list has closed, you can see the name of the selected realtor in the "Agents included" list. You can now click the "Save" button to apply the filter.