This article is specific to the public transit market. Discover how to add a message in a message library
| Windows Player : Premium Web Player : Premium LG webOS Signage Player : Premium Samsung SMART Signage Platform (SSSP / Tizen) Player : Premium Brightsign Player: Premium Android Player: Premium Linux Player: Premium macOS Player: Premium |
Once connected to the ITESLIVE Studio, click on the Une fois connectée au Studio ITESLIVE, cliquez sur l'onglet « Messages » et sélectionnez l'entrée « Banque de message ».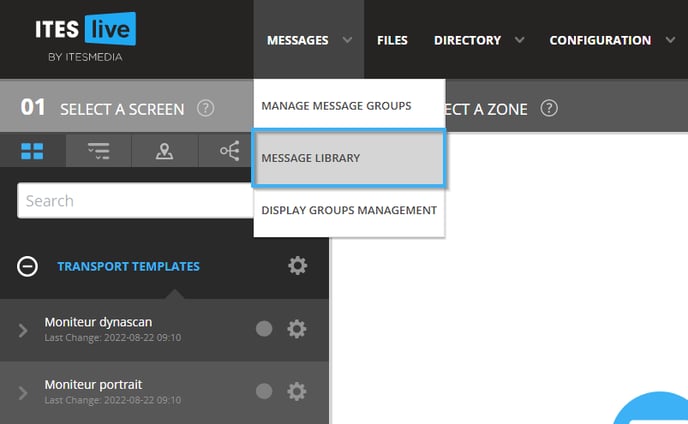
Select the library you wish to edit on the left-hand side of the window. Once the list of messages it contains is displayed on the right-hand side of the window, click on the "+" icon above the list.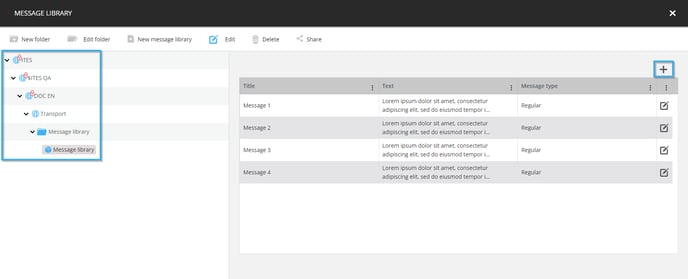
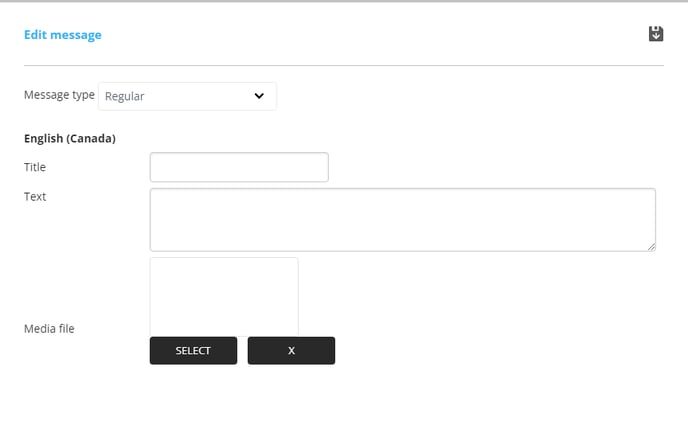
In the message configuration window, you can fill the following fields to determine the message's content.
- Message type: Allows you to select the type of communication that categorizes the communication you are writing.
- Regular: Non urgent information
- Promotion: A promotional message
- Urgent: An urgent message
Note: The type of communication selected can have a different visual identity according to the template that is used to broadcast it. Furthermore, this selection may change a template's visual elements according to the rules applied within it.
- Title: The communication's title, can be broadcast or can be used to identify the communication in the list of messages in the selected group.
- Text: The communication's text that will be broadcast in the locations selected above.
- Media file: When the template is used to broadcast the message supports it, it is possible to broadcast the message with an image or video.
Note: The fields "Title", "Text" and "Media file" can be present more than once. Each field will be present once per language select during the message library's creation.
In addition to writing the message, you can see the content's preview on the right-hand side of the window.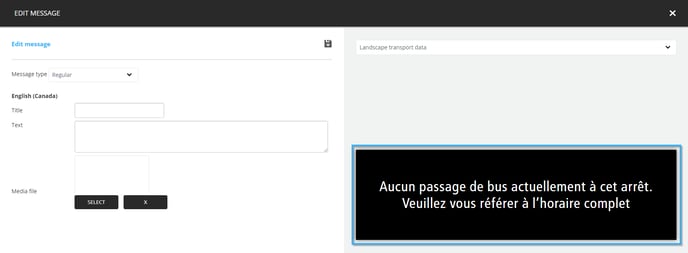
If there are multiple templates associated to the message library, you can click on the drop-down list above the preview to select a different template.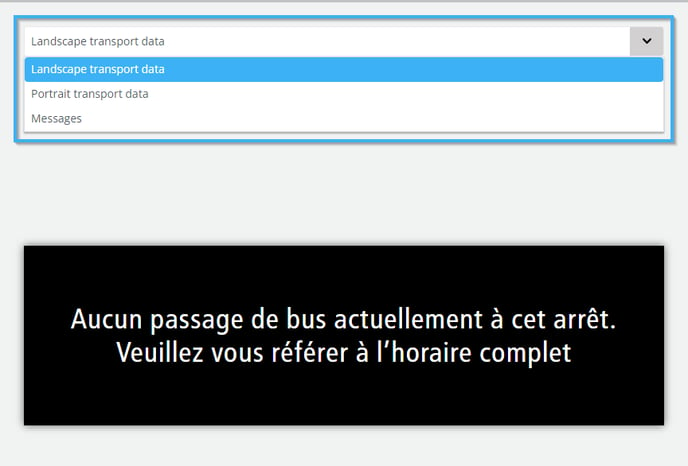
When you are ready to save the message, click on the "floppy disk" icon above the message configurations.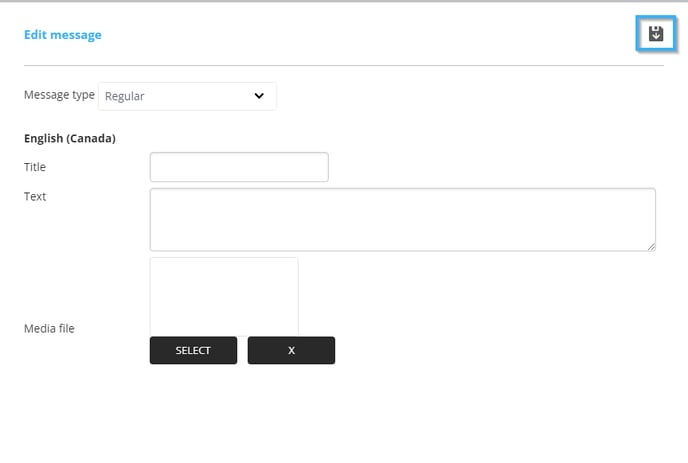
Once the message has been saved, click on the "x" icon in the top right-hand side of the corner.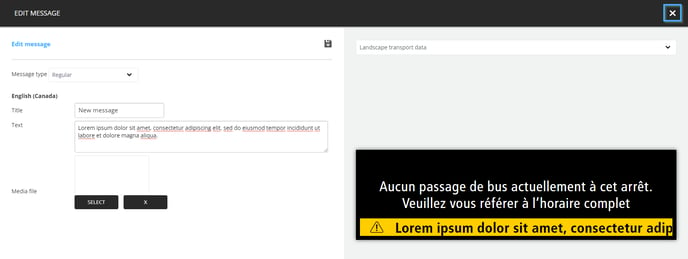
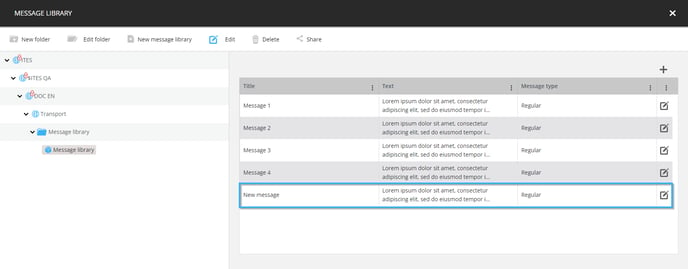
The message will now be visible in the list of messages contained in the message library.