Learn how to install Screen Connect on the media player
| Avaialble with |
| Windows Player: Starter, Pro, Premium |
Note: You must complete the following steps while connected to a user that is an administrator on your device. The device must also be connected to the internet in order for the installation to be completed successfully.
Screen Connect is the remote control software used by ITESMEDIA in order for support and run maintenance purposes. This remote control software is only used on Windows computers that will be used to run the displays.
Important: Only Windows versions that are supported by Microsoft can be used with the ITESLIVE display software. You can look into your Microsoft product's lifecyle with the following URL.
https://support.microsoft.com/en-ca/help/13853/windows-lifecycle-fact-sheet#
1. Download Screen Connect
To allow our team to complete the necessary configurations to your display computer remotely, you must first down and install Screen Connect. You can download the installer here.
2. Install Screen Connect
Once you have downloaded the file named "install.exe", you must execute it in your download folder.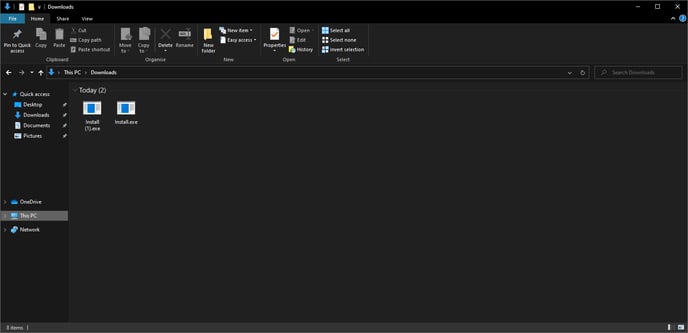
When the installer has started, a window named "ScreenConnectInstaller" will be displayed.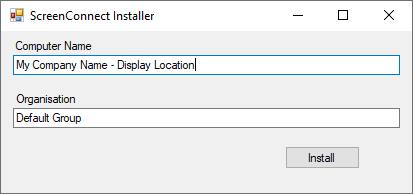
In the text zone under the "Computer Name" header, enter the name of your company and the location where the display will be installed.
Example : ITESMEDIA - 3rd floor hallway
In the texte zone under the "Organisation", enter Default Group and click the "Install" button. Once you have clicked the "Install" button, the installation will be completed automatically.
3. Confirm the software installation with our support
Once the installation has been completed, you must confirm with our support team that we have remote access to the device and that everything is ready for the setup to begin. You can contact us using the following email address support@itesmedia.tv.