The steps to follow to make a new font available on the ITESLIVE Studio
| available with: |
| Windows Player : Starter, Pro, Premium Web Player : Starter, Pro, Premium LG webOS Signage Player : Starter, Pro, Premium Samsung SMART Signage Platform (SSSP / Tizen) Player : Starter, Pro, Premium Brightsign Player: Starter, Pro, Premium Android Player: Starter, Pro, Premium Linux Player: Starter, Pro, Premium macOS Player: Starter, Pro, Premium |
Important: It is important to note that according to the article 4.2 of the ITESLIVE software terms and conditions, ITESMEDIA is not responsable for the content in your displays. It is thus important that you ensure that you obtain the required licences for the use of the fonts that you wish to use, or use free fonts (such as Google Fonts). The following article is using a free font from Google Fonts as an example.
Once you have logged onto the ITESLIVE Studio, click on the "Fonts management" entry.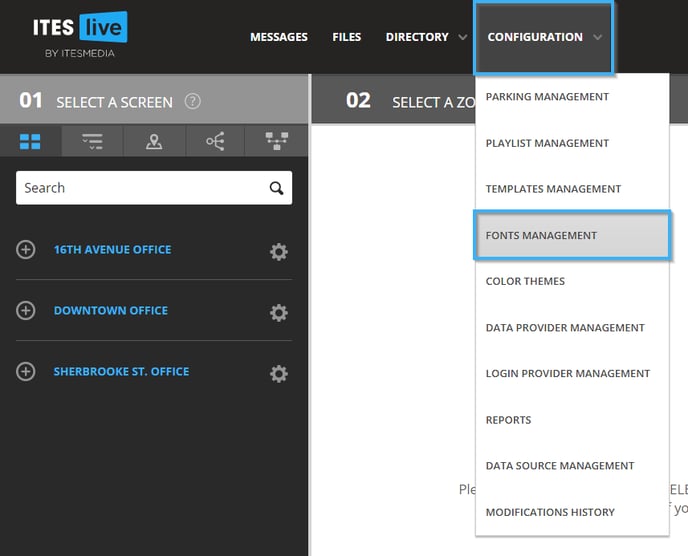
Select the account group in which you wish to insert the font and click on the "New font family" button.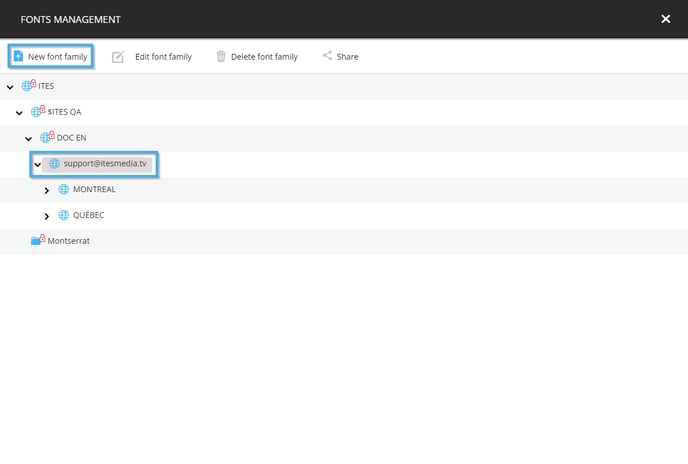
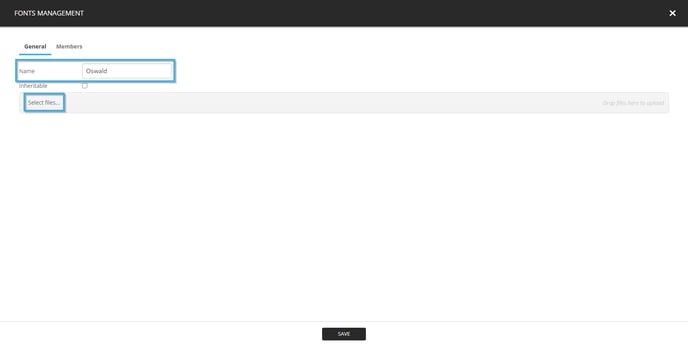
Enter the name of the font family in the "Name" field and click on the "Select files" button to upload the font files.
Important: The supported font file types are TTF and OTF.
A file explorer will open, navigate to the folder on your computer that contains the font files, select them and click the "Open" button.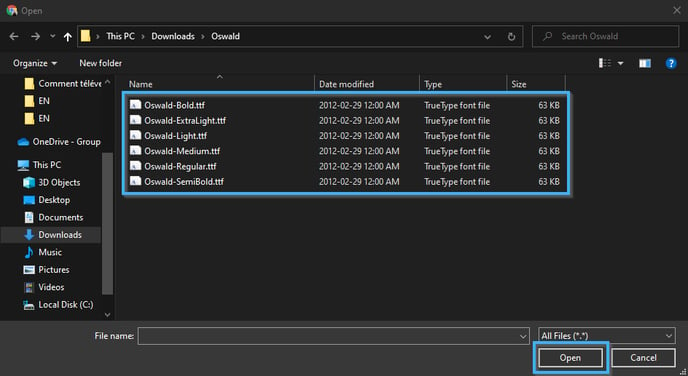
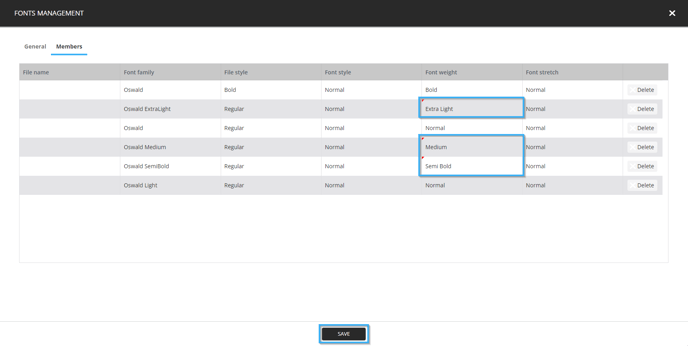
When the upload has been completed, the files will become visible in the font management window. Now click on the "Members" tab.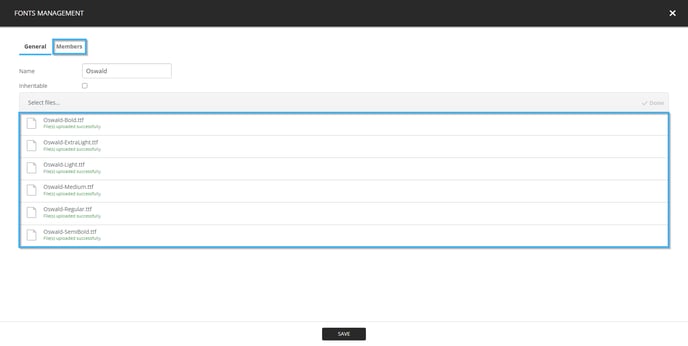
Confirm that the configurations that are in the list are correct and correct them if need be. You can click the drop-down list for the font style, font weight and font stretch to adjust the configurations when needed.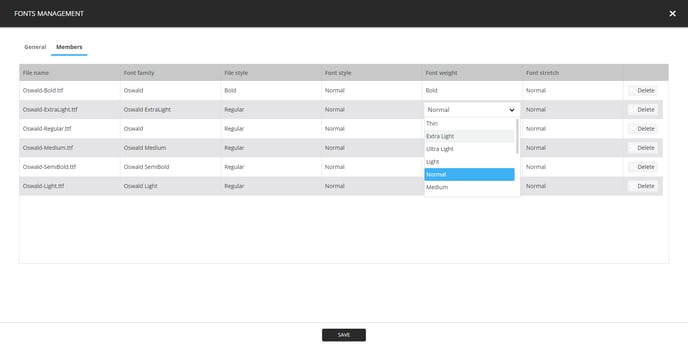
Click the "Save" button when you have completed the necessary changes. Any elements that have been edited will be identified by a small red marker in the top right corner of the field you edited.