| available with: |
| Windows player: Starter, Pro, Premium Web player: Starter, Pro, Premium LG webOS Signage Player: Starter, Pro, Premium Samsung SMART Signage Platform (SSSP / Tizen) Player: Starter, Pro, Premium BrightSign Player: Starter, Pro, Premium Android Player: Starter, Pro, Premium Linux Player: Starter, Pro, Premium macOS Player: Starter, Pro, Premium |
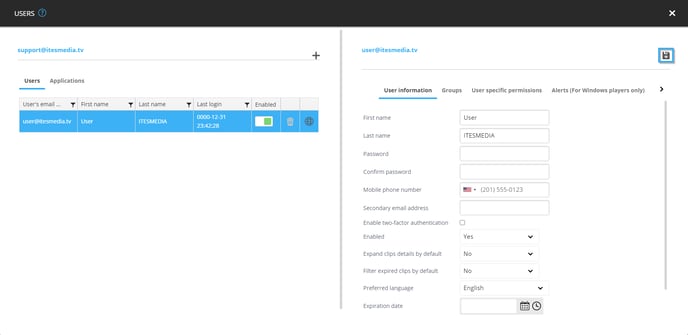
It is possible to add the required information for the two-factor authentication in the account of an existing user in the ITESLIVE Studio. Once you have the phone number or the second email address handy, you can navigate towards the account group containing the desired user and access the user management.
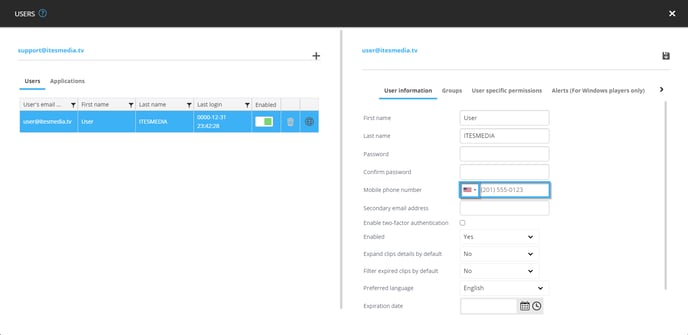
Select the user whose information you wish to edit in the user management window.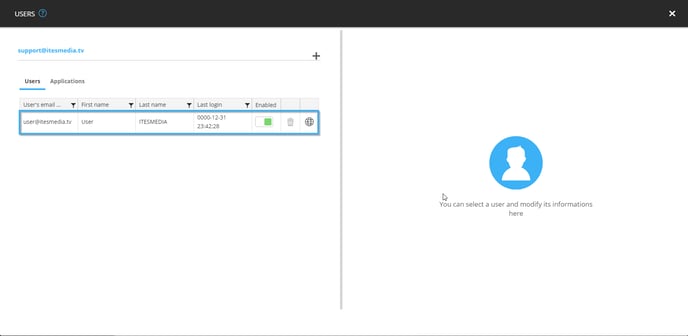
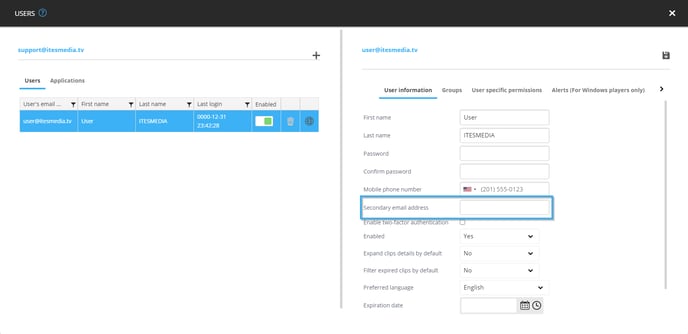
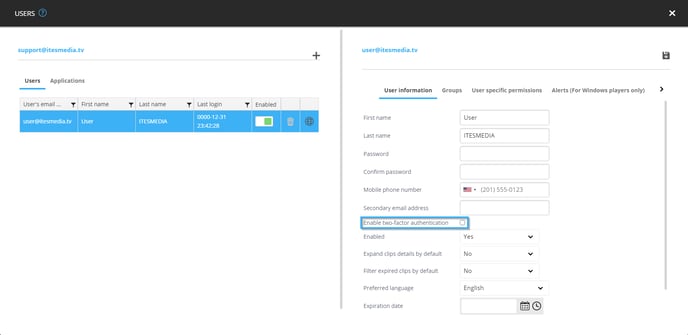
There are three fields that the user can edit themselves, but you can also fill these fields as well here once you have selected a user.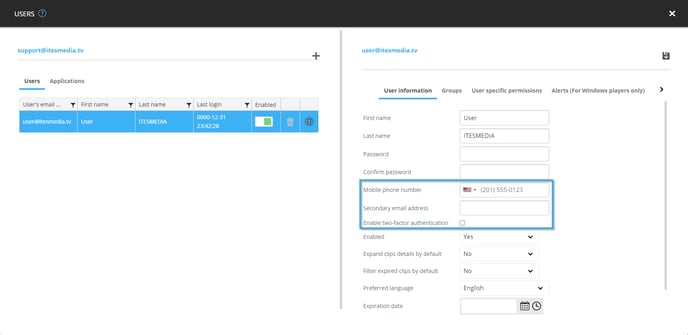
- Mobile phone number: The mobile phone number configuration is completed in two parts. You must first select the country in which the user is located, then you must enter the phone number that will receive text messages when the user will log into the ITESLIVE Studio.
- Secondary email address: This field allows you to enter the email address that will receive the message from the two-factor authentication when the user logs into the ITESLIVE Studio.
- Enable two-factor authentication: This checkbox enables or disables the two-factor authentication for this user specifically.
Important: If the two-factor authentication is activated for the group containing the user, it will be active for the user even if this checkbox is inactive.
It is possible to add a phone number, a phone number or both of them at the same time depending on the information you have. Once you have completed your modifications, click the icon that represents a floppy disk in the upper right-hand corner of the window.