| Available with: |
| LG webOS Signage Player: Starter, Pro, Premium |
Important: It is crucial that you inform yourself in regard to the version of the webOS Signage system included with your monitor. The ITESLIVE software supports exclusively the LG webOS Signage versions 4.X and above.
Note: If you do not have the monitor's remote, you can still follow this procedure by connecting a wireless USB keyboard to the monitor.
Wi-Fi configuration
In order to access the "settings" menu for your monitor, press the button on which you can see an icon representing a gear on your remote.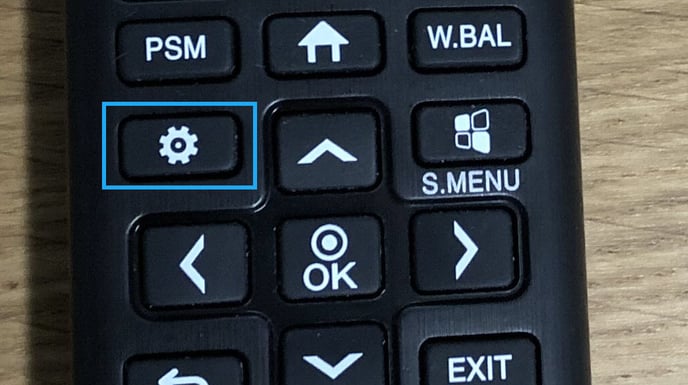
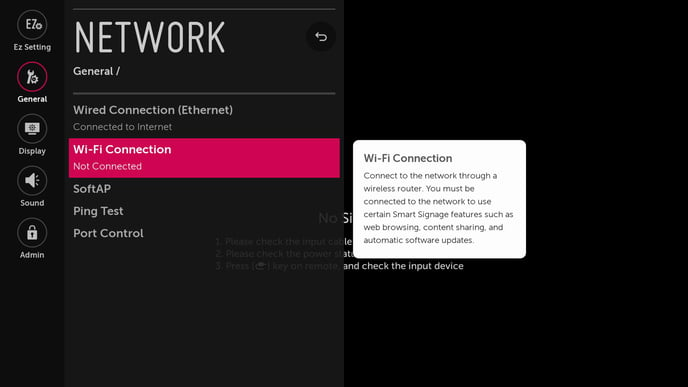
Select the «General» menu, then navigate to the sub menu named "Network" and press the "OK" button on your remote.

In the "Network" menu, navigate to the entry named "Wi-Fi Connection" and press the "OK" button on your remote.
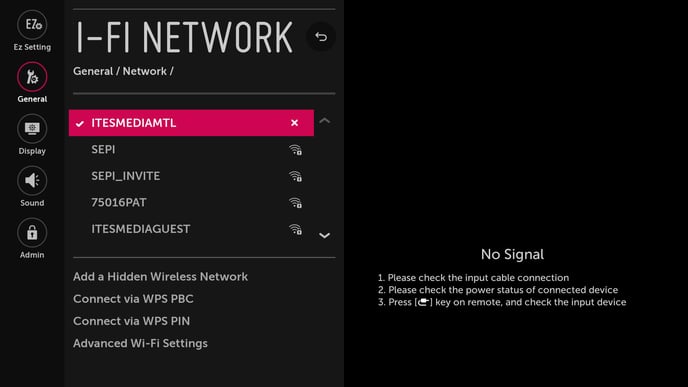
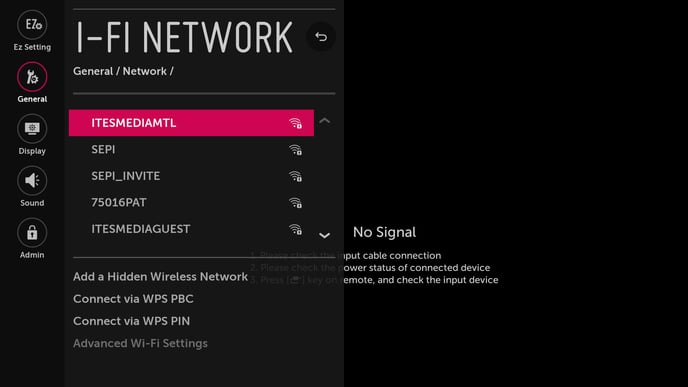
Once inside the Wi-Fi connection menu, select the network to which you wish to connect your monitor. Select the name of your network in the list and press the "OK" button on your remote.
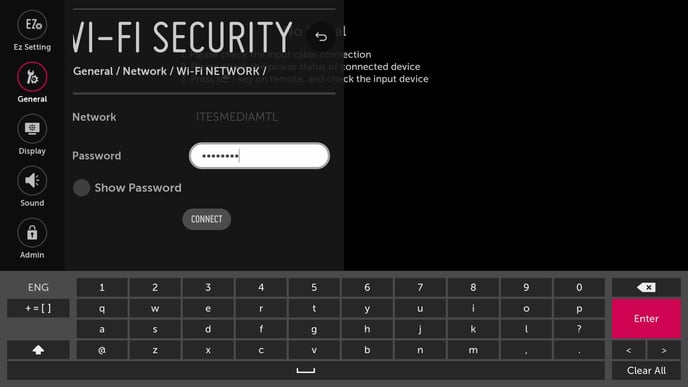
Enter the Wi-Fi network's password, then select the "Connect" button and press the "OK" button on your remote.
A white check mark symbol will appear next to your Wi-Fi network's name if the connection was successful.