| available with: |
| Windows Player : Pro, Premium Web Player : Pro, Premium LG webOS Signage Player : Pro, Premium Samsung SMART Signage Platform (SSSP / Tizen) Player : Pro, Premium BrightSign Player: Pro, Premium Android Player: Pro, Premium Linux Player: Pro, Premium macOS Player: Pro, Premium |
Creating a new template
Once you have logged into the ITESLIVE Studio, click on the "Configuration" tab and select the "Template management" entry. 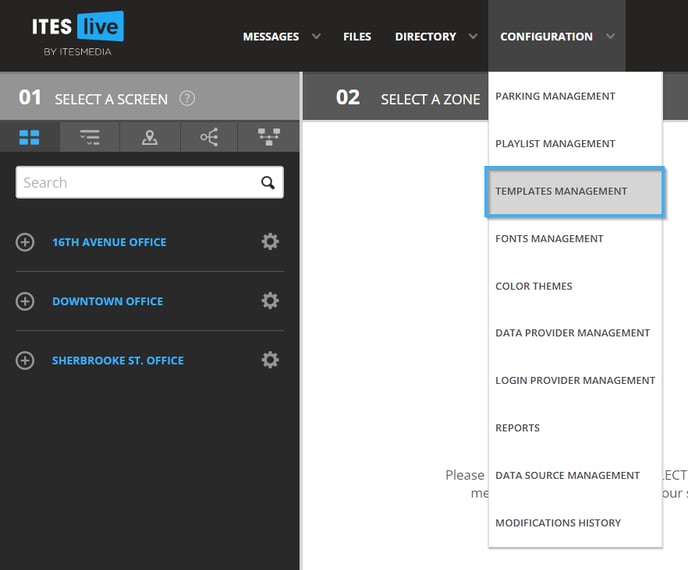
Select the folder in which you wish to create the template and click the "New template" button.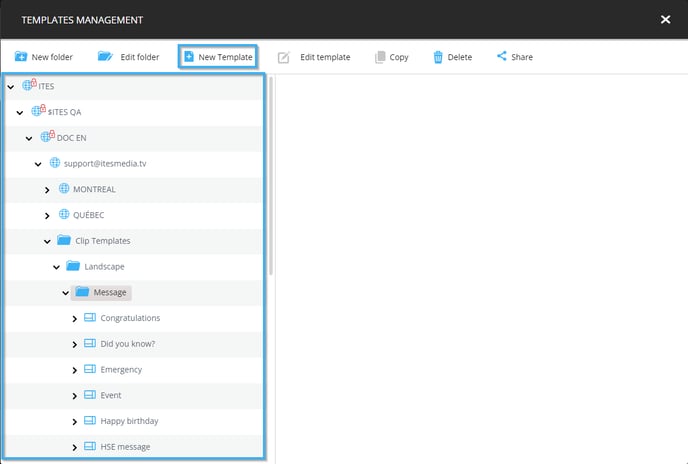
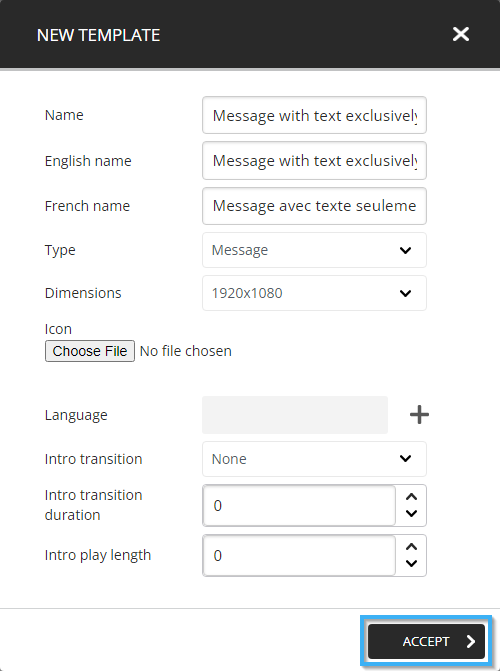
Before creating the template's visual elements, you will need to provide the following information.
- Name: Unique identifier for the template
- English name: The name that will be displayed when the Studio is used in English
- French name: The name that will be displayed when the Studio is used in French
- Type: In this case, we need to select the "Message" template type
- Dimensions: The template's resolution must be identical to the resolution of the zone in which you will be using this template.
- Icon: A file that you can select that will be used as the template's "thumbnail"
- Language: Determine the number of languages available in the template
- Transition intro (optional): The animation that is used for the template's introduction
- Intro transition duration (optional): The length of the template's introduction animation
- Intro play length (optional): The play length in seconds for the template's introduction
Once you have completed the form, click the "Accept" button.
Creating fields in the definition editor
Click on the icon to the right of the gear in the top left-hand corner of the template editor. 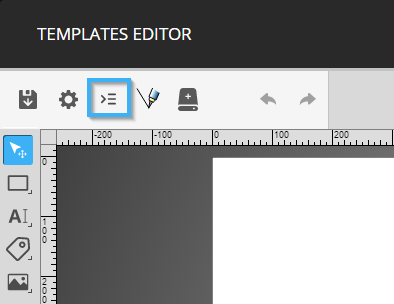
Click on the "+" icon in the top center portion of the window.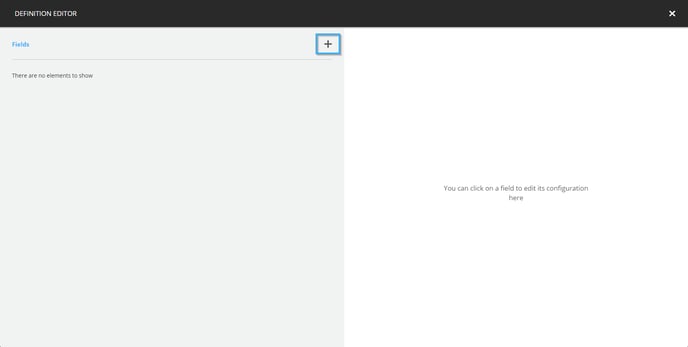
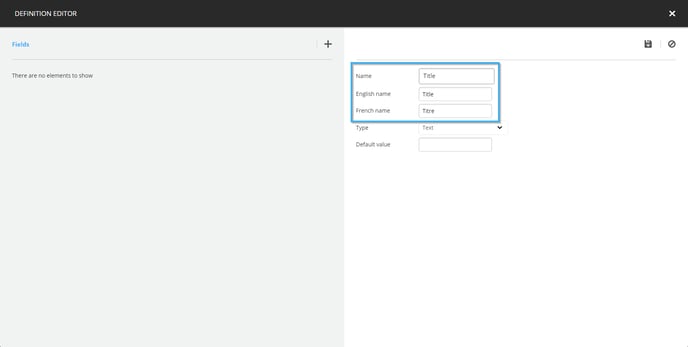
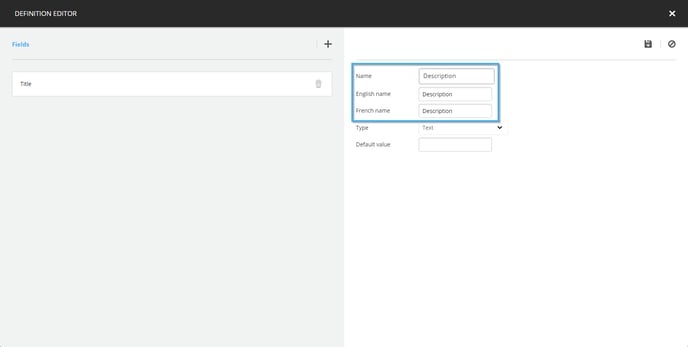
Enter the following information for the "Name", "English name" and "French name" fields.
- Name : Title
- English name : Title
- French name : Titre
Click on the drop-down list to the right of the "type" title and select the "Rich text" entry. 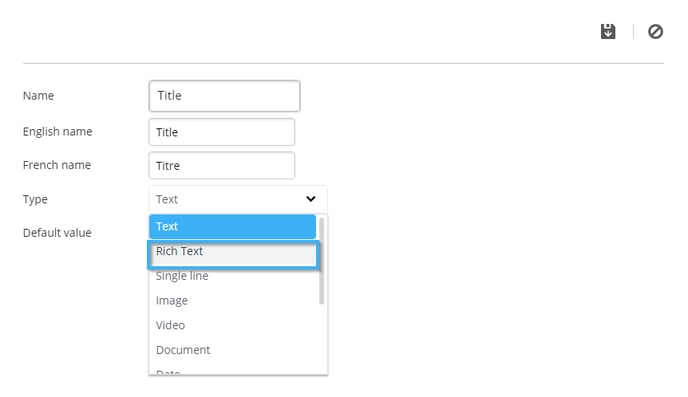
Then click on the icon that resembles a floppy disk in the top right-hand side of the window.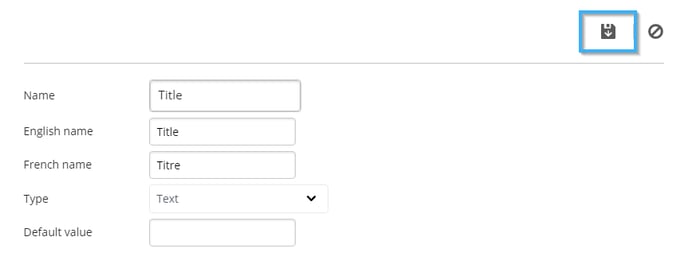
Once the field is visible on the left-hand side of the window, click the "+" icon once more.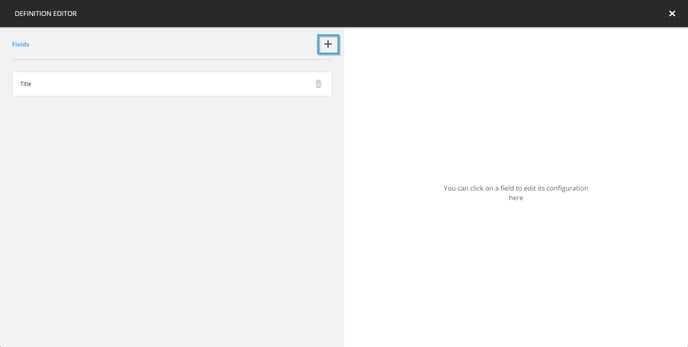
Enter the following information for the "Name", "English name" and "French name" fields.
- Name : Description
- Nom anglais : Description
- Nom français : Description
Click on the drop-down list to the right of the "Type" title and select the "Rich text" entry.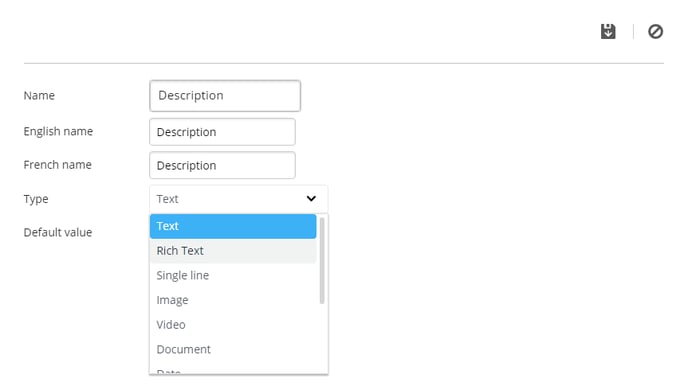
Then click on the icon that resembles a floppy disk in the top right corner of the window.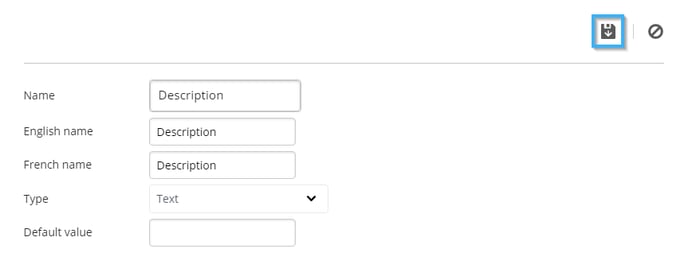
Click on the "x" icon in the top right-hand corner of the window to return to the template editor.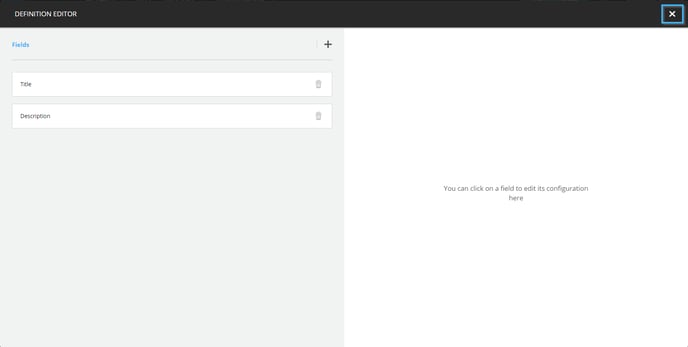
Creating the message's content
Creating a background
Click on the button to edit a layer's name under the list of layers on the right-hand side of the template editor.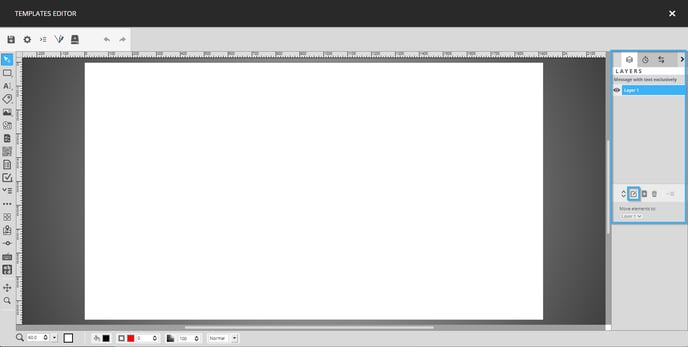
In the window that pops up, enter the following text and click the "OK" button.
Background
Then select the image tool in the tool list on the left-hand side of the template editor.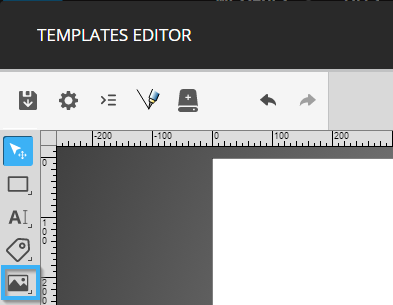
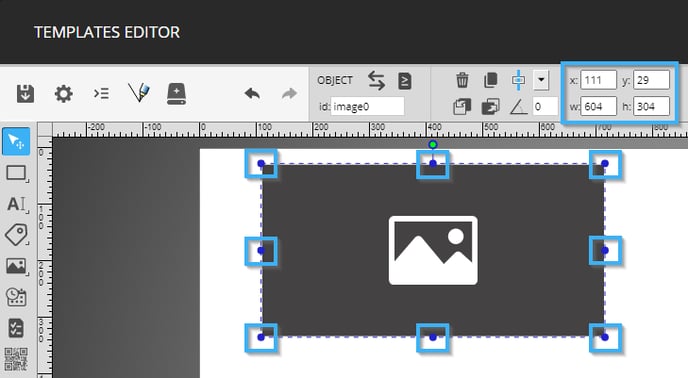
Click and drag your mouse in the empty space in the template to place the tool. You can move and resize the tool using the circles around it or the configurations at the top of the template editor. The following are the configurations used in this example.
- x : 0
- y : 0
- w : 1920
- h : 1080
Once the tool has been placed, double click on it to configure its content, in the window that opens click on the "Select" button in the "Static" tab.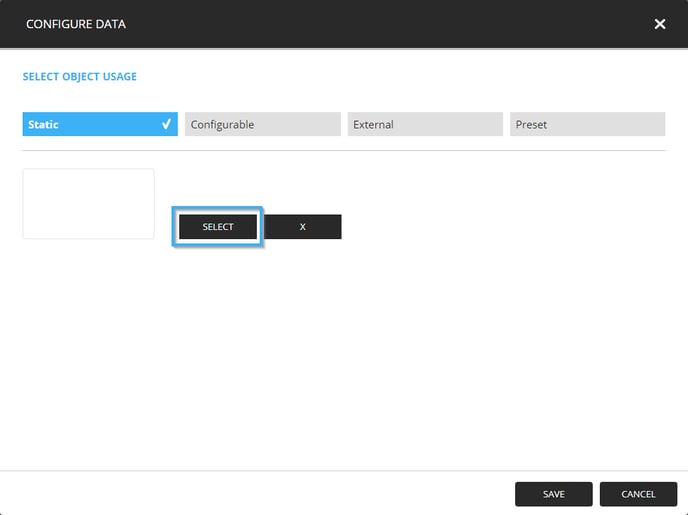
Select the image you wish to use as a background and click the "Select" button in the lower right-hand corner of the window.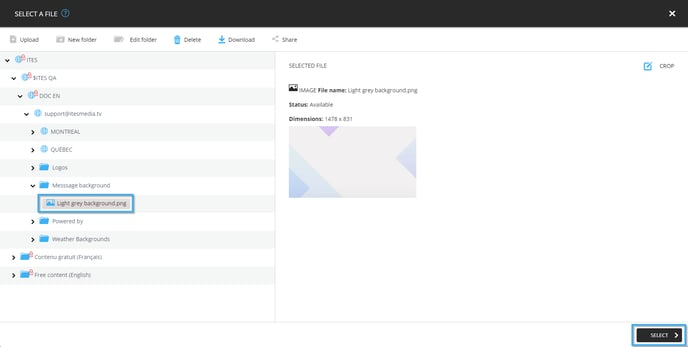
Once the image is visible in the content configuration window, then click on the "Save" button.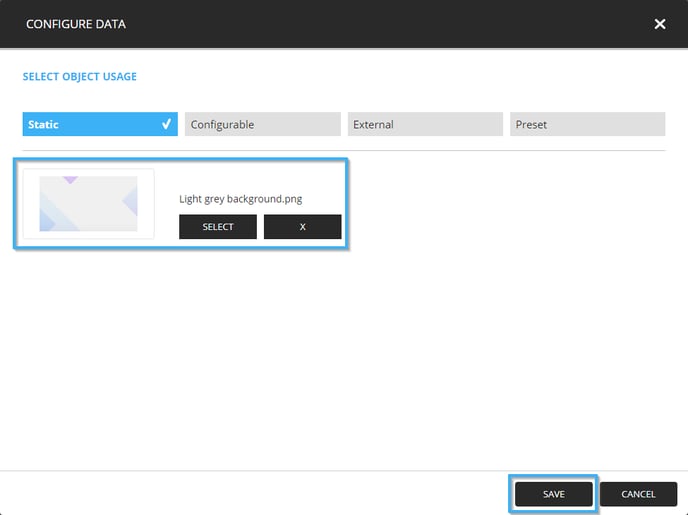
Creating the message's text
Click on the button to add a layer under the list of layers on the left-hand side of the window.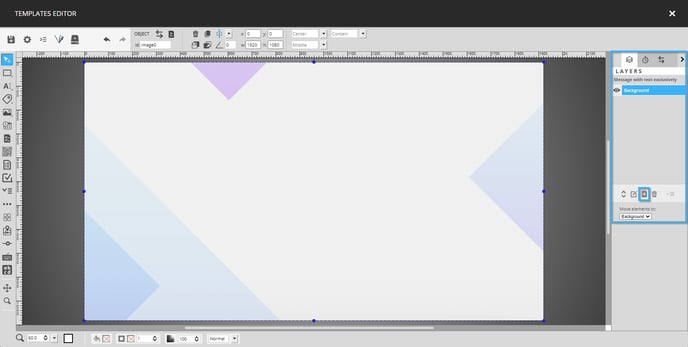
Enter the following text in the window that opens and click the "OK" button.
Content
Then select the text tool in the tool list on the left-hand side of the template editor.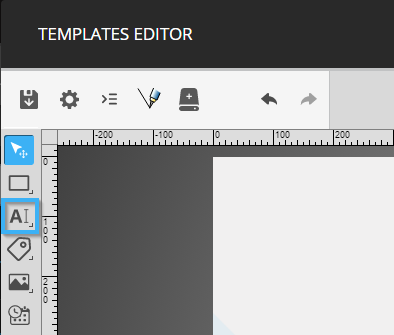
Click and drag your mouse in the template to place the tool. You can move and resize the text tool using the circles around it or the configurations in the top of the template editor.
The following are the configurations used for this example.
- x : 198
- y : 50
- w : 1520
- h : 980
You can configure the font for the text tool using the controls to the right of the tool's size and position, the following are the values used for this example.
- Font family : Montserrat
- Font style : Light
- Font size : 60 points
- Text transformation : Normal
- Horizontal alignment : Left
- Vertical alignment : Middle

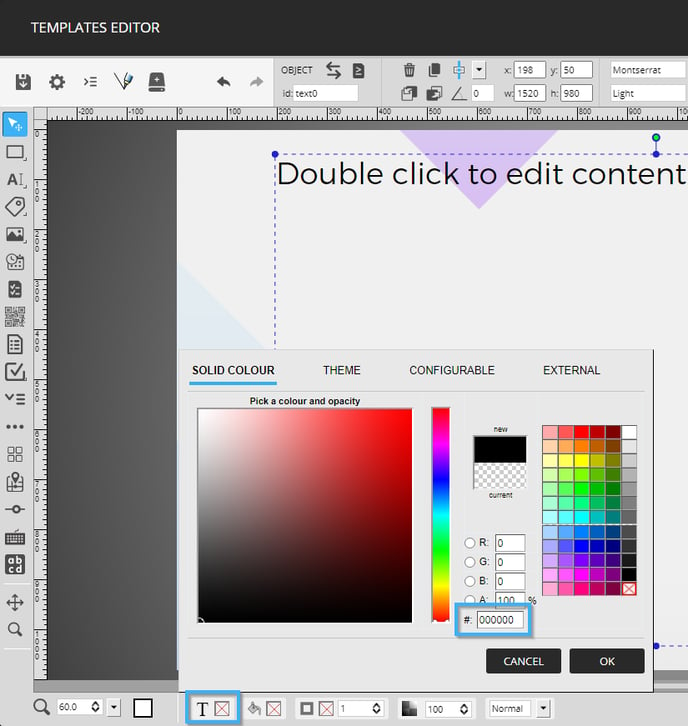
Use the colour tool in the bottom left-hand side of the template editor to attribute a colour to the tool's text. The following is the colour used for this example.
- #000000
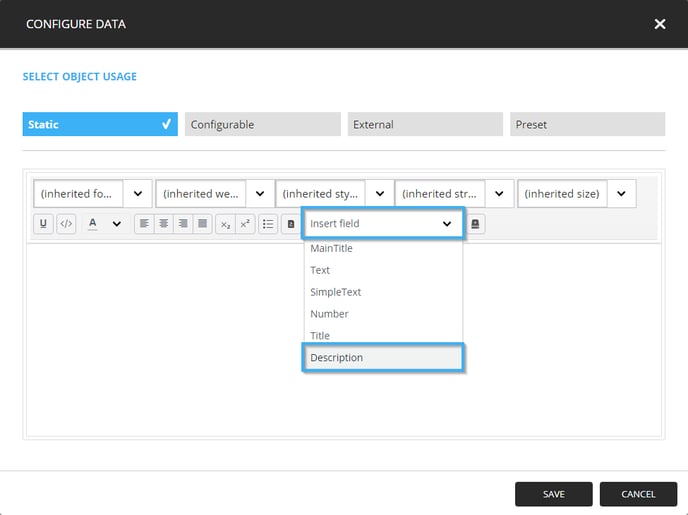
Double-click on the tool to configure its content, in the window that opens, click on the drop-down list named "Insert field" and select the fields that you created earlier in the following order.
- Description
- Title
Now click in between the two fields in the text box and hit the "Shift" and "Enter" buttons on your keyboard to insert a line skip.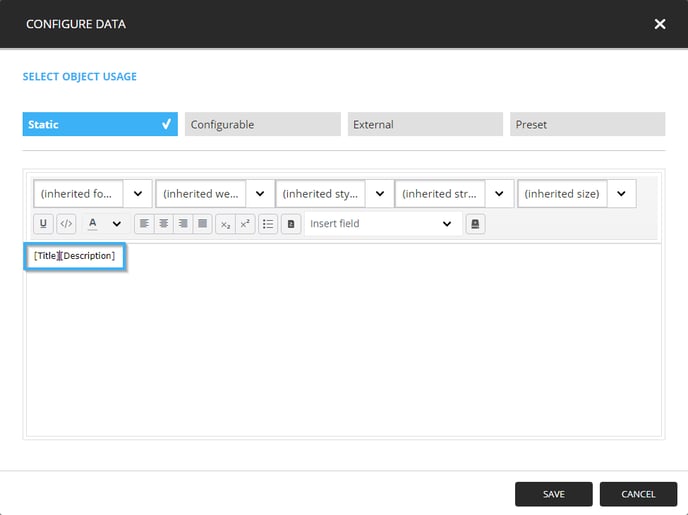
Now that the title and description are on two lines, highlight the title by clicking and dragging your mouse over the text.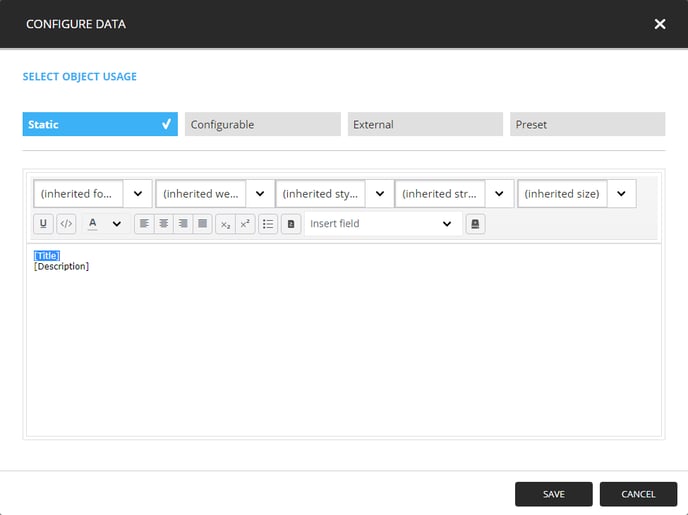
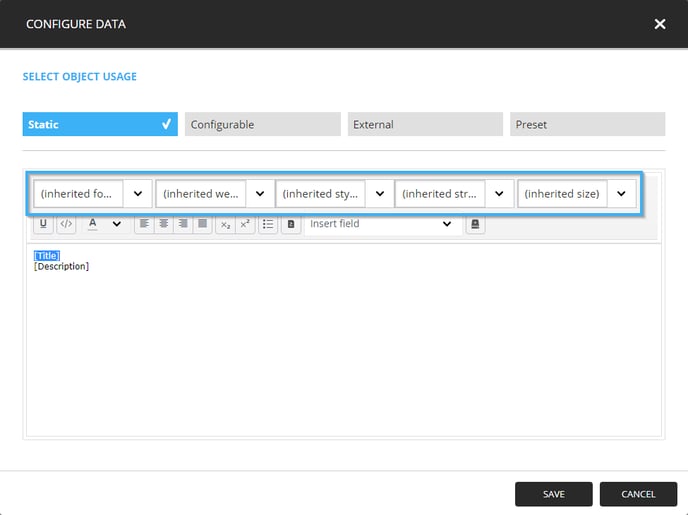
Now apply the following configurations to change the font for this field using the controls above the text box.
- Font familly : Montserrat
- Font weight : Bold
- Font style : (inherited style)
- Font stretch : (Inherited stretch)
- Font size : 100px (select the "inherited size" text and write "100px")
Once the configurations have been applied, click the "Save" button.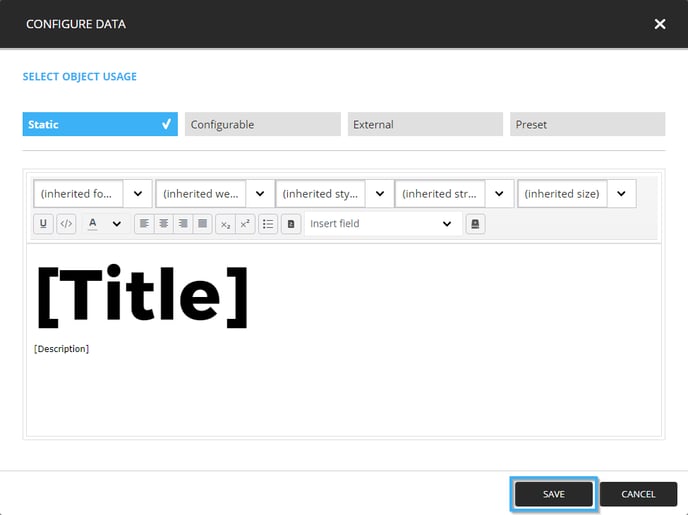
When the text is visible in the text tool, click on the icon that resembles a floppy disk in the top-left-hand corner of the template editor.