| available with: |
| Windows Player : Pro, Premium web Player : Pro, Premium LG webOS Signage Player : Pro, Premium Samsung SMART Signage Platform (SSSP / Tizen) Player : Pro, Premium Brightsign Player: Pro, Premium Android Player: Pro, Premium Linux Player: Pro, Premium macOS Player: Pro, Premium |
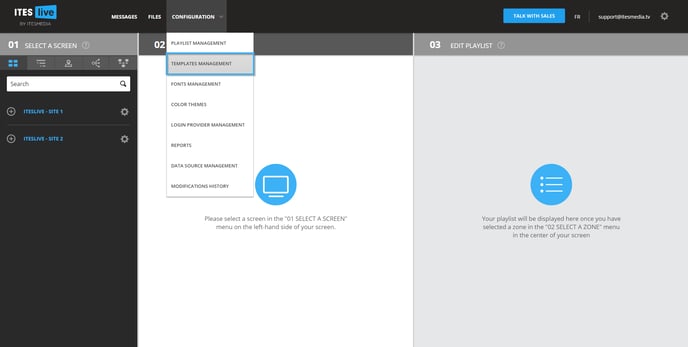
1. On the ITESLIVE Studio click on the configurations tab and select the entry named template management
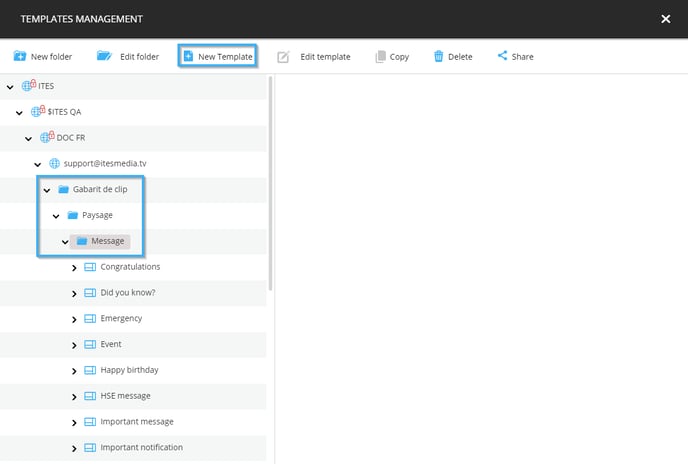
2. Navigate to the folder in which you would like to create the template and or create a new folder for your template and click the button named new template
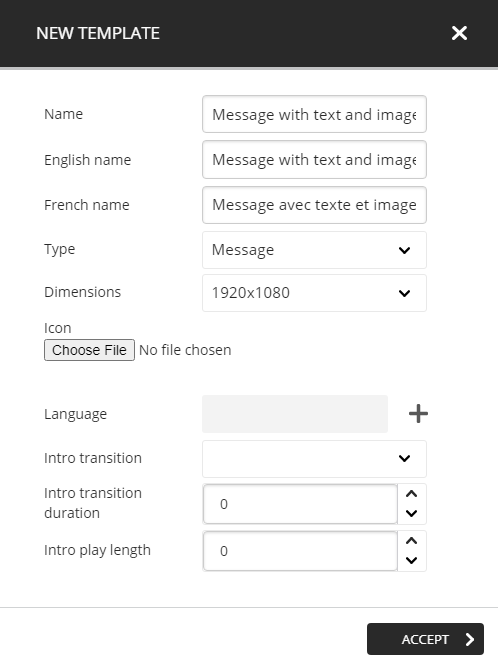
3. Determine the template's configurations
Before creating the visual aspects that will be used in the template, you must provide the following details.
- Name: Unique identifier for the template
- English name: The name that will be displayed for this template when the Studio is used in English
- French name: The name that will be displayed for this template when the Studio is used in French
- Type: In this case, we will be using the message clip type
- Dimensions: The resolution of the template must be identical to the resolution of the zone in which you will be using it
- Icon: A file you can select that will be used as a "Thumbnail" for the template
- Language: Determines the languages that will be available in the template
- Intro transition (optional): The animation for the transition for the template if it has an introduction
- Intro transition duration (optional): The length in seconds for the transition of the intro
- Intro play length (optional): The total play length for the introduction
Once the required information has been entered, click the "accept" button.
4. Template definition creation
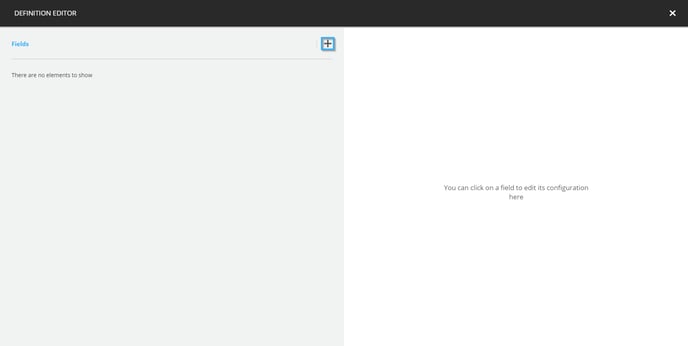
What is a template definition? Although the template editor is similar to Photoshop from a visual standpoint, the difference is that the template editor has an aspect of dynamic content configuration. To create dynamic fields that can be edited by the users when they create messages on the ITESLIVE Studio by using templates, it is necessary to create these fields in the definition editor. It is similar to adding empty fields in a form that users will fill later. Click the icon that represents an arrow next to three lines to access the definition editor in the upper left-hand corner of the editor.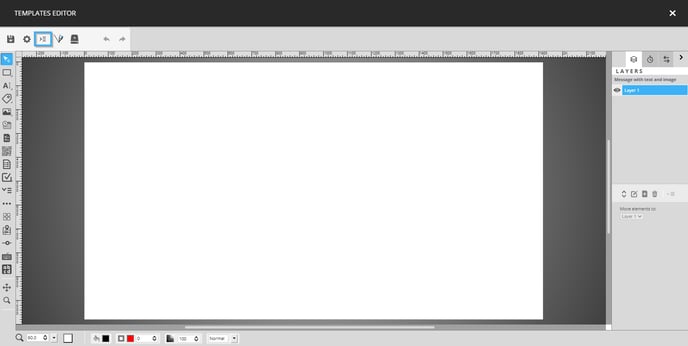
5. Click the "+" to add a field
6. Fill the required information for the field and click the icon that represents a floppy disk to save
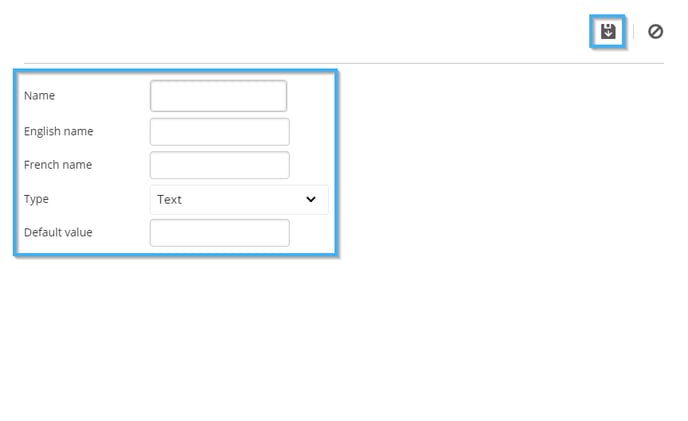
Name: Unique identifier for the field
Name English: The name displayed when the Studio is used in English
Name French: The name displayed when the Studio is used in French
Type: This drop-down list determines the type of information that will be included in the field
- Text: This is a simple text tool, the users will be able to edit the text, but they will not be able to edit the font configurations or color
- Rich text: This is an advanced text tool that allows users to edit the text and font configurations as well as its colour
- Single line: This is a tool that is meant to allow users to enter a text that is meant to be displayed on a single line
- Image: This tool allows users to select an image that will be included in the message when it is created
- Video: This tool allows users to select a video that will be included in the message when it is created
- Document: This tool allows users to select a PDF document that will be included in the message when it is created
- Date: This tool allows users to select a date that will be displayed in the message when it is created
- Number: This tool that allows users to enter a numerical value that will be included in the message when it is created
- Coulour: This tool allows a user to select a colour that will determine the colour for text, a shape or other elements in the template
- Dropdown: This tool allows you to create a drop-down list that will be available during the message creation process, the value selected by the user will determine the value that will be broadcast in the display
Default value: The default value determines the value of the field before then users edit its content
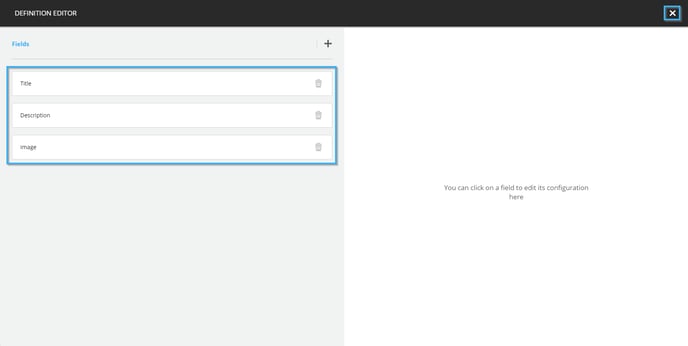
7. Create the fields you need to broadcast the message
Note: For the example shown in this article the following are the fields that were created.
- Title - text
- Description - text
- Image - Image
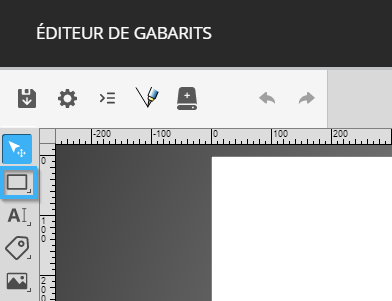
8. Create a background
- Click on the shape tool in the list on the left-hand side of the editor
- Click in the white space in the template and drag your mouse (while maintaining the click) to place the shape
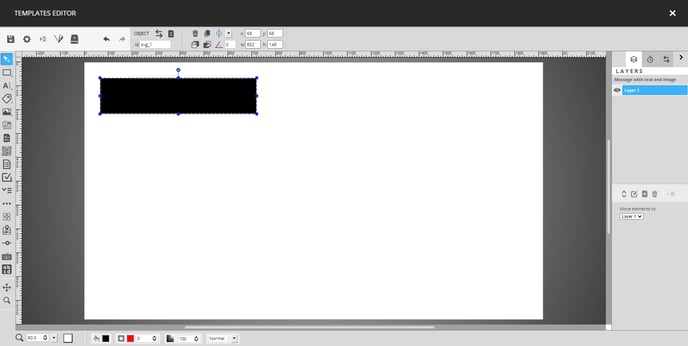
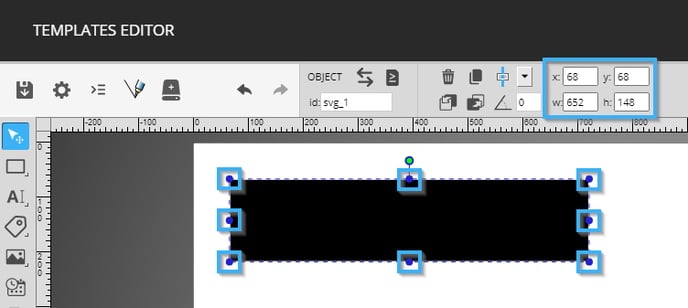
- You can resize the shape by using the circles around the shape or numerically with the controls for the position and size of the shape
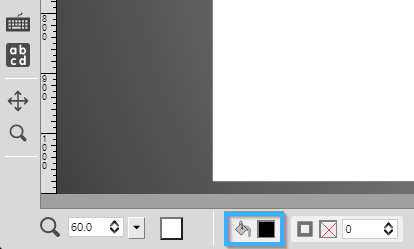
- Once the shape has been placed, you can edit the colour of the shape using the control for the colour of the shape in the bottom left-hand corners of the editor
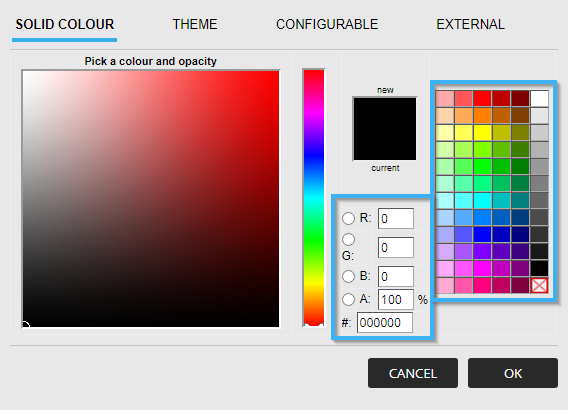
- You can use the controls for RGB (Red, Green, Blue) colours, enter a hexadecimal colour code or choose among the default colours
- Once the shape had been configured, we will rename the layer to identify it. To rename the layer, click on the layer in the list on the right-hand side of the editor and click the icon that represents a pencil below the list
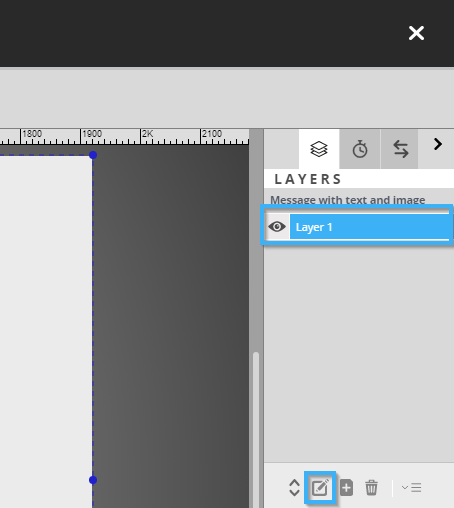
- In the window that opens, enter the name of the layer and click the "OK" button

9. Text creation
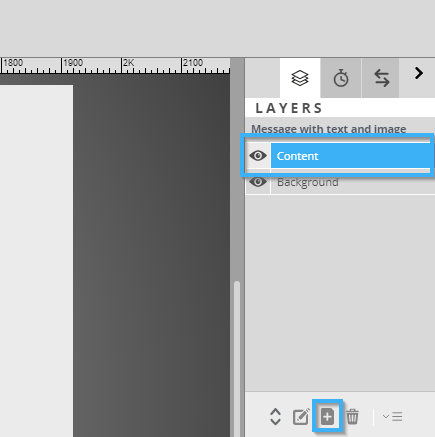
- Add a new layer and identify it so that it represents the message's content
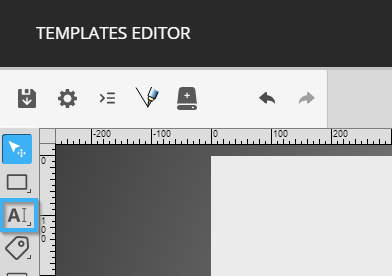
- Click on the text tool in the list on the left-hand side of the editor
- Place the text tool the same way you placed the shape earlier
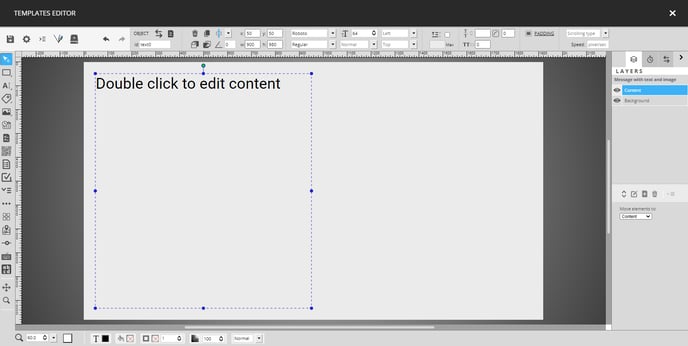
- You can position the text the same way you placed the shape earlier, you can also adjust the colour of the text with the controls at the bottom of the editor. You can also adjust the font configurations with the controls to the right of the controls for the position and size of the text tool.
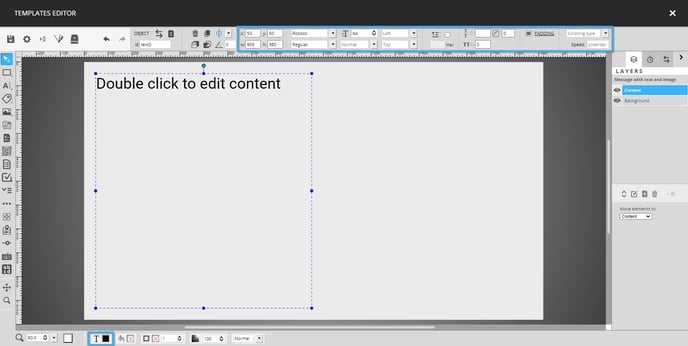
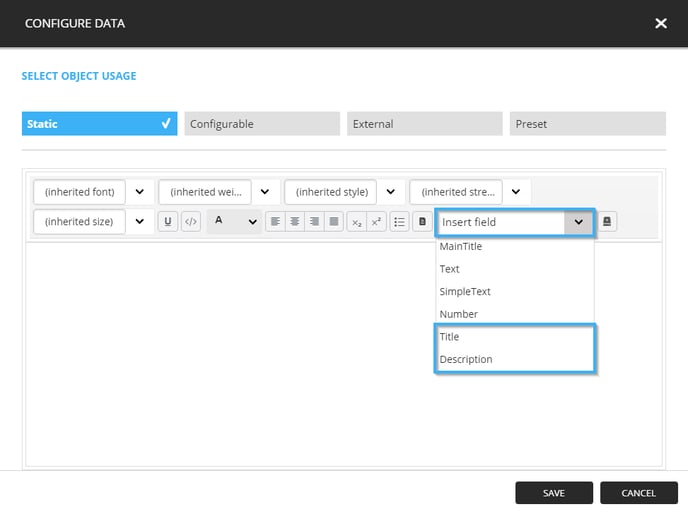
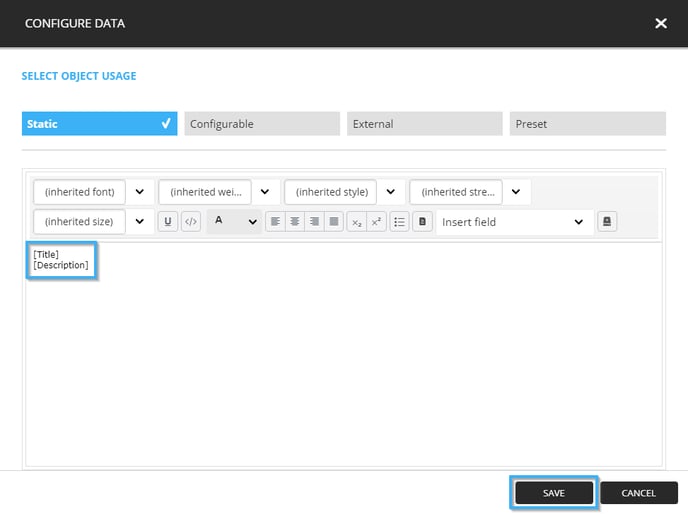
- Double click the text tool to edit its content once you have completed configuring it. In the text modification window, click the drop-down list named "Insert field" and add the fields named "Title" and "Description".
- Once you can see the fields in the text modification window, click the "Save" button.
10. Image Creation
- Click on the image tool in the list on the left-hand side of the editor
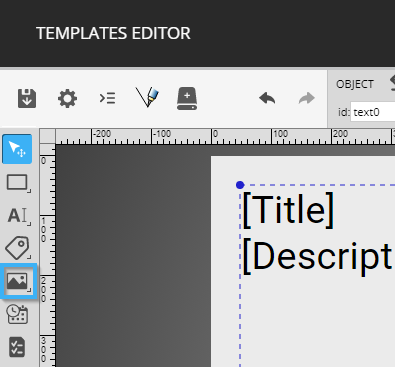
- Place the image tool the same way you placed the shape and text tools earlier
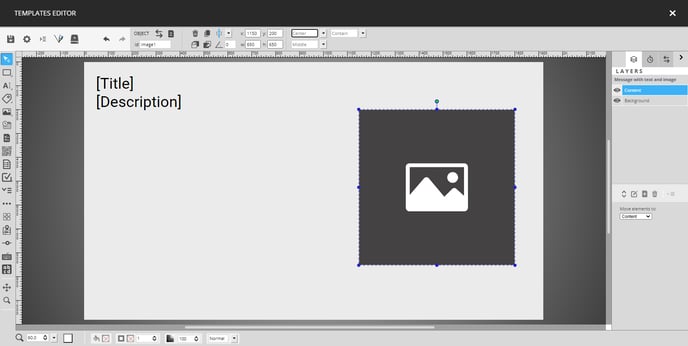
- You can resize the image tool by using the circles around the image or numerically with the controls for the position and the size of the image
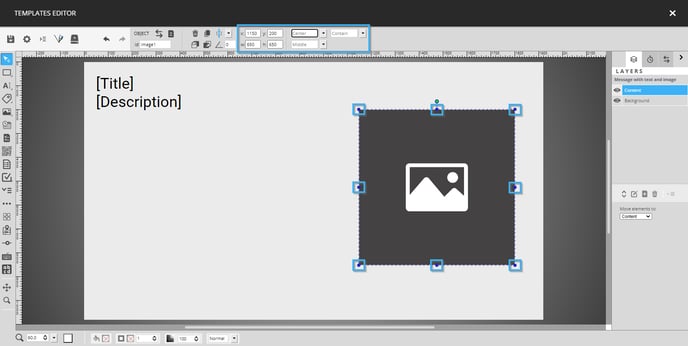
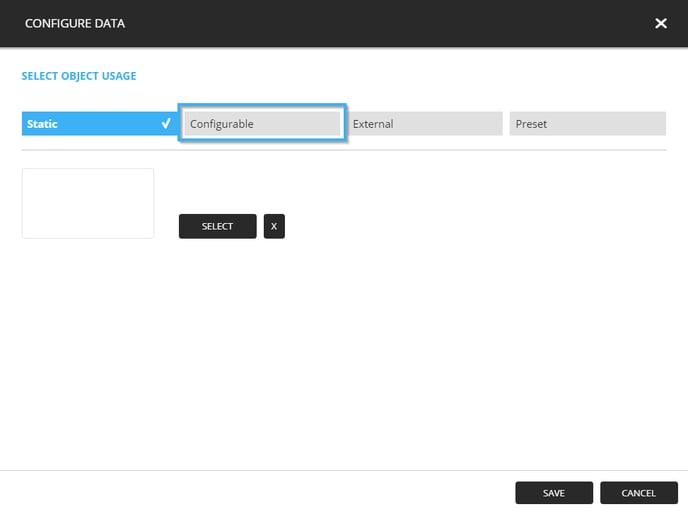
- To configure the image tool, you must double-click the tool that you have placed, in the configuration window click "Configurable"
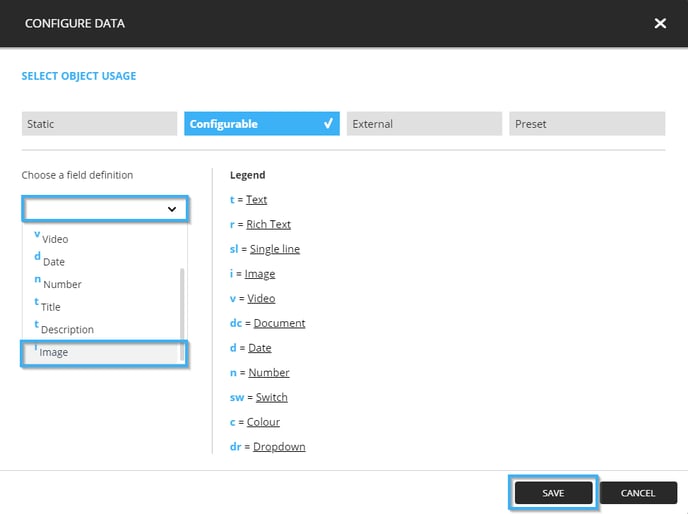
- Click on the drop-down list and select the field that you created earlier, then click the "Save" button
11. Save the template
You can save the template by clicking the icon that represents a floppy disk in the top left-hand side of the editor
Note: To add this template to your playlist, please refer to the article "How to add a message clip to your playlist".