| available with: |
| Windows Player : Premium web Player : Premium LG webOS Signage Player : Premium Samsung SMART Signage Platform (SSSP / Tizen) Player : Premium Brightsign Player: Premium Android Player: Premium Linux Player: Premium macOS Player: Premium |
1. On the ITESLIVE Studio click on the configurations tab and select the entry named template management
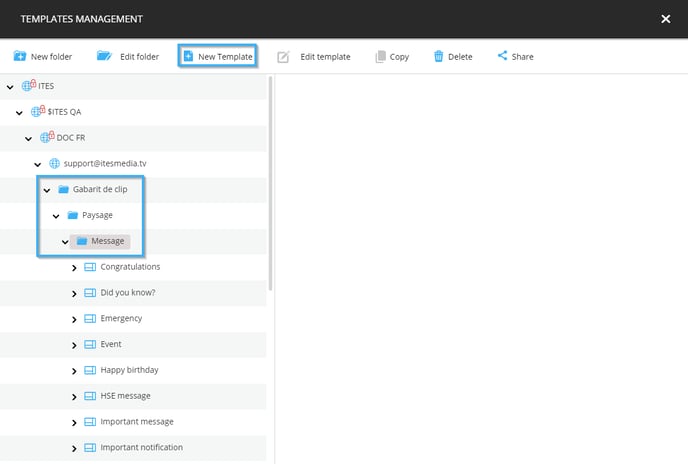
2. Navigate to the folder in which you would like to create the template and or create a new folder for your template and click the button named new template
3. Determine the template's configurations
Before creating the visual aspects that will be used in the template, you must provide the following details.
- Name: Unique identifier for the template
- English name: The name that will be displayed for this template when the Studio is used in English
- French name: The name that will be displayed for this template when the Studio is used in French
- Type: In this case, we will be using the transport clip type
- Dimensions: The resolution of the template must be identical to the resolution of the zone in which you will be using it
- Icon: A file you can select that will be used as a "Thumbnail" for the template
- Language: Determines the languages that will be available in the template
- Intro transition (optional): The animation for the transition for the template if it has an introduction
- Intro transition duration (optional): The length in seconds for the transition of the intro
- Intro play length (optional): The total play length for the introduction
Once the required information has been entered, click the "accept" button.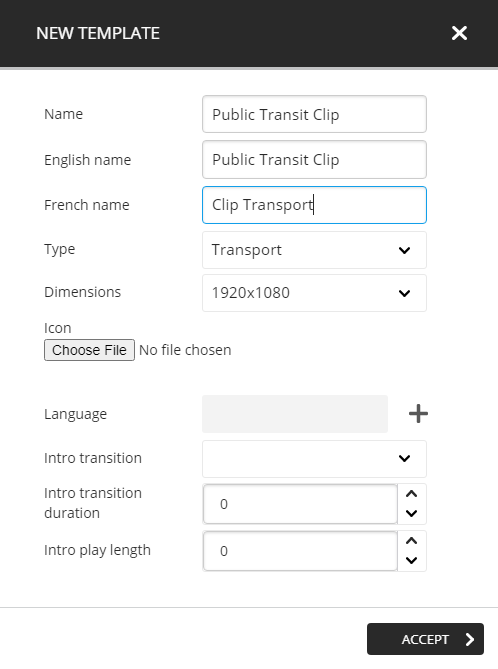
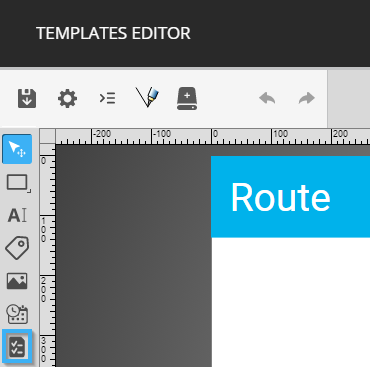
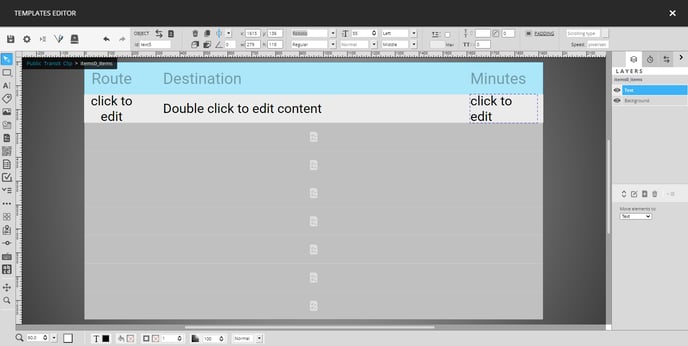
4. Header creation
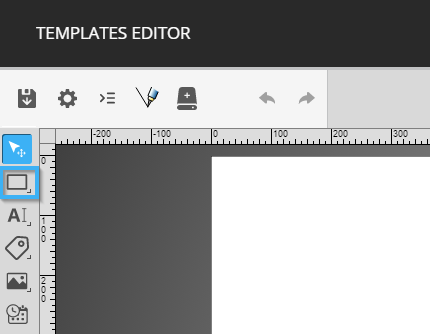
Once the configurations have been applied, the ITESLIVE Studio will automatically open the template editor. For the first step of the template creation, it is important to have a header that describes the information displayed in each column of the transport clip for the end users that will be observing the display.
- Click on the shape tool in the top left corner of the template editor
- You must click and drag your mouse in the blank space in the template editor to place the shape.
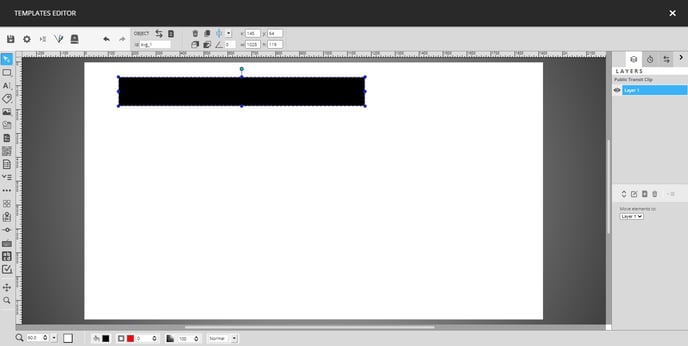
- You must resize the shape using the circles around the shape or numerically with the controls for the position and the size of the shape

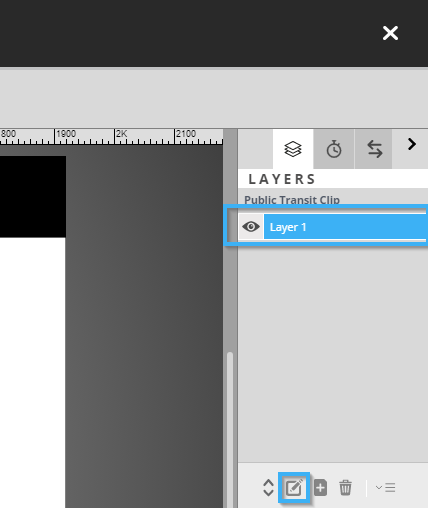
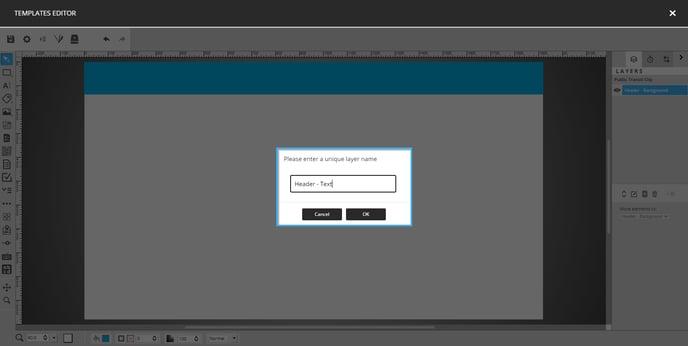
- Once the shape has been placed, we will rename the layer to identify it. To rename the layer, click on the desired layer in the list on the right-hand side of the editor, then click the icon that represents a pencil under the list.
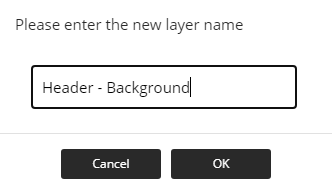
- In the window that opens enter the name, you wish to give the layer and click on the "OK" button
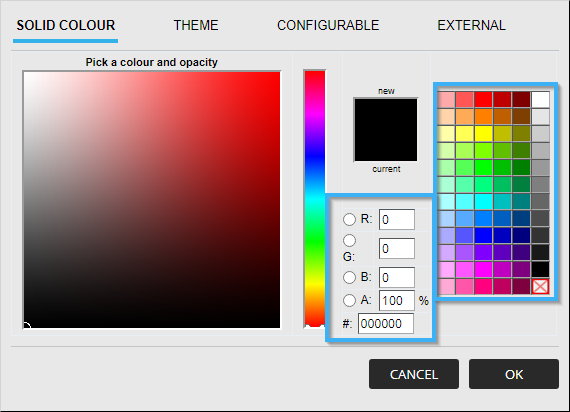
- Click the shape to select it, then you can edit the shape's colour by using the colour controls in the lower left-hand side of the template editor
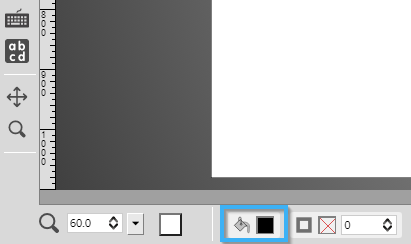
- You can use the controls for the RGB colours (Red, Green, Blue), enter a hexadecimal colour code or select one of the default colours
- The next step will be to add text to represent the information that will be broadcast under the header, to configure these texts we will need to add and name a new layer
- Click on the text tool and place it the same way you placed the shape in the template
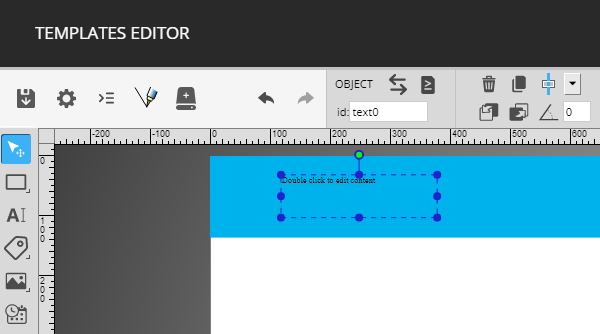
- You can position the text the same way you had positionned the shape, you also adjust the text's colour with the controls at the bottom of the template editor. You can also adjust the font configurations with the controls to the position and size tools
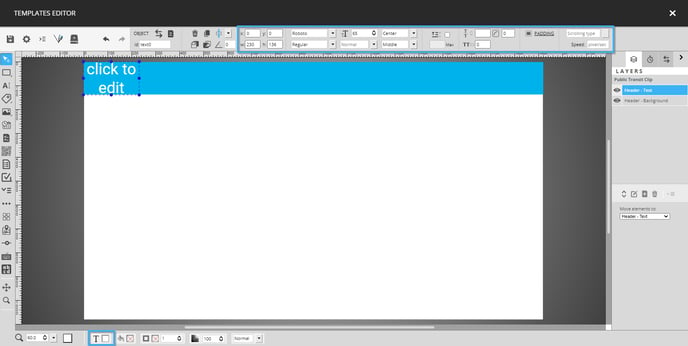
- To edit the text included in the tool, you must double click the text once you have completed the font configurations. In the text configuration window, enter the text you wish to see in this location and click the "save" button
- Place the amount of text tools you need to have all of the titles you need in the header
5. Add a data source
To configure the public transit data in the template, you will need to add a data source in the template.
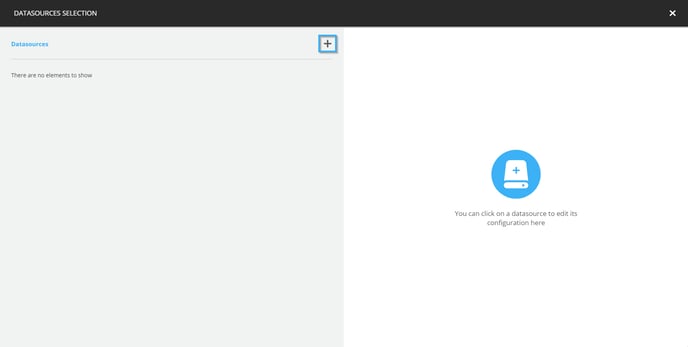
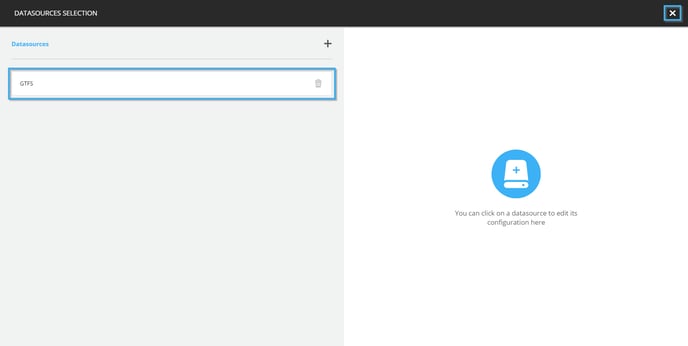
- Click on the icon that represents a hard drive

- Click on the "+" icon
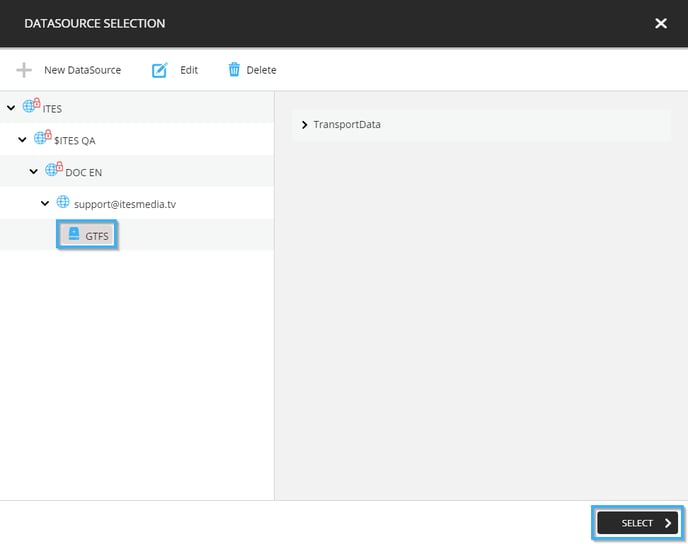
- Click on the data source desired and click on the "select" button
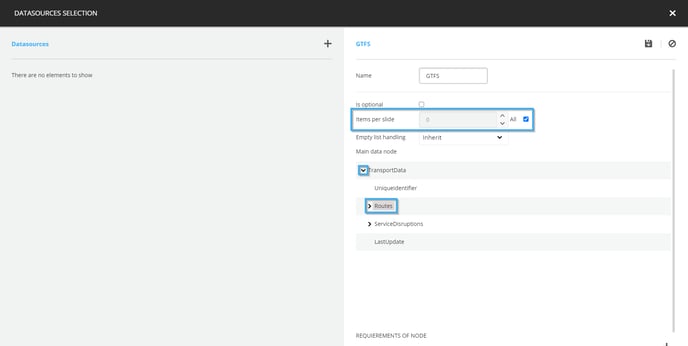
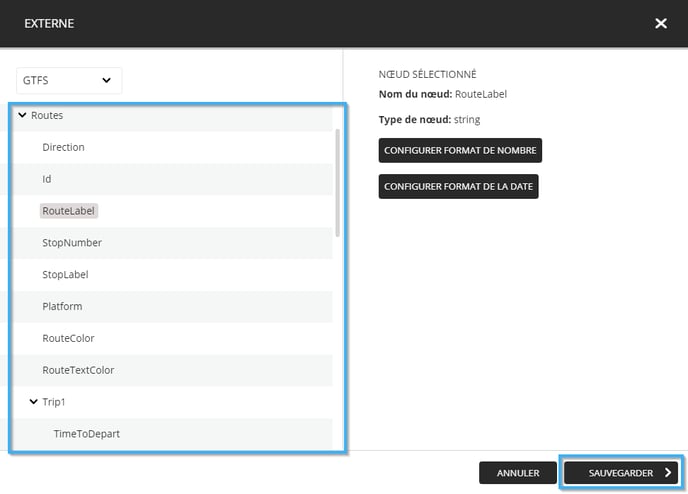
- To assure that all of the trips will be displayed, you must activate the "All" checkbox. Furthermore, in the section named "Main data node", click on the arrow to explore the "TransportData" node and click on the entry named "Routes. Finally, click on the icon that represents a floppy disk
- Once you have saved the data source, it will be displayed on the left-hand side of the window, you can now close the window by clicking on the X in the top right-hand corner of the window
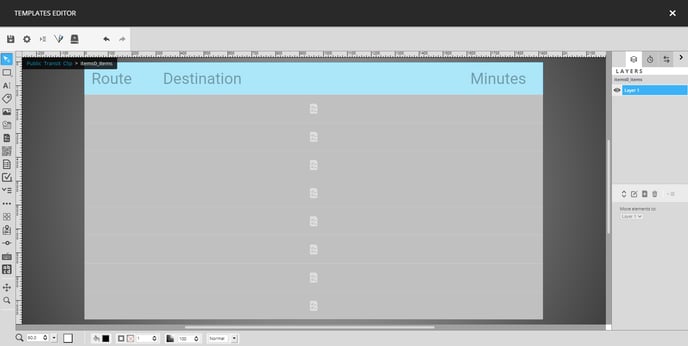
6. Data list creation
- Click on the list tool on the left-hand side of the template editor
- Place the list in the same way that you placed the text and shape tools earlier

- In addition to the usual configurations in regard to the position and size of the list, you must specify the data source as well as the main data node that will be used by the list. You must also specify the number of lines and columns that will be displayed in the list and the scrolling method for the list

In the above example, the following configurations were used.
- Rows : 8
- Columns : 1
- Scrolling : Vertical
- Scrolling type : By page
- Data source : GTFS
- Data node : Routes
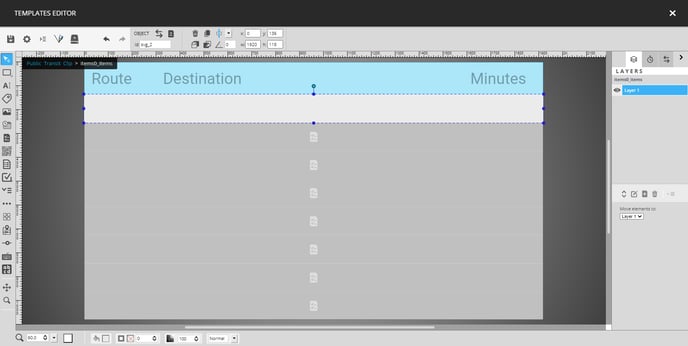
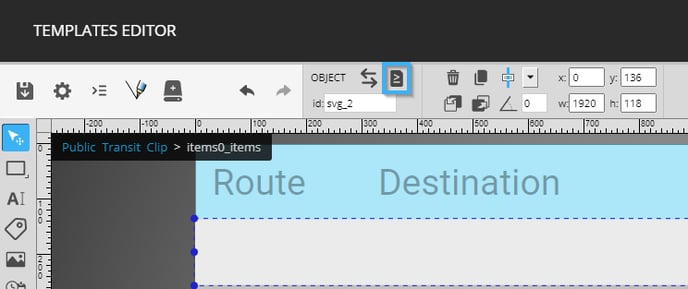
- Now you need to edit the information included inside the list, to do so you must first double click on the list
- Once you are in the configuration view for the list, you will notice that the rest of the template has been greyed out and you have a new set of layers. During the application of tools (texts, shapes, etc.) in the list, you must only configure the visual for the first line, the list will reproduce the configurations on the following lines
- In the same way you did it earlier, you need to create several layers to separate the objects that you will add to the list. You can begin by creating the background for the entries in the list
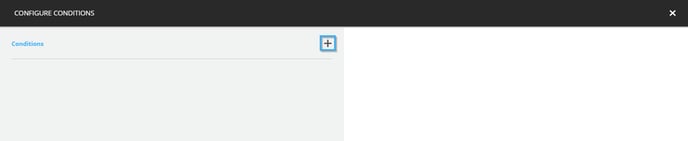
- To create an alternating background colour from line to line in the list, you can click on the display conditions button while having selected the shape
- Click the "+" to add a condition
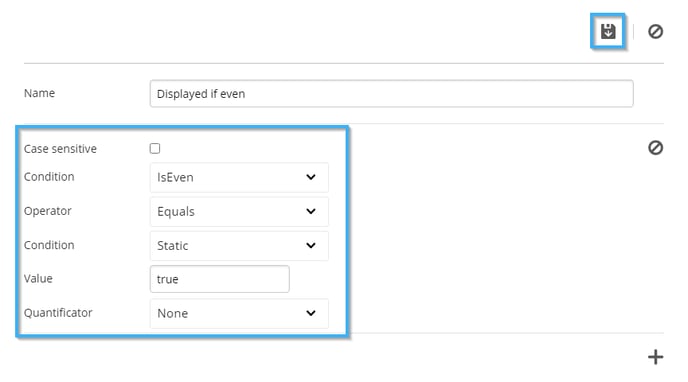
- In the condition's configurations on the right-hand side of the window apply the following configuraitons.
- Condition (drop-down list) : IsEven
- Operateur (drop-down list) : Equals
- Condition (drop-down list) : Static
- Valeur (text) : true
- Quantificator (drop-down list) : None
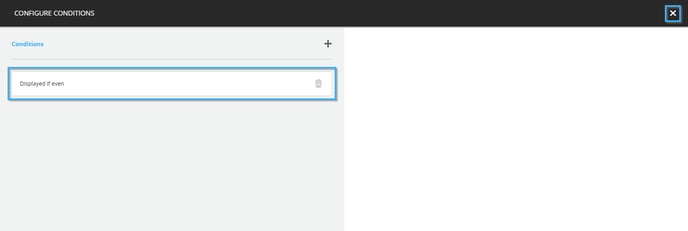
- Once you the condition appears in the list on the left-hand side of the window, you can close it
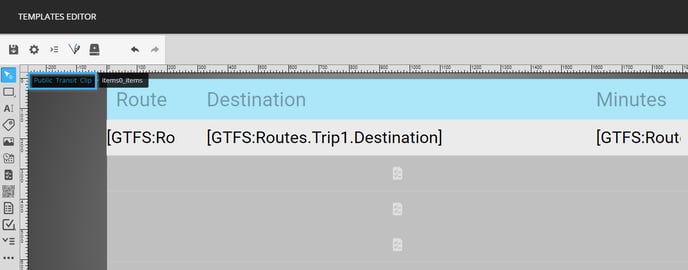
- You must now place a text tool for each type of information included in the header, the following is an example of the minimum amount of information you can include in the template.
- Route (train or bus number)
- Destination (the train or bus' destination)
- Minutes (before the arrival or departure of the train or bus)
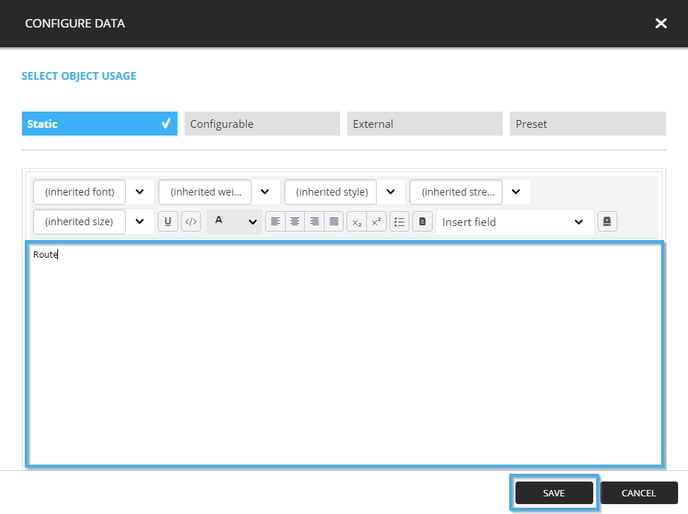
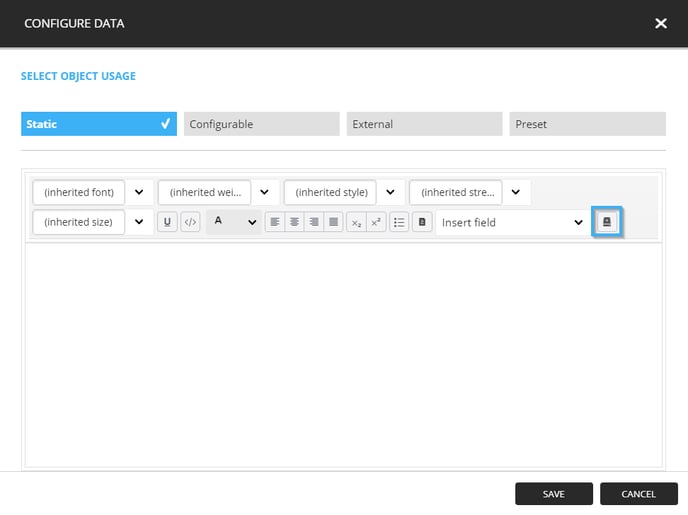
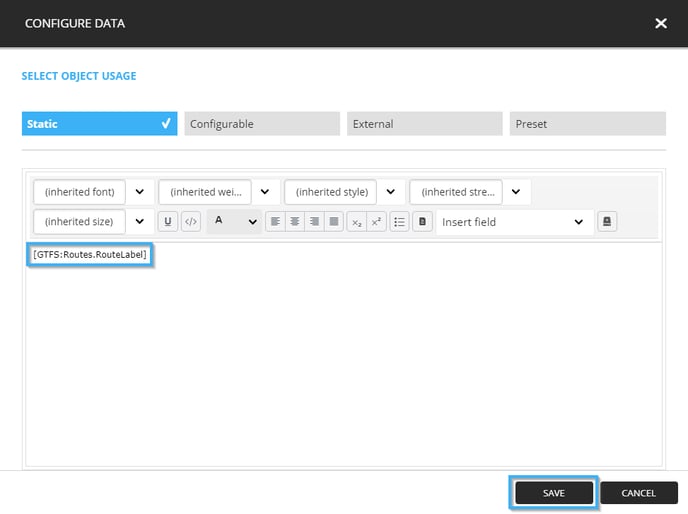
- To configure the data that will be displayed in each text tool, double click the tool to open the text configuration
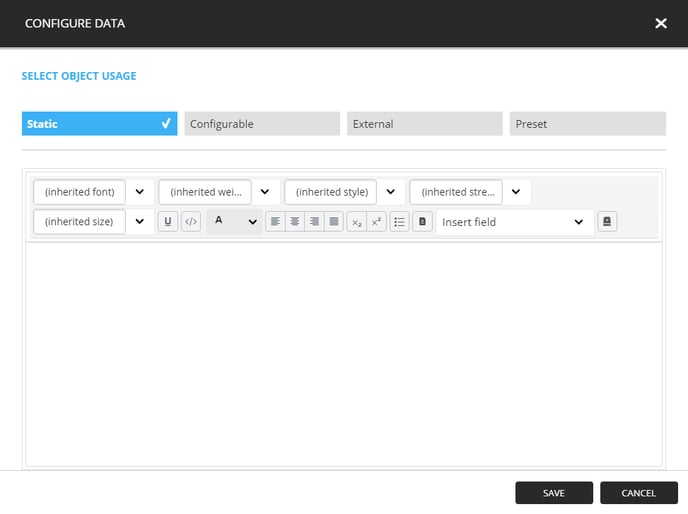
- Instead of inserting a static value as you did for the header, click the external data button
- Use the drop-down list to select the data source.
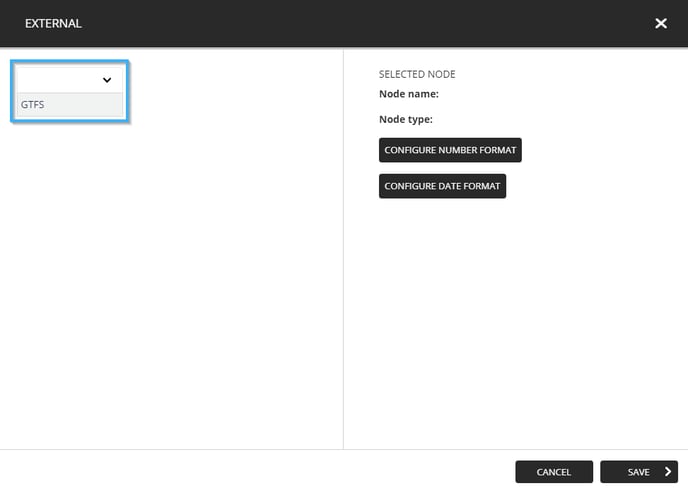
- Navigate the data source to view the information under the main data node (Routes in this case). The following are the fields that you must use for the three columns included in this example.
- TransportData -> Routes -> RouteLabel (bus number)
- TransportData -> Routes -> Trip1 -> Destination (bus' destination)
- TransportData -> Routes -> Trip1 -> TimeToDepart (time in minutes before the bus departs)
- TransportData -> Routes -> Trip2 -> TimeToDepart (time in minutes before the next bus departs)
- Once you have clicked the save button, your selection will now be present in the text configuration window. You can now click the "save" button to apply this configuration
- Complete this configuration for each of the text tools in your list, once this has been completed, click the button that is named after your template (Public Transit Clip) to return to the template's root
- Now you must save the template to apply the modifications you have made. After saving the template, it will be available to use in your displays.