| Available with: |
| Windows Player: Pro, Premium Web Player: Pro, Premium LG webOS Signage Player: Pro, Premium Samsung SMART Signage Platform (SSSP / Tizen) Player: Pro, Premium BrightSign Player: Pro, Premium Android Player: Pro, Premium Linux Player: Pro, Premium macOS Player (screensaver): Pro, Premium |
Note: It is recommended that you produce your urgent messages in advance on the ITESLIVE Studio. For instance, you could create an urgent message including directions to the nearest emergency exit. When an emergency actually occurs, it will be difficult to produce a message specific to the ongoing situation in time.
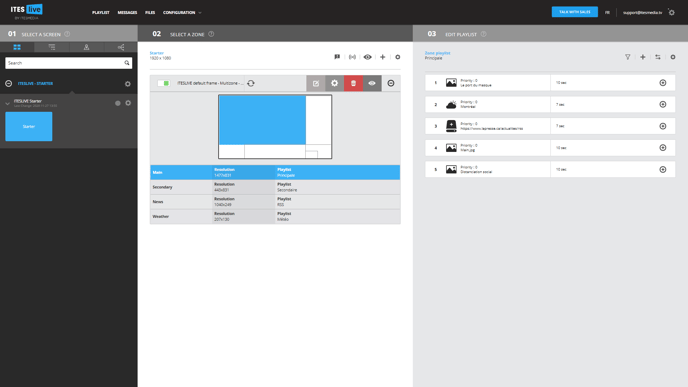
1. Select the player in which you wish to add an urgent message
2. Click the urgent message icon
Above the illustration representing your screen frame, there is an icon that looks like a text bubble containing an exclamation mark. This icon will allow you to access the urgent message management, once you click on it you will gain access to the urgent messages for the selected player.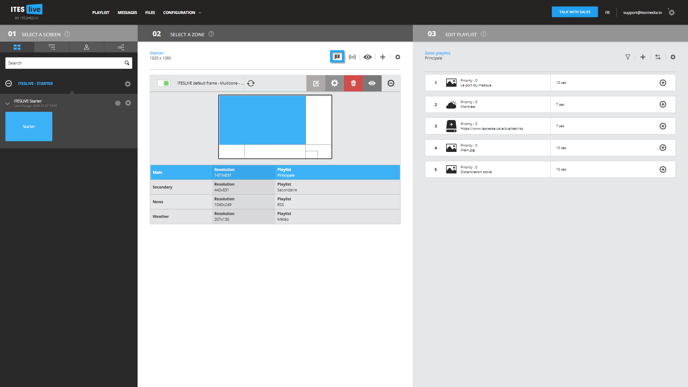
3. Create a new urgent message
The urgent message management window is divided in two sections, the left-hand side of the window contains a list of existing messages and the right-hand side contains the fields included in the selected urgent message. In this example, there are no existing urgent messages and the list on the left-hand side is empty.
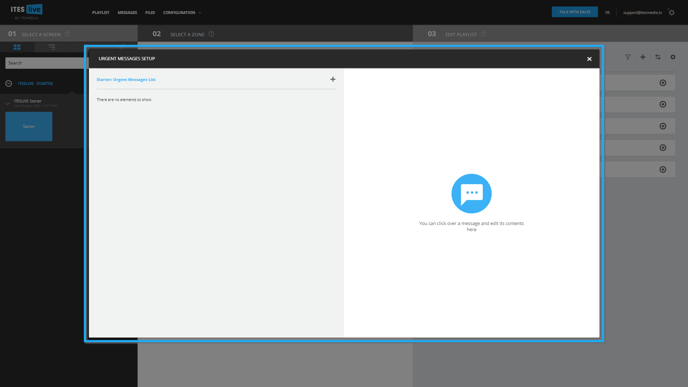
To create a new urgent message, click on the « + » above the existing message list. 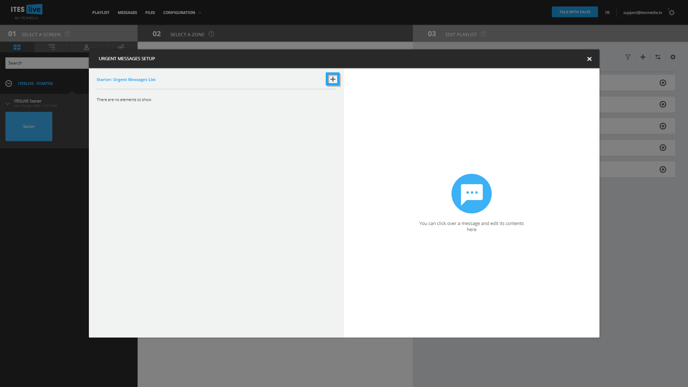
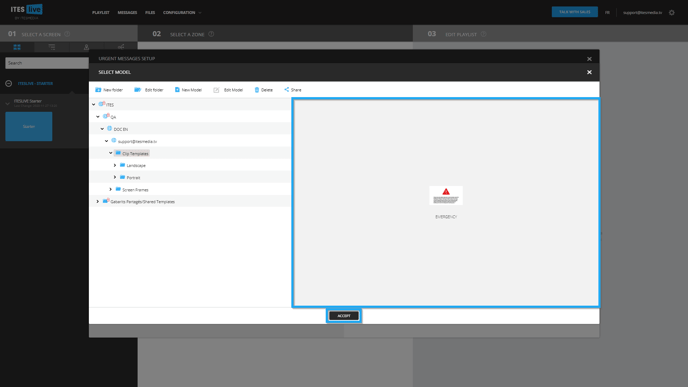
4. Select an urgent message template
5. Write your urgent message
Once you have selected an urgent message template, the right-hand side of the urgent message management window will display the fields included in the selected template. You must now enter the required information for your urgent message (text, images, etc.) In the top right-hand corner of the window, there is an icon that represents an eye, clicking on this icon will allow you to see a preview of the communication you are currently writing.
Before saving, there is a possibility to make it so that the message you are writing will be the default urgent message for the selected player. The checkbox used to activate this configuration is located directly above the message's name. 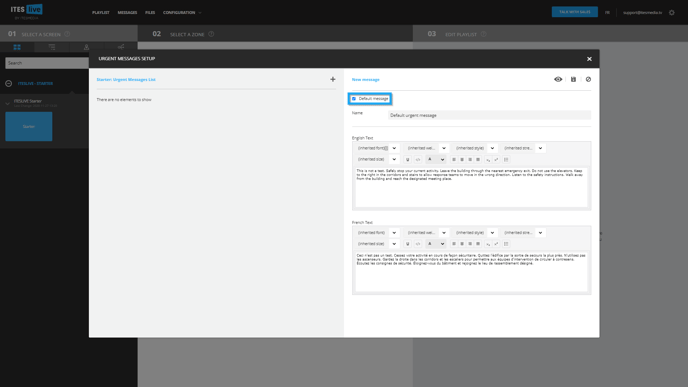
Once you have finished entering your urgent message, you can click on the icon that represents a floppy disk in the top right-hand corner to save your message.
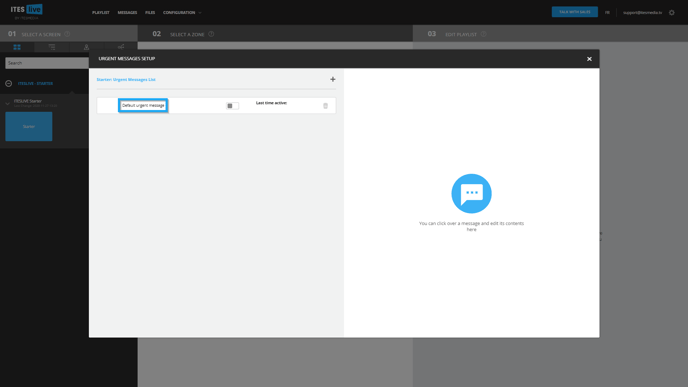
Once the urgent messages has been saved, it will appear in the liste in the left-hand side of the window. The name of the urgent message entered in the above steps is displayed to the left of each entry in the list.
6. Activate the urgent message
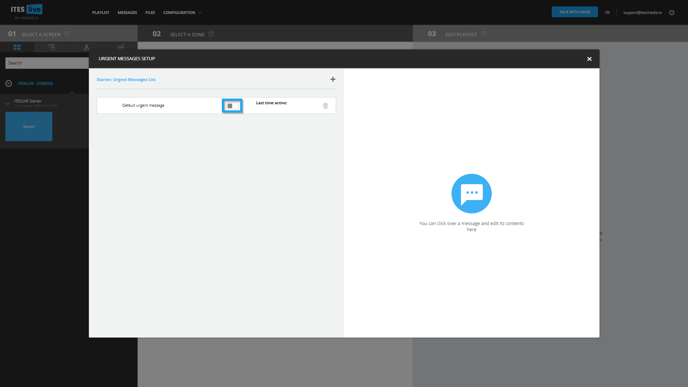
Activate the urgent message on each screen individually.
Furthermore, in the event that you wish to activate the urgent message immediately, you can click on the switch located to the right of the urgent message's name in the list.
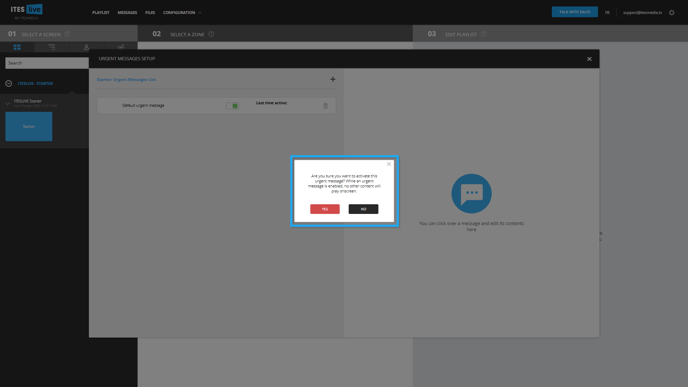
When you activate the message, the Studio will ask you to confirm that you wish to proceed with the activation. This allows us to ensure that the urgent message is not broadcasted by mistake.
Important: It is important to note that it is strongly recommended that you test your urgent message using the aforementioned preview. If the urgent message is activated, it will be sent almost instantaneously to the player and will replace the display. The urgent message will only stop displaying if it is disabled.
Activate the emergency message across the entire network.
Click on the gear icon where your account group is located, then select "Activate urgent Message".

A window will then appear, and you must click "Yes" for the emergency message to be displayed on all screens associated with your group account.
