| Available with: |
| BrightSign Player: Starter, Pro, Premium |
Important
Write down the serial number
BSN Cloud account
Note: It is important to allow the domains and ports in your firewall to ensure proper display functionality.
Here is the list of domains and ports:
https://support.itesmedia.tv/domains-and-ports-to-authorize-in-your-firewall
-
Associating your BrightSign device to the display it will broadcast on the ITESlive Studio
- Setup creation
Associating your BrightSign device to the display it will broadcast on the ITESlive Studio
Once connected to the ITESlive Studio, navigate to the desired player.
After having selected the player, click on the broadcasting button under the "02 Select a zone" section.
Once in the broadcasting window, click on the "Register serial" button.
In the "Register serial" window, click in the text box and enter your BrightSign device's serial number. Click on the "Save" button once you haved entered the serial number.
Note: This configuration ensures that when the player bearing the serial number that has been registered connects to our server, it will automatically obtain the information for the player its serial number was Registered to.
Important: The serial number will stay visible up until the player is activated. This configuration will only succeed in activating the player once. If you need to reset the device to the factory defaults or need to change its Micro SD card, you will need to register its serial number on the ITESlive Studio once more.
Login on BSN.cloud
Important: You must have created a BSN account to complete the following steps and complete the device's configurations.
https://bsn.cloud/
Open the following URL in your browser.
https://bsn.cloud/
Once on the BSN.cloud page, click on the button that allows you to continue to BSN.cloud in your browser.

If you are using Microsoft Edge, you will see the following message, never fear, BSN.cloud works on any modern web browser. Which includes Microsoft Edge. In this message, click on "Continue".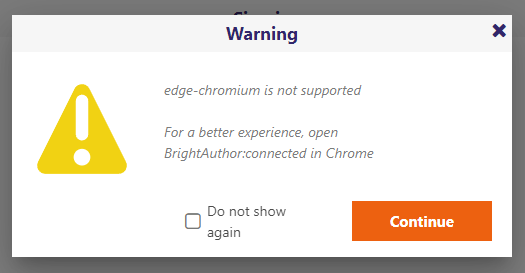
Enter your BSN.cloud account's email and password and click on "Sign In".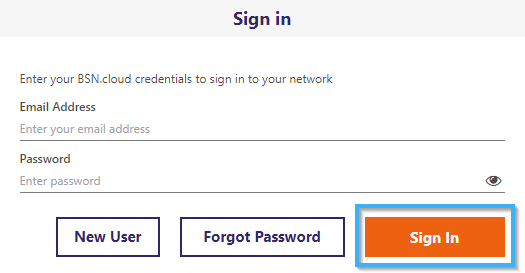
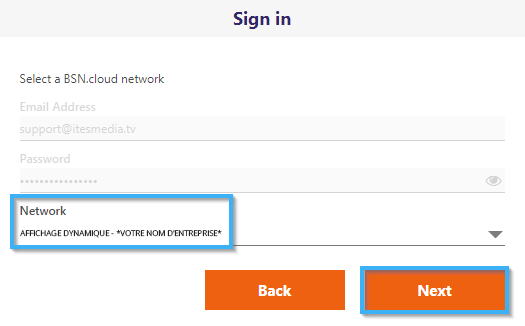
Once your email and password have been validated, select the network that will contain the player that you wish to configure and click on the "Next" button.
Note: It is simply important to attribute a name representative of your signage network.
Ie: Digital Signage - *Insert company name here*
Setup creation
Once on the BSN.cloud home page, click on the icon that represents a downward facing arrow next to the "Admin" header.
In the list that appears, click on the entry named "Setup Library".
Once on the "Setup Library" page, click on the "New player setup" button on the right-hand side of the page.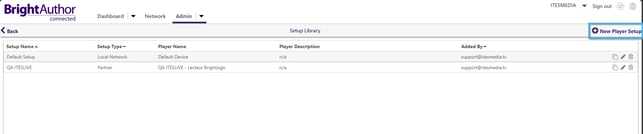

Complete the following sections of the "setup" configuration, all of the following configurations for the "setup" are available on the left-hand side of the "setup" creation window.
- Setup name: The name that will represent the setup you are creating.
- Player name: A name that will be attributed to the player once it is configured using the setup.
- Player description: A description that will be attributed to the player configured using the setup.

- Customization
- Use name only: You must ensure that this configuration is disabled, if it remains active and you provision multiple players with the same setup, it will be impossible to identify them because they will all have the exact same name.
- Append Player ID: You must ensure that this configuration is active, this configuration will add the player's id to the name and will ensure that each device has a unique name.
- Time zone: Click on the "Time zone" drop-down list and select your time zone.
- Idle Screen Color: Select the color that will be applied on screen if the device is not displaying any content.
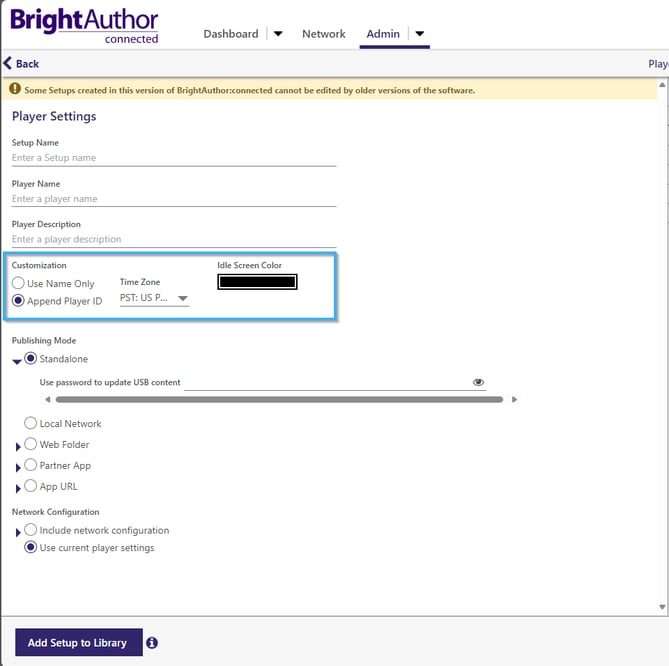
- Publishing mode: Ensure that the "Partner App" publication mode is selected and enter click on the "Select a Partner App" button.

- In the menu that opens, click on the "View all" button.

- In the partner app list, click on the ITESMEDIA button.

- Network Configurations: Ensure that the "Use current player settings" is active to maintain the current network configurations on your device.

Then, on the right-hand side of the window, click on the "BrightsignOS Update" button.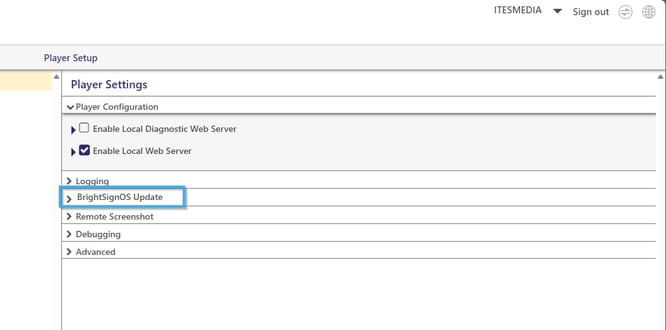
Select the series that contains your Brightsign device's model number and activate the "Lastest released OS" option.
Once you have completed these configurations, click on the "Add Setup to Library" in the bottom left-hand corner of the window.
Once you can see the name of the setup you have just created in the list, the creation process has been completed.
Adding your player to your BSN.cloud account
Cick on the "Admin" drop-down list and select the entry named "Provision".
Click on the "Add player" button on the right-hand side of the window.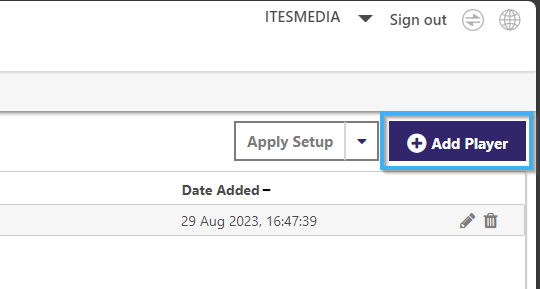
Complete the following information and click on the "Add player" button to add the desired player.
- Player Serial Number: The serial for the player you wish to add to your BSN.cloud account.
- Player name: The name you wish to give the player, this name will be used to identify the player on BSN.cloud.
- Player description: A description you wish to give the player, this is optional and will represent the player on your BSN.cloud account.
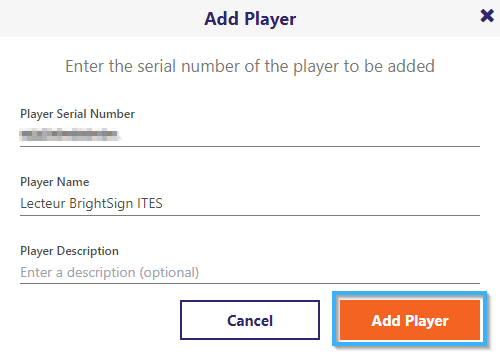
Once this is done, you will see the new player appear in the provisioning window's player list.
Provision your BrigthSign player
Click on the check box to the left of the desired player in the player list on the provisioning page.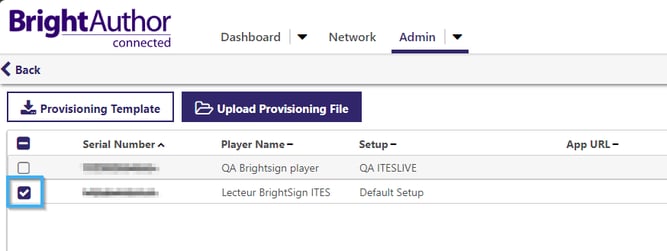
Then click on the text of the "Apply setup" button on the right-hand side of the window. 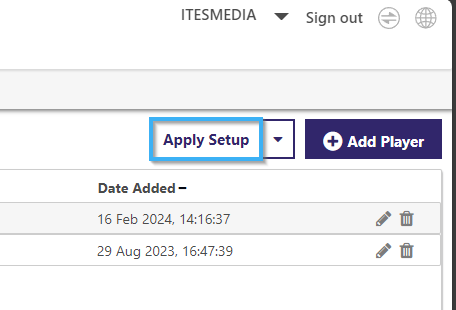
Client on the drop-down list named "setup" and select the setup that contains the configurations for the ITESlive software. Then, click the "Apply setup" button.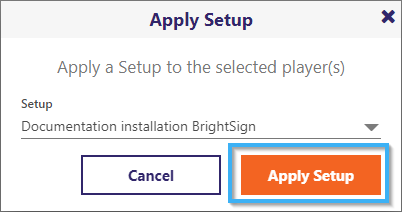
You can now install your BrightSign player at the location where it will be broadcasting its display, and it will automatically configure itself once the device connects to the ITESlive system.
Note: The BrightSign device may restart multiple times during its initial configuration, this is normal.
QR code activation
If you were unable to to activate your player using its serial number. Follow the procedure to activate your player using a QR code.