| available with: |
| Windows Player: Pro, Premium Web Player: Pro, Premium LG webOS Signage Player: Pro, Premium Samsung SMART Signage Platform (SSSP / Tizen) Player: Pro, Premium Brightsign Player: Pro, Premium Android Player: Pro, Premium Linux Player: Pro, Premium macOS Player: Pro, Premium |
1. What is the advanced distribution module
The advanced distribution module is a tool that facilitates content sharing from one display to another in your signage network. There are two distribution methods that are offered by the distribution module, it allows you to both share a clip or share a playlist that you have already created in a display.
2. Sharing a clip directly in a playlist
The first of the two distribution methods is accessible directly within one of your player's playlists. In order to use the module, navigate to the playlist within which the clip you wish to distribute is located.
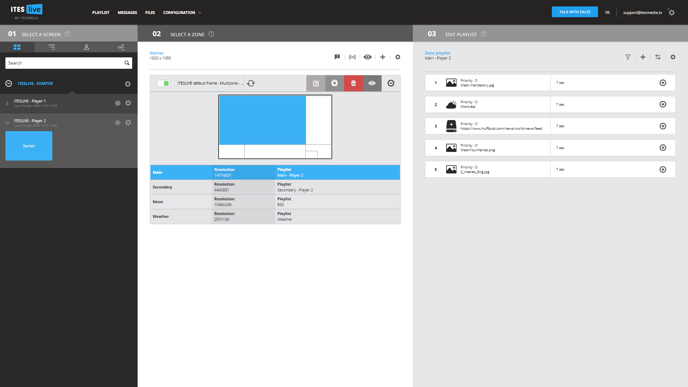
Once in the playlist, click on the « + » icon to the right of the clip.

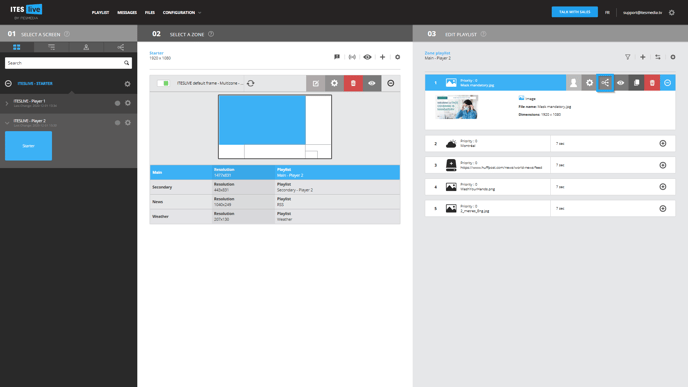
To use the advanced distribution module to share the clip, click on the distribution module's icon. It is the third starting from the left in the list of icons that appear once the clip's details have been expanded.
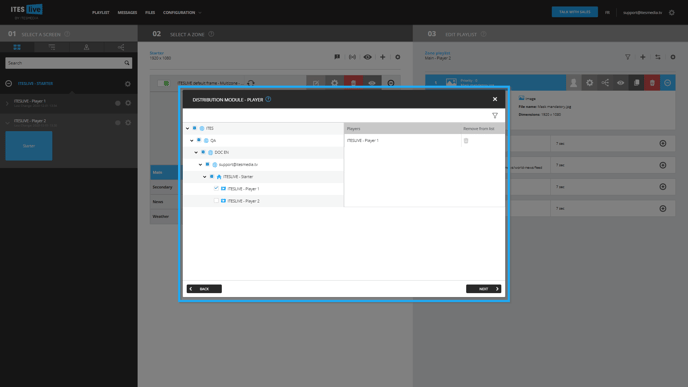
Once you have clicked on the distribution module's icon, a new window will appear. In this window, you can select which part of your network you wish to send a copy of the selected clip to.
Note: In the example used for this article, the clip that we are sharing is located in the main zone's playlist for in the player named « ITESLIVE Player 2 ». Thus, we will select the player named « ITESLIVE Lecteur 1 » as the distribution target.
Once you have completed your selection, click on the « Next » button.
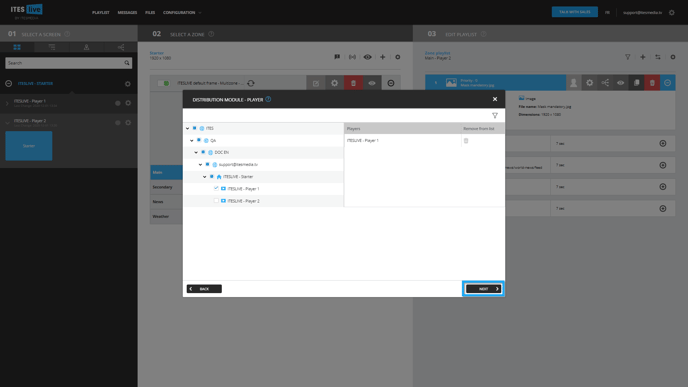
Once the distribution has been completed, the window will close and you will be back in the playlist you originally selected. If you look at the correspondent playlist in the destination player, you will see that the clip you distributed is the last clip in the playlist.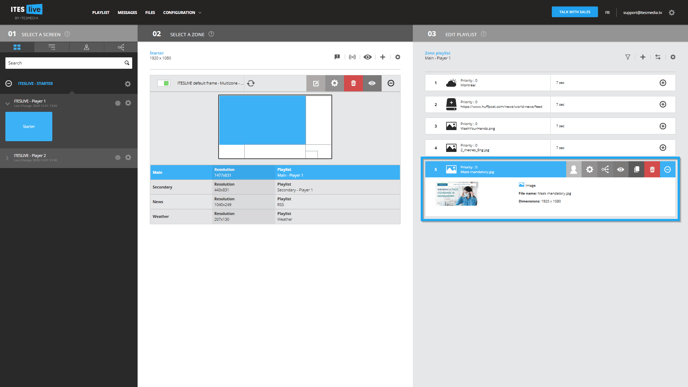
Important: It is important to note that the copy of the clip produced by the distribution module is identical to the original clip. This copy has the same content and the same clip settings as the original (play length, start and end dates, recurrences, etc.).
3. Share your content from the « Select a screen » section of the ITESLIVE Studio
Directly under the « 01 Select a screen » header, there are four icons that give you access to the different navigation views available in the ITESLIVE Studio. The fourth icon in the list opens the distribution module, click on this icon. 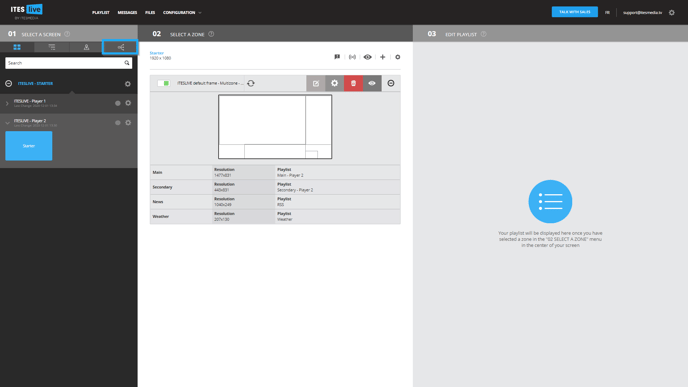
The distribution module will offer you two choices, you can distribute either a clip or a playlist.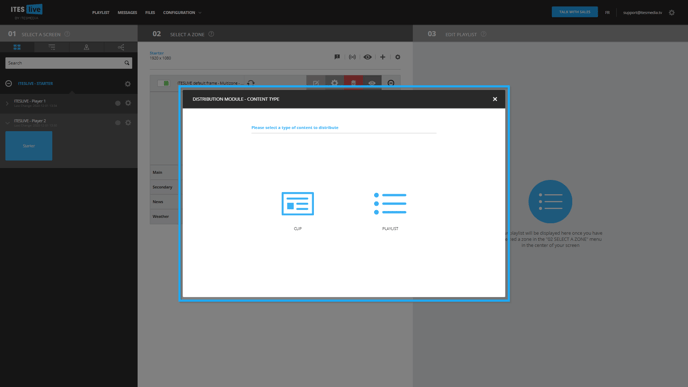
Distributing a clip
Click on the button named « Clip » to proceed by distributing a clip.

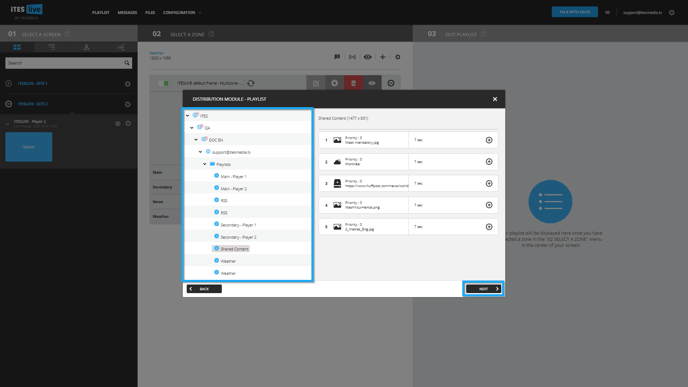
The first step of the distribution is to select the playlists whose clips you wish to explore. If you know specifically within which playlist, the clip you wish to share can be found, you can select it by clicking the checkbox to its left. Otherwise you can select several playlists in this way.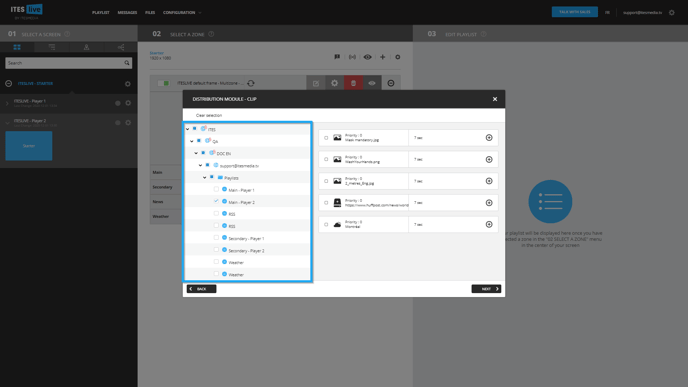
Once you have completed your selection, you must specify which clip(s) you wish to distribute. To select a clip, you must click the checkbox to the left of each clip you wish to share in the right-hand side of the window.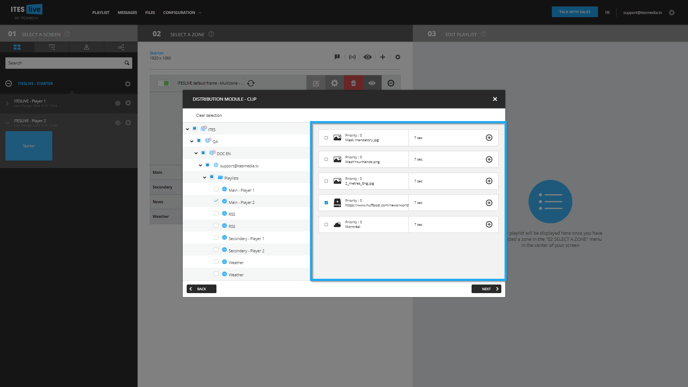
Important: The content that will be distributed must have the same resolution as the destination playlists. This is a preventive measure that ensures that, for instance, a clip from the main zone is not sent accidentally to the secondary zone. This validation confirms that there is at least one zone that has a resolution (in pixels) that matches the selected clips. The clips that are not compatible with any of the playlists in the distribution target(s) will not be distributed.
Once you have completed your selection, click the « Next » button.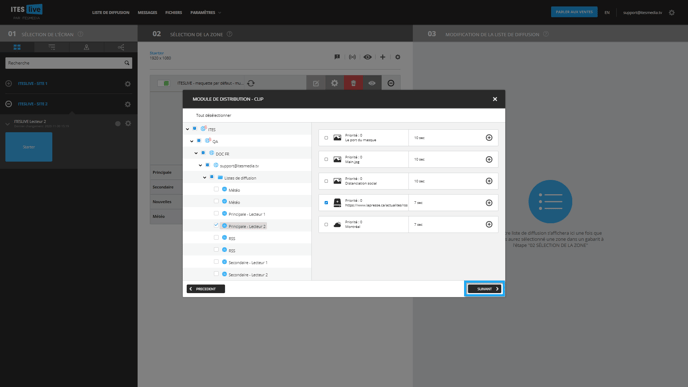
You must now select the players within which you wish to distribute the selected clip or clips. You must click on the checkbox to the left of a player to select it, you can also click the checkbox to the left of a site to select all players beneath it. Finally, you can click the checkbox to the left of an account group to select all of the players in all of the sites below the account group. 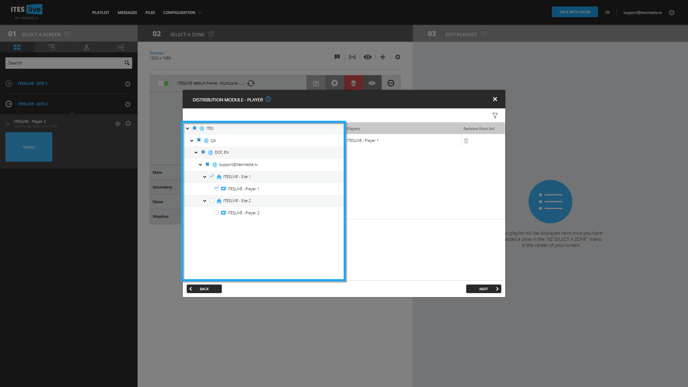
Once you have completed your selection, click on the « Next » button.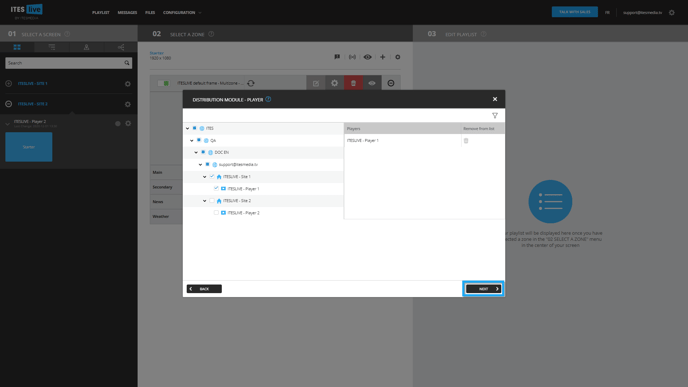
Important: Should there be a resolution conflict for a selected clip, a warning containing the details of the clips that will be ignored will be displayed. If all the clips have the correct resolution, the window will simply close.
Once the windows have closed, you can look in the playlist of one of your target players and you will find the clip or clips at the end of the appropriate playlist.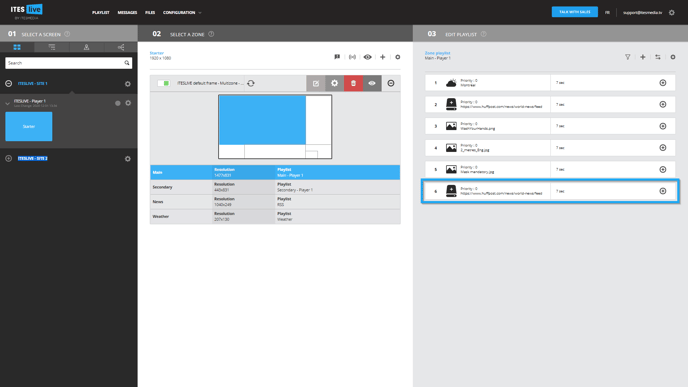
Distributing a playlist
Note: The distribution module will send the selected playlist in the form of a playlist clip to the selected players. As it is specified above, it is important to ensure that you playlist has the same resolution as the destination playlist you wish to send it to. Should the playlist have a different resolution than the zones in the selected player, it will not be distributed.
Click on the button named « Playlist » to proceed by distributing a Playlist.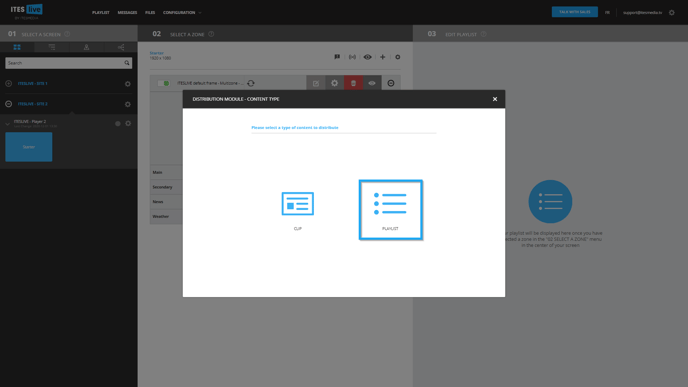
You must now select the playlist that will be distributed. Click on the playlist you wish to share in the list on the left-hand side of the window and click the « Next » button once you have completed your selection.
You must now select the players within which you wish to distribute the selected clip or clips. You must click on the checkbox to the left of a player to select it, you can also click the checkbox to the left of a site to select all players beneath it. Finally, you can click the checkbox to the left of an account group to select all of the players in all of the sites below the account group.
Once you have completed your selection, click on the « Next » button.
Important: Should there be a resolution conflict for the selected playlist, a warning indicating that the playlist will be ignored will be displayed. If the playlist has the correct resolution, the window will simply close.
Once the distribution window has closed, you can look at the appropriate playlist in one of the target players and you will find the playlist clip at the end of the playlist.