| available with: |
| Windows Player : Starter, Pro, Premium Web Player : Starter, Pro, Premium LG webOS Signage Player : Starter, Pro, Premium Samsung SMART Signage Platform (SSSP / Tizen) Player : Starter, Pro, Premium BrightSign Player: Starter, Pro, Premium Android Player: Starter, Pro, Premium Linux Player: Starter, Pro, Premium macOS Player: Starter, Pro, Premium |
The association between your Active Directory and the user accounts on the ITESLIVE Studio is completed in several steps, there are configurations that must be applied to your server and some that are completed on the ITESLIVE Studio.
Important: Your network administrator will need to have access to the ITESLIVE Studio to complete part of the required configurations. He will require authorization to create a login provider on the ITESLIVE Studio.
1. Server configurations
Important: The installation and configuration of the server's ADFS must have already been completed on the server you wish to associate to the ITESLIVE Studio. It is a requirement for the configurations that will be generated on the ITESLIVE Studio.
When you have access to the server, access the ADFS management.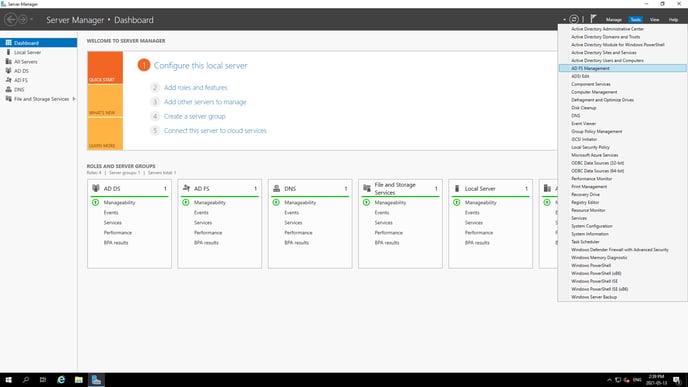
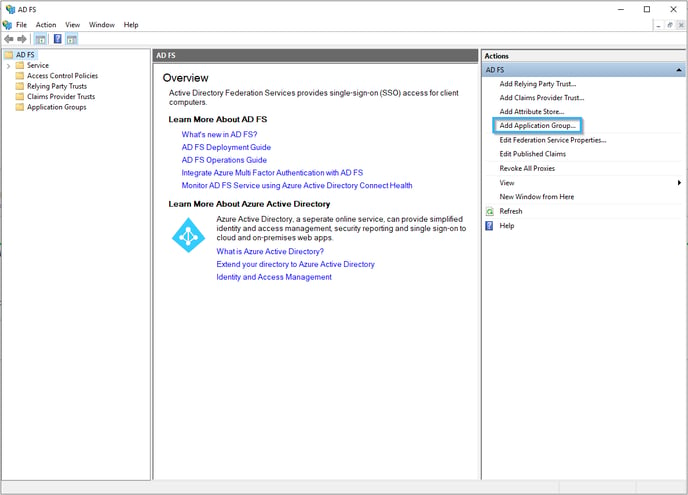
Select the Add Application Group action in the ADFS management.
In the Add Application Group Wizard, you can enter a name and description for the group. In the template section of the wizard, select the Web browser accessing a web application entry.
Important: You must take note of the Client Identifier listed here because it will be required later.
Add the following URL as a Redirect URL and click the Next button.
https://studio.iteslive.tv/api/SSO/LoginSSO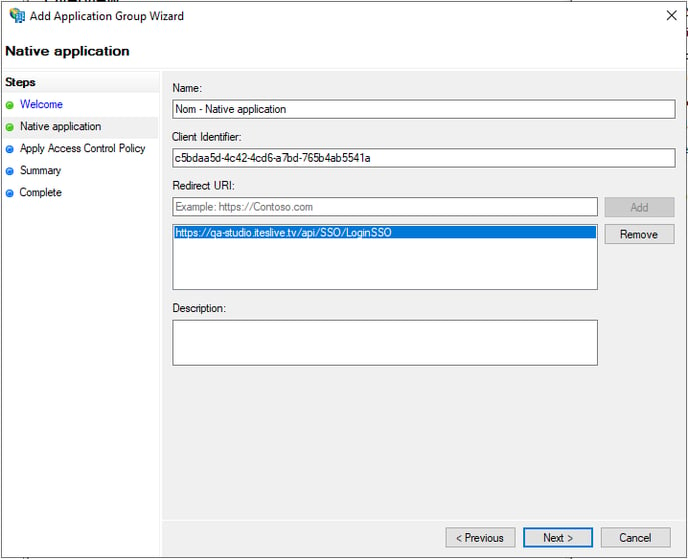
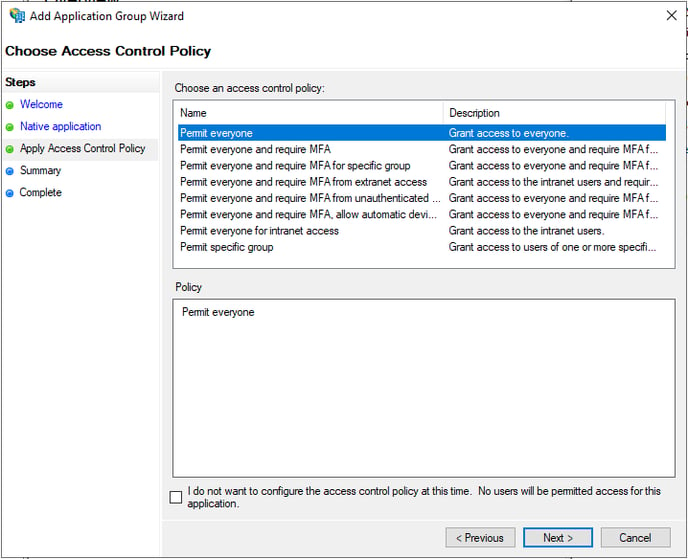
In the "Choose an access control policy" page select the "Permit everyone" entry in the list and click the Next button.
Note: For the current example, we will be using the « Permit everyone » configuration, you can adjust this setting according to your needs. Simply keep in mind that this configuration determines which users will be able to use this type of connection to the ITESLIVE Studio.
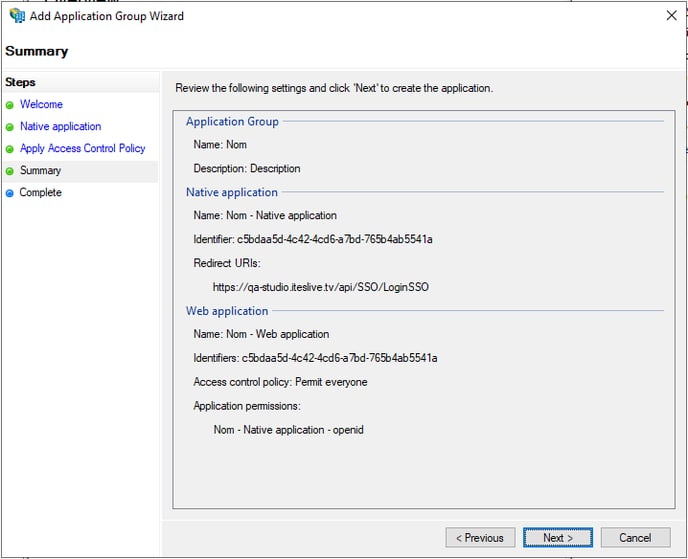
The last page gives a summary of the configurations applied thus far, you can click the Next button and simply close the confirmation page that follows.
Once you are back in the ADFS management, right-click the application group you created and select properties.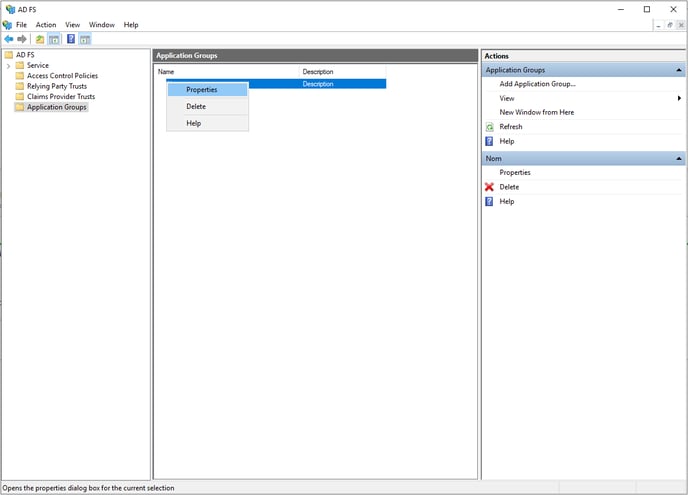
In the properties window, select the web application and click the Edit button.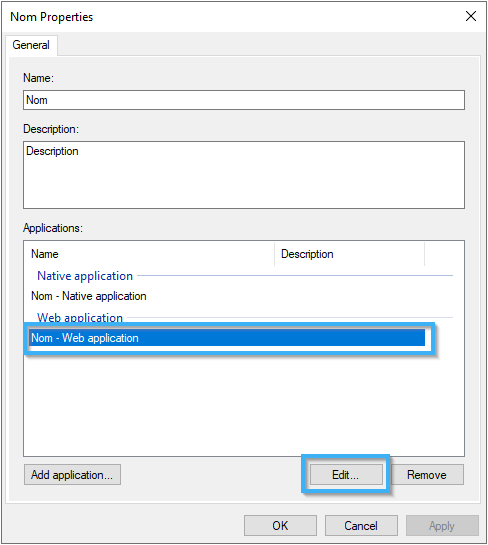
Select the "Client Permissions" tab and ensure that the "openid" and "email" checkboxes are active, if it is not the case activate them and apply your modifications.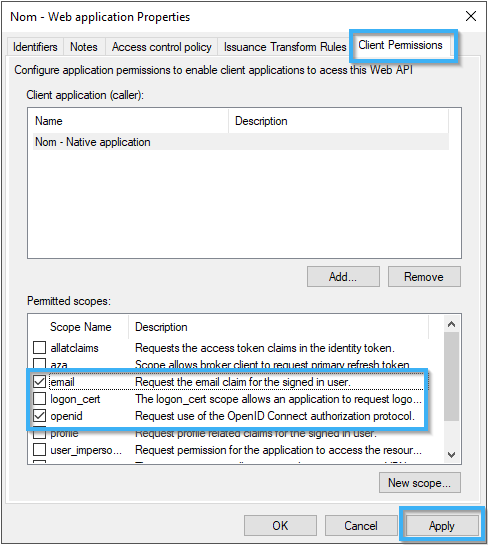
2. ITESLIVE Studio configurations
Important: The user that will complete the following steps will need to have access to creating a login provider in the ITESLIVE Studio.
Once logged into the ITESLIVE Studio, click the configuration tab and select the login provider management.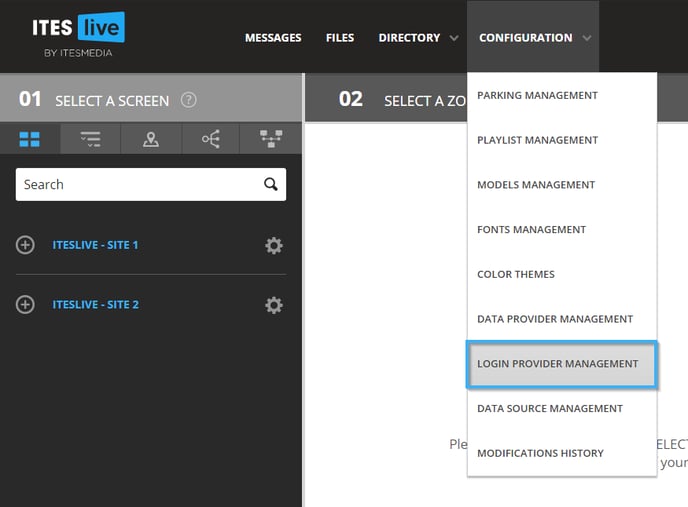
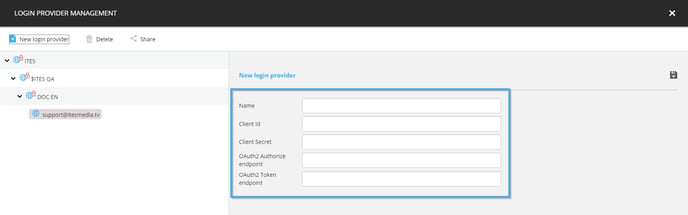
Select the account group in which you wish to add a login provider. If you want to apply this change for your entire organization, you can simply select the account group that contains your entire display network. Once you have selected the account group, click the "New login provider" button. 
The next step is to complete the following fields.
- Name:The name that will identify this connection method on the Studio.
- Client Id: The Client ID of the application that will be used.
Note: The Client ID is the one you noted earlier on in the process.
- Client Secret: This field is not required for Active Directory login providers.
- OAuth2 URL Authorize: This information must be taken from your ADFS installation.
- OAuth2 URL Token: This information must be taken from your ADFS installation.
Once you entered the required information to create a new login provider, click the icon that represents a floppy disk to save the login provider.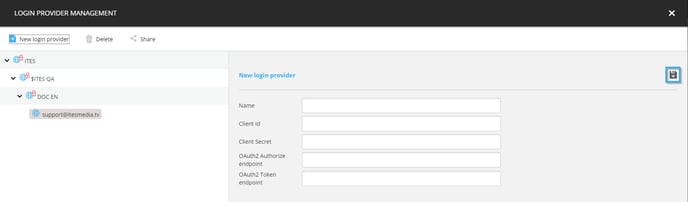
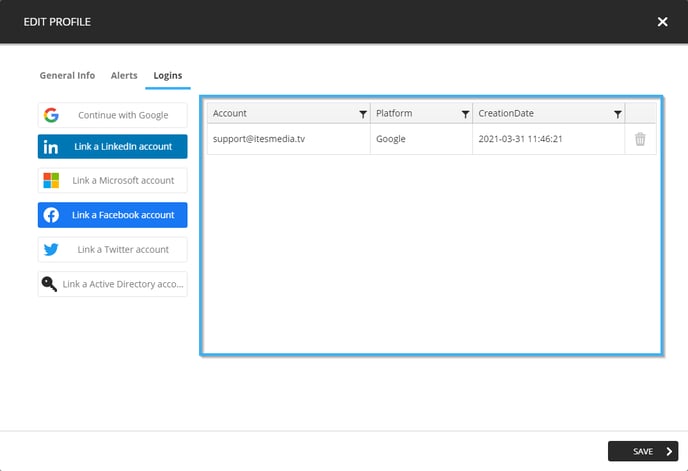
3. Associating an ITESLIVE user with your Active Directory
Following the creation of the login provider, users will be able to connect their Active Directory account in their user preferences. A new button is displayed with an icon representing a key will be displayed.
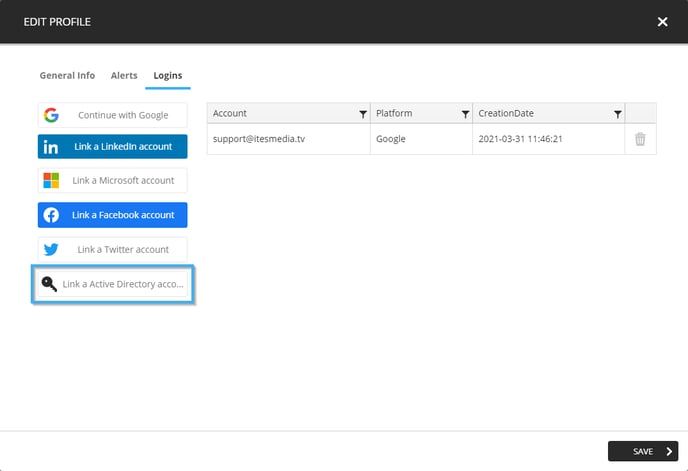
The ITESLIVE Studio will redirect the user to an SSO connection page, the user must successfully connect to their user on the Active Directory the association will be displayed in the alternate login list once this has been completed.