File folder management
How to create folders and share content with other users.
| AVAILABLE WITH: |
| Lecteur Windows: Starter, Pro, Premium |
| Lecteur Web: Starter, Pro, Premium LG webOS Signage Player: Starter, Pro, Premium Samsung SMART Signage Platform (SSSP / Tizen) Player: Starter, Pro, Premium Brightsign Player: Starter, Pro, Premium Android Player: Starter, Pro, Premium Linux Player: Starter, Pro, Premium macOS Player: Starter, Pro, Premium |
There are several types of content, and several types of folders, in ITESLIVE:
- Media (images and videos)
- Message templates
- Screen templates (zones)
- Playlists
- ...
The folder for each type of content is set up in the same way. For the purposes of this article, we will be looking at the media content (images and videos) folder to explain how all the folders work and explore the various features.
- Access the image and video folder
- Create a new folder
- Move a file to another folder
- Share a folder with other users and groups
How to access your folders
You can access your folders in one of two ways:
- Directly from a menu or submenu.
- When adding a new file to your playlist.
Directly from a menu or submenu
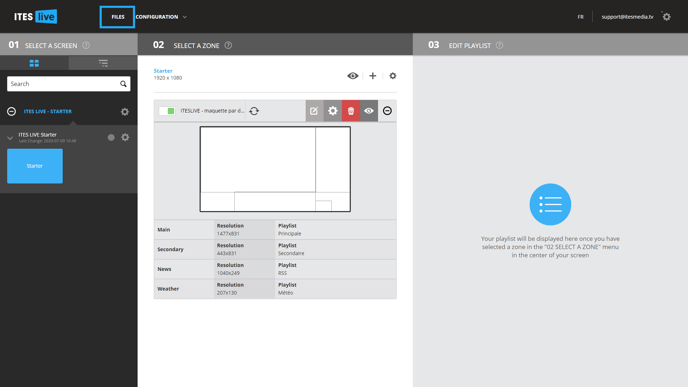
Start by clicking “Files.” Most of the other folders (playlists, templates, etc.) can be found in a submenu under the “Settings” menu.

When adding a new file to your playlist
- Select the zone where you wish to add an image or video.
- Click the “+” above the content of your playlist.
- Click “Media” (for this example).
Creating a folder
In the left-hand section, you can create a folder structure to keep your content organized. To create a new folder:
- Select the group where you wish to add a folder.
- Click “New Folder”
- Enter the name of your folder and save.
Tip: Establish a system for naming your folders and files. A good naming system will help you keep your account in order.
Note: The top item in the structure of your website (the globe icon) is a user group. These groups can be used to share or separate user content in different sites.
Moving a file from one folder to another
To move a file to another folder, use the “drag and drop” function:
- Select your file in the source folder.
- Drag the file to the destination folder.
- Drop it in the new folder.
Important: You cannot move more than one file at a time. It is also impossible to relocate one folder to another folder.
Sharing a folder with other users or groups
For larger digital display networks, you may want to use a more decentralized management approach. If so, there will likely be some types of folders that need to be shared throughout the network. To share a folder with other users or groups:
- Select the folder you wish to share.
- Click “Share.”
- Choose the user or group you wish to share this content with.
- Set the appropriate permissions.
- Save.
Important: It is not possible to share a single file within a folder with someone else. You need to give them access to the entire folder.
Note: Content will automatically be shared upward, i.e., with user groups that are higher in the site structure.
Include descendants
The “Include Descendants” button lets you share a folder with all user groups associated with the selected group, i.e., all those branching out from the selected item in the structure.
Permissions
There are several levels of sharing possible through the “Permissions” button. Each level can restrict what users can do in a shared folder .
- Read only: Lets users access content in the folder but does not let them add or delete anything.
- Read and write: Lets users access and add content in the folder , but not does not let them delete anything.
- Read, write and delete: Gives users full management permission so they can access, add and delete content in the folder .