How to add a shape to a screen frame
The steps to add a colored shape in a screen frame using the shape tool in the template editor.
| AVAILABLE WITH: |
| Windows player: Starter, Pro, Premium |
| Web player: Starter, Pro, Premium LG webOS Signage Player: Starter, Pro, Premium Samsung SMART Signage Platform (SSSP / Tizen) Player: Starter, Pro, Premium Brightsign Player: Starter, Pro, Premium Android Player: Starter, Pro, Premium Linux Player: Starter, Pro, Premium macOS Player: Starter, Pro, Premium |
To find out how to access the zone template editor, click here.
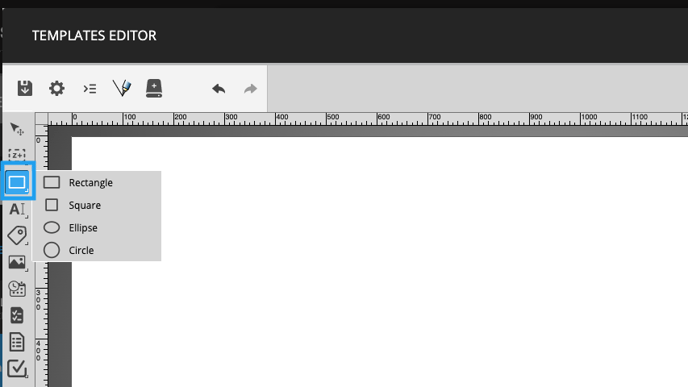
1. Select the shape tool
The shape tool can be found on the left-hand side of the zone template editor. To select the desired shape, click and hold down the left mouse button on the shape tool.
2. Draw the shape and determine its location
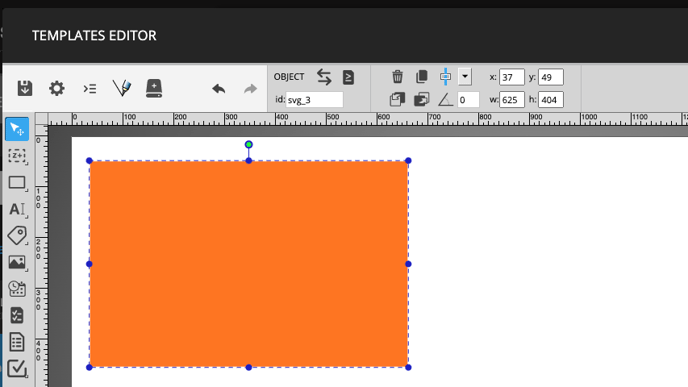
You can drag the shape to the desired location and increase or decrease its size, either with the mouse or manually if you want to be more precise.
3. Configure your shape
Once you have determined the location and size of the shape, you can change its colour and transparency.
Colour
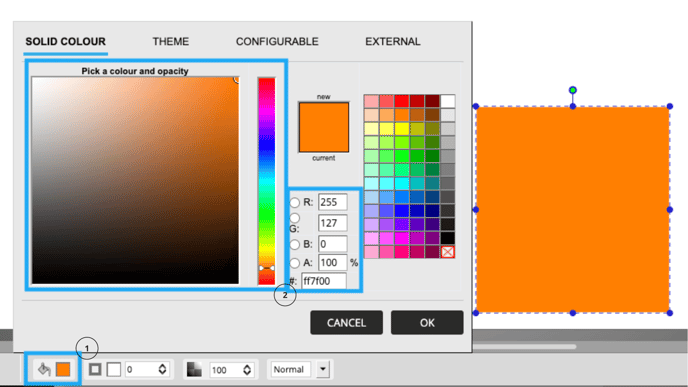
The colour editor can be found at the bottom left corner of the zone editor. You have two choices when picking a colour: you can define your preferred colour or use a preconfigured theme.
User-defined colour
You can use the palette provided or enter a colour code directly in the designated fields.
Colour theme (Pro and Premium versions)
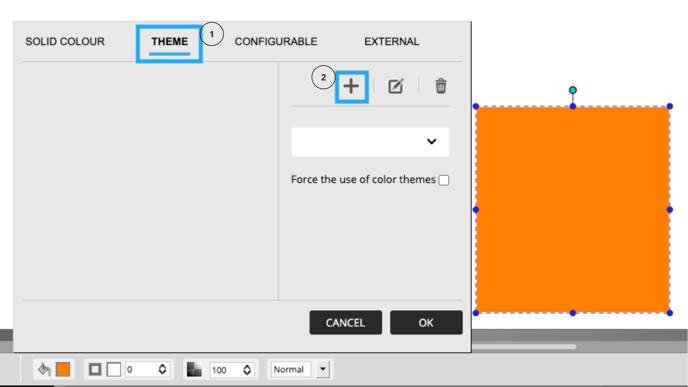
If you have entered colour themes, you can assign them to the shape in your template. Start by adding a theme to your shape by clicking the “+” in the left-hand section of the Theme tab.
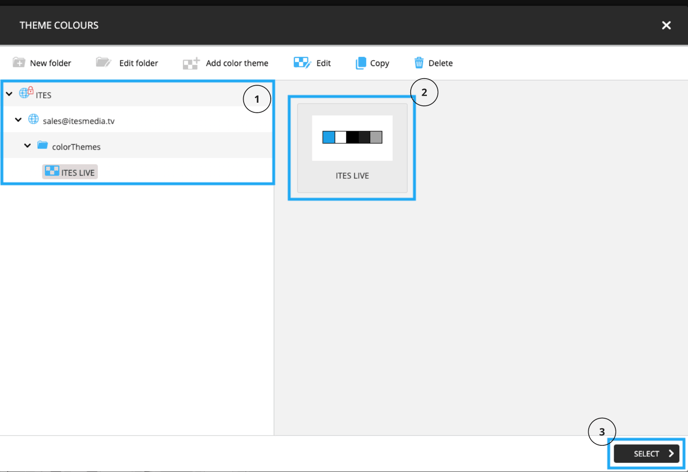
In the Themes window, go to the desired colour theme. Right-click the theme and click Select.
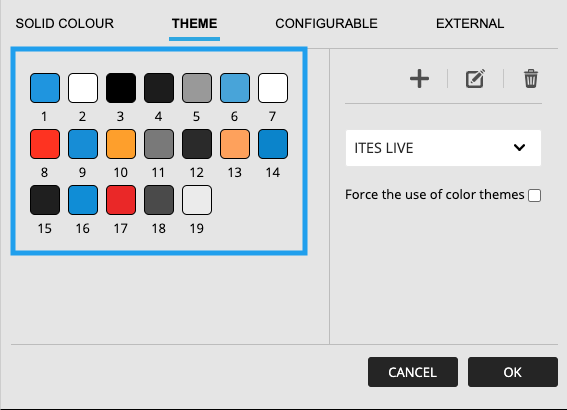
Once the theme has been selected, the colours in the theme will be displayed. You can now click one of the colours to apply it to the shape.
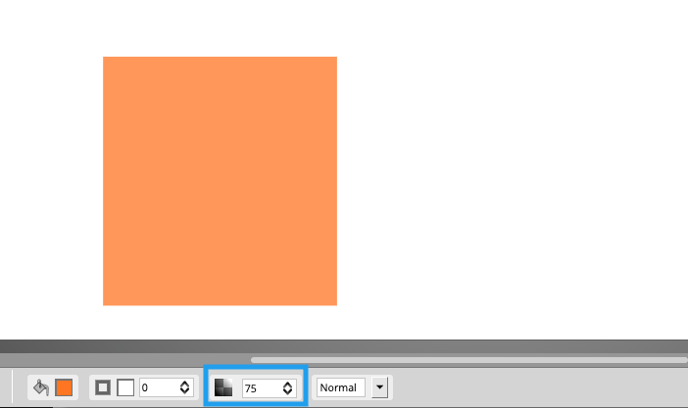
Transparency
The transparency field is located to the right of the colour editor.
