| available with: |
| Windows Player : Starter, Pro, Premium |
Important: The ITESLIVE screen saver is available exclusively for Windows versions supported by Microsoft, please see the following article for more information on the Windows life cycles as published by Microsoft.
https://docs.microsoft.com/en-us/lifecycle/faq/windows
To broadcast the information in your ITESLIVE display in your screen saver, you must first login to the ITESLIVE Studio. Once you are logged in, navigate to the player that contains the information that you want to display in your screen saver.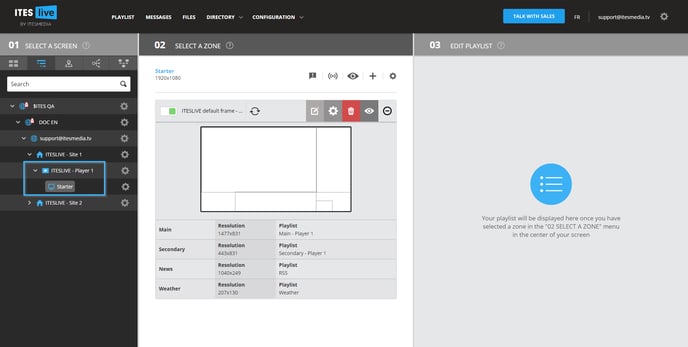
After having selected your player, click on the broadcasting icon.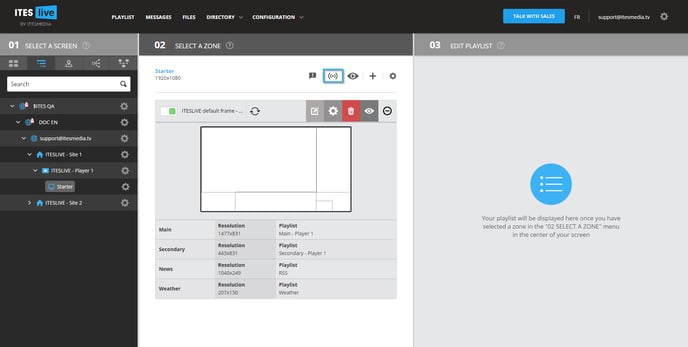
When the broadcasting window opens, click the URL that is displayed at the center of the window.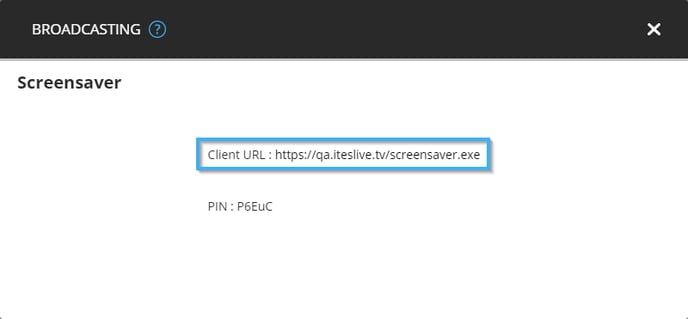
Note: In the even that the player type displayed in the broadcasting window in the ITESLIVE Studio does not represent the type of device you wish to use for your display. It is possible to change this configuration in the ITESLVIE Studio.
Your browser will begin downloading the ITESLIVE screen saver's installer, once the download has been completed it will be indicated in the bottom left corner of your browser. 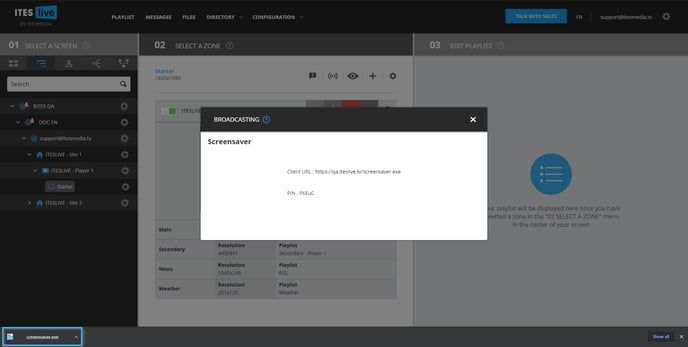
Important: The installer must be run as an administrator on the device on which you wish to install it. You may need to contact your IT in order to obtain the necessary permissions to complete this process.
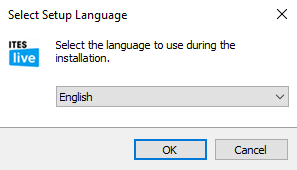
The first step will ask you to confirm the language that will be used for the installation of the ITESLIVE screen saver, select « English ».
On the welcome page, click the next button to proceed with the installation.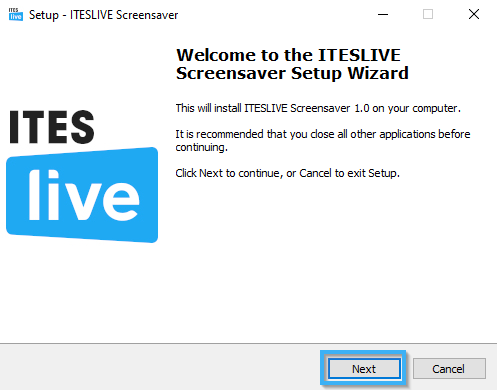
Note: It is strongly recommended that you read the terms and conditions for the ITESLIVE software before accepting them and continuing the installation. You can use the following URL to read these terms and conditions.
https://support.itesmedia.tv/en/terms-and-conditions
To continue the installation of the ITESLIVE screen saver, you must accept the terms and conditions of the ITESLIVE license agreement. You can use the URL above or click the URL directly in the installer to access the information. Once you have accepted the terms and conditions, you can click the « Next » button to continue.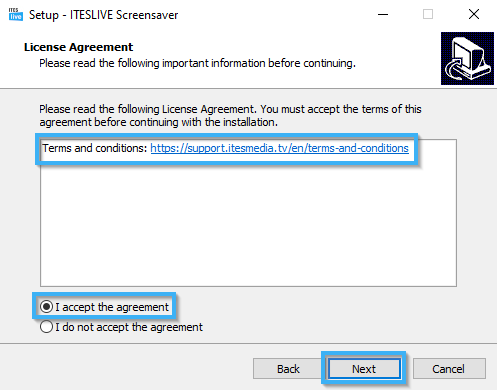
After having accepted the license agreement, you must specify the folder which will be the destination folder for the ITESLIVE screen saver. The destination folder is the location in which the ITESLIVE software will be installed, the default destination folder is the following.
C:\Users\ITES\AppData\Local\Programs\ITESLIVE Screensaver
That being said, you can use the « Browse... » button to select a different destination folder. Once the desired destination has been selected, click the « Next » button.

The next windows indicates that you are ready to proceed with the installation, click the « Install » button.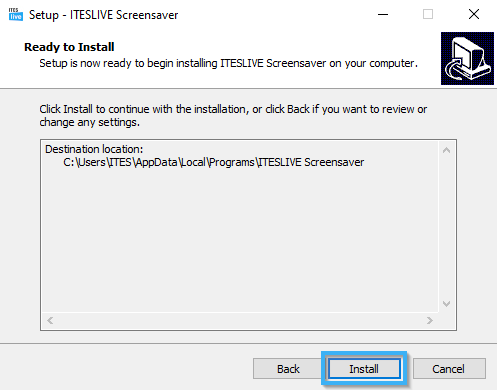
A progress bar will displayed during the installation.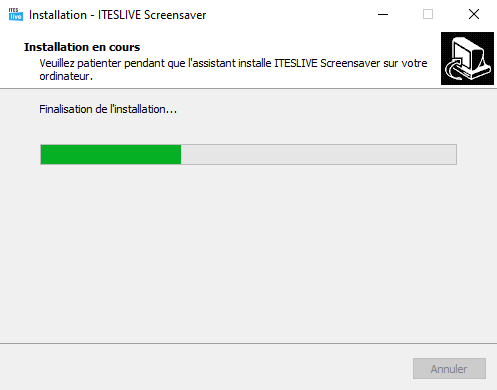
While the software completes the final installation steps, a window asking for a PIN will be displayed.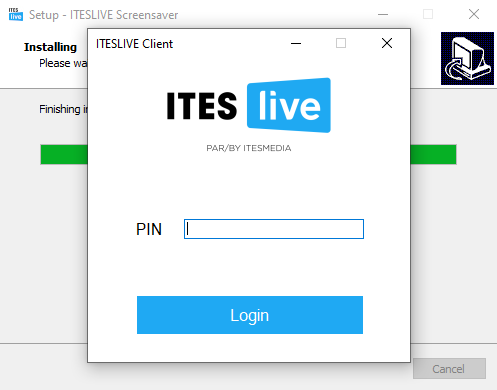
The PIN that is required here is located in the broadcasting window in the ITESLIVE Studio, copy and paste the PIN in the window that is asking for it.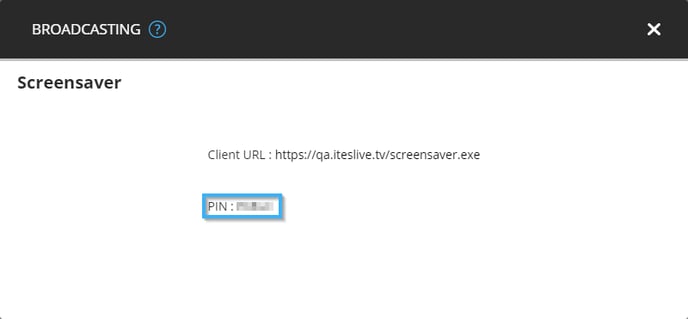
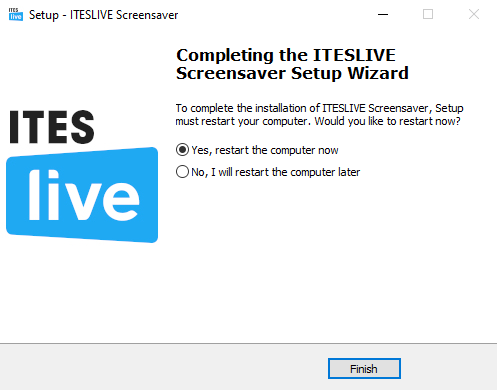
Note: If the computer on which the screen saver has been installed does not already have the « Microsoft Edge WebView2 Runtime » installed on Windows, the last step of the installation will ask you to restart the computer.
If that is the case, you can look at the current screen saver configurations, to do so, you must open the Windows menu and search « screensaver » and click the « Turn scree saver on or off » button that is displayed.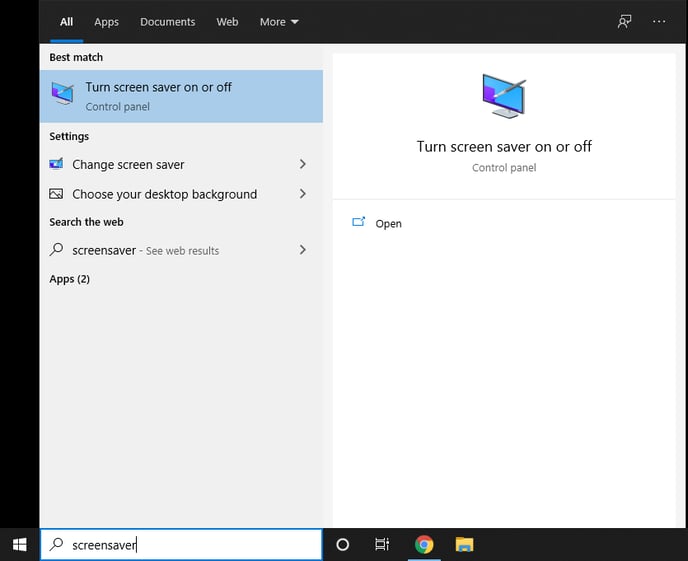
This window will indicate that the current screen saver is the ITESLIVE screen saver and you can change the delay in minutes before the screen saver is displayed. 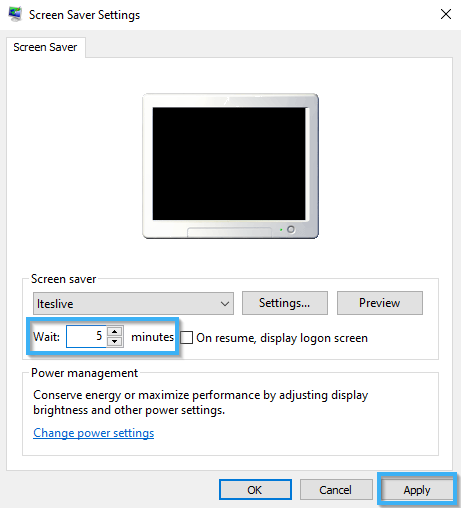
Note: If the computer on which the screen saver is installed has the « Microsoft Edge WebView2 Runtime » installed, the last step of the installation will propose that you revise the screen saver configurations.

If you leave the checkbox « Open screen saver configuration » active, the installer will open the window containing the screen saver settings. This window will indicate that the current screen saver is the ITESLIVE screen saver and you can change the delay in minutes before the screen saver is displayed.