Learn how to edit a partner on the ITESLIVE Studio
| available with: |
| Windows Player : Premium Web Player : Premium LG webOS Signage Player : Premium Samsung SMART Signage Platform (SSSP / Tizen) Player : Premium BrightSign Player: Premium Android Player: Premium Linux Player: Premium macOS Player: Premium |
How to access a directory
To edit a partner, you must first access the directory within which it is located. Once you are connected to the ITESLIVE Studio, click the "Directory" tab and select "Directory management".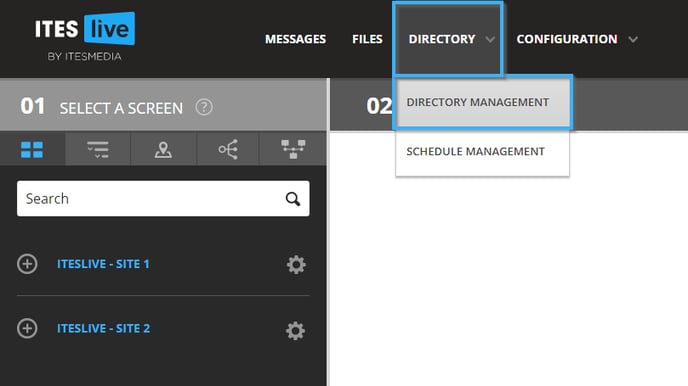
Navigate the tree on the left side of the window and select the account group that contains the desired directory.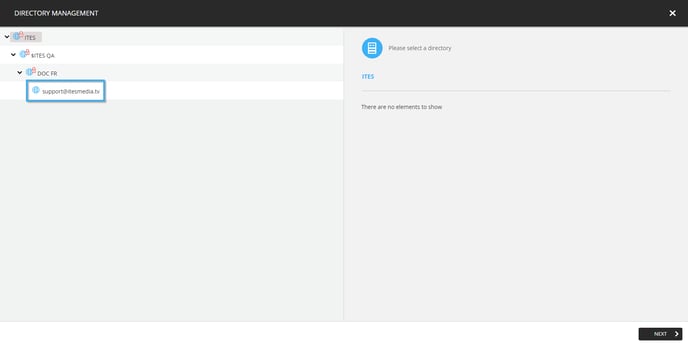
Once you have selected an account group, the directories that it contains will be displayed in a list on the right side of the window.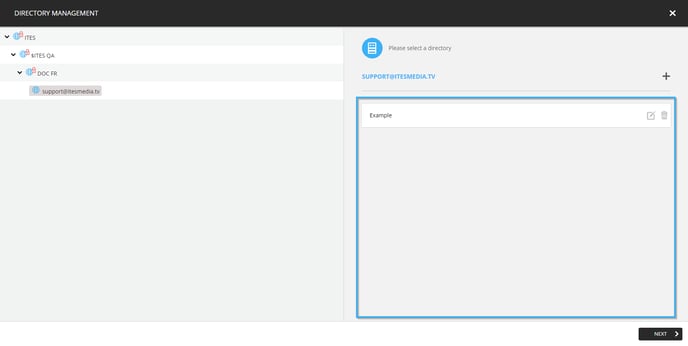
Select the directory that contains the partner you wish to edit "Next" button.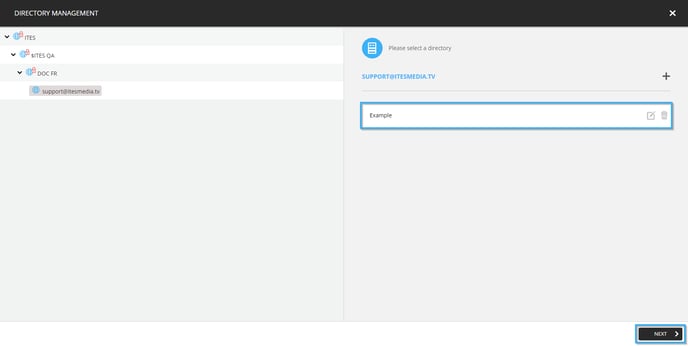
How to edit a partner
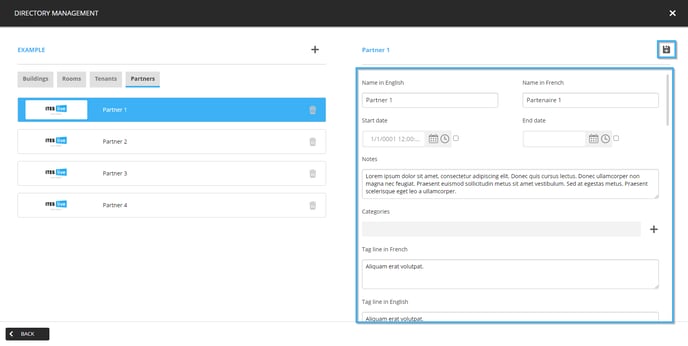
Once in the directory management window, the different types of elements available in the directory will be displayed as tabs. 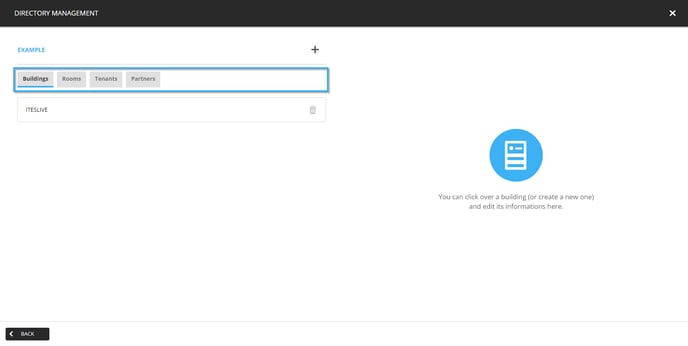
Click on the partner tab.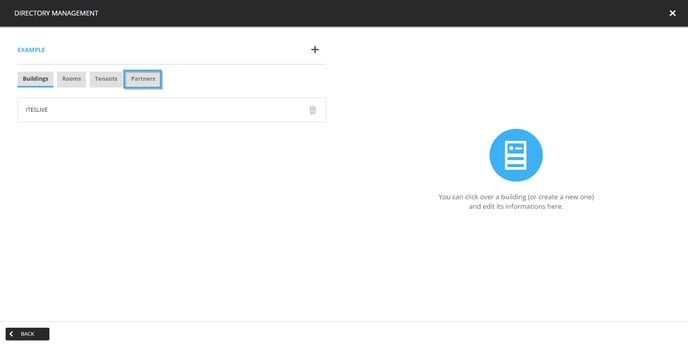
Select the partner that you wish to edit in the list on the left-hand side of the window.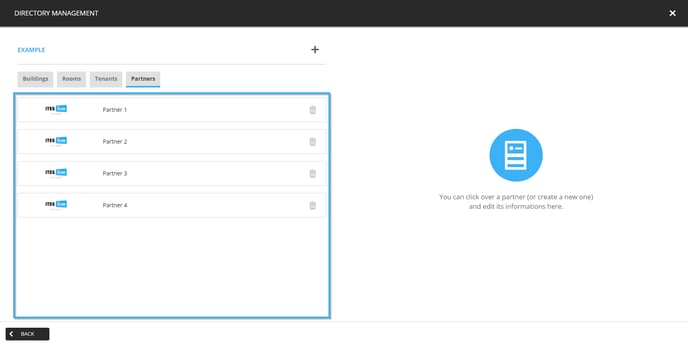
The following is the full list of fields that you can fill for partners.
- Name in English: Partner's name in English
- Name in French: Partner's name in French
- Start date: Determines the beginning of the period in which the partner is active
- End date: Determines the end of the period in which the partner is active
- Notes: A field that can be used to write notes in regard to the partner. This field can be used internally to share information on a partner with other users in the Studio.
- Categories: Another type of element that can be associated to a partner, it can be used to categorize the partners using the categories created in the Studio.
- Tag line in French: The partner's tag line in French
- Tag line in English: The partner's tag line in English
- Logo in English: Partner's logo in English
- Logo in French: Partner's logo in French
- Image in English: An image that represents the partner in English
- Image in French: An image that represents the partner in French
- Contact image in English: A photo of the partner's main contact
- Contact image in French: A photo of the partner's main contact
- Description in English: A text field that allows you to document more detailed information regarding the partner
- Description en français: A text field that allows you to document more detailed information regarding the partner
- Country: The country the partner is located in
- Territory: The territory (province, state, etc.) the partner is located in
- City: The city the partner is located in
- Address: The partner's address
- Zip code or postal code: The partner's zip or postal code
- Mobile phone number: A phone number that can be used to contact the partner or the partner's main contact
- Email: The partner's email address or the partner's main contact's email address
- Website: The partner's website
Once you have completed the desired fields, click the icon that resembles a floppy disk.