| AVAILABLE WITH: |
| Player Windows: Starter, Pro, Premium |
| Player Web: Starter, Pro, Premium LG webOS Signage Player: Starter, Pro, Premium Samsung SMART Signage Platform (SSSP / Tizen) Player: Starter, Pro, Premium Brightsign Player: Starter, Pro, Premium Android Player: Starter, Pro, Premium Linux Player: Starter, Pro, Premium macOS Player: Starter, Pro, Premium |
To find out how to access the zone template editor, click here.
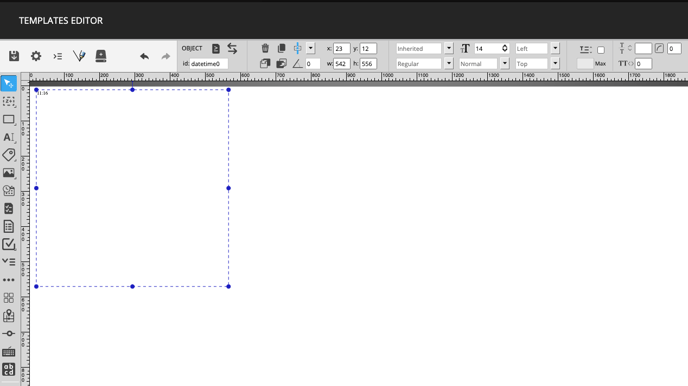
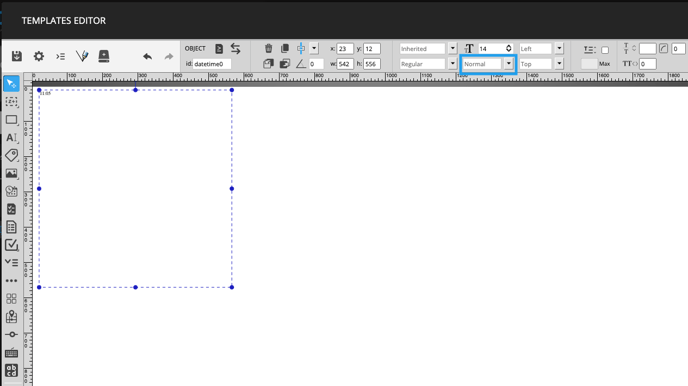
1. Select the date and time tool
The date and time tool can be found on the left-hand side of the zone template editor.

Note: Changing the time for a date is only possible at step 5.
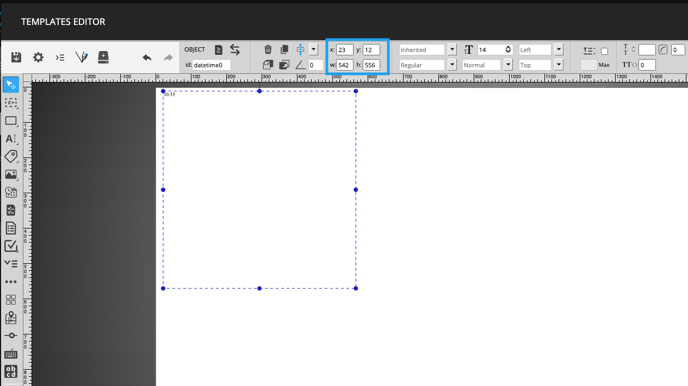
2. Indicate the location
You can insert the date or time, selecting its location and size. If you’d like to be more precise, you can manually enter the size and position by using the boxes at the top of the template.
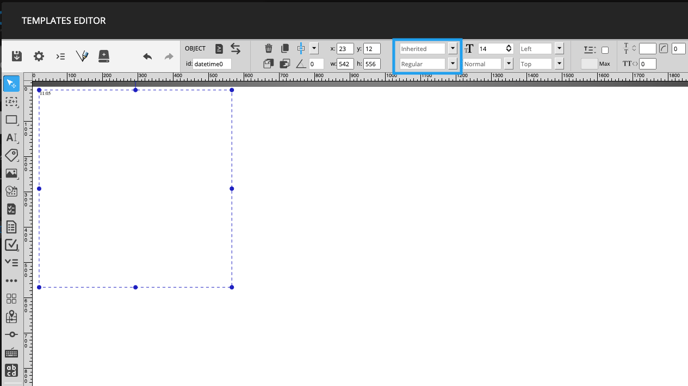
3. Choose the font
The two drop-down lists to the right of the position and size fields let you enter the desired font. The first list (font family) lets you indicate the type of font. The second (text style) lets you select from among the following effects.
- Regular
- Italic
- Bold
- Bold Italic
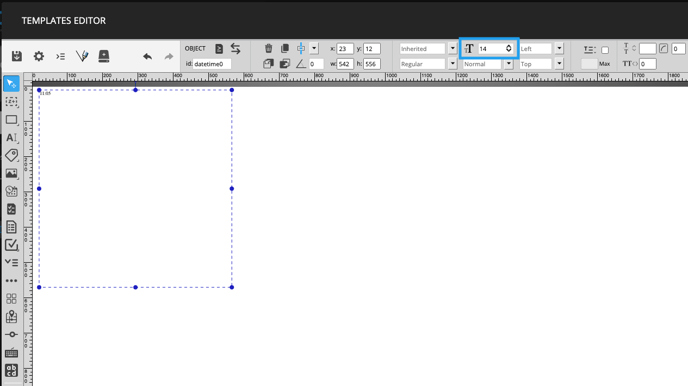
4. Enter the font size
The font size is located to the right of the font list. In this field, you can manually enter the size of the font that will be used for the date and time tool.
5. Determine the alignment
The drop-down menus to the right of the font size and effects boxes. Pick from the options provided to define the horizontal and vertical alignment of the text.

6. Configure the date and time tool
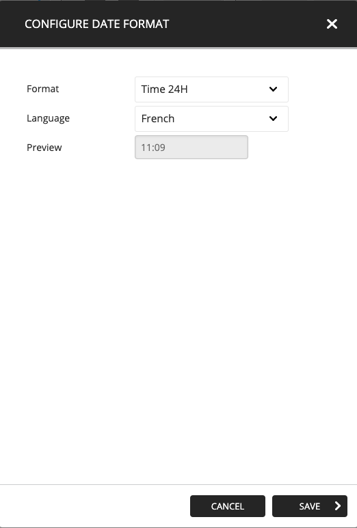
To continue configuring the date and time tool, double-click the tool in your template. The “Configure Date Format” window will appear. Use the drop-down menu to select the desired format.
- 24h Time: Shows the time in 24-hour format (1 p.m. = 13:00)
- 12h Time: Shows the time in 12-hour format (1 p.m. = 1:00)
- Year-Month-Day Short: 2017-06-06
- Day Month: 6 June
- Day Month Year: 6 June 2017
- Day + Date: Wednesday 7 June 2017
- Custom: The custom field lets you indicate the exact date/time format you prefer.
Other options
Text transform
The text transform feature lets you insert an automatic format that will be used in the date and time tool so that your text always appears the same way. Here are the text transform choices.
- Normal: Does nothing and will display the text as entered by the user
- Uppercase: All letters in the date and time tool will be written in caps
- Lowercase: All letters in the date and time tool will be written in lowercase
- Capitalize first letter: Only the first letter in the date and time tool will be capitalized (the others will be in lowercase)
Maximum number of lines
When the box above the “Max” field is ticked, the value inside the field indicates the maximum number of lines of text allowed in the date and time tool.
Line spacing
The icon containing two T’s, one on top of the other, represents the spacing between the lines. The unit of measurement for this field is thousandths of the font size. For example, if your font is 15 and your line spacing is 10, the space between each line will be 10 thousandths of 15 (the font size).
Character spacing
The icon containing two T’s, side by side, represents the spacing between the characters. The unit of measurement for this field is thousandths of the font size. For example, if your font is 15 and your character spacing is 10, the space between each character will be 10 thousandths of 15 (the font size).