| disponible avec: |
| Lecteur Windows: Starter, Pro, Premium Lecteur Web: Starter, Pro, Premium Lecteur LG webOS Signage: Starter, Pro, Premium Lecteur Samsung SMART Signage Platform (SSSP / Tizen): Starter, Pro, Premium Lecteur BrightSign: Starter, Pro, Premium Lecteur Android: Starter, Pro, Premium Lecteur Linux: Starter, Pro, Premium Lecteur macOS: Starter, Pro, Premium |
The shape tool is a flexible tool in the template editor that can be used in multiple ways. Thus there are several configurations that can be applied to it. The following list contains the different configurations that will be covered in this article.
How to place the tool in a template
The tool is located in the list on the left-hand side of the template editor.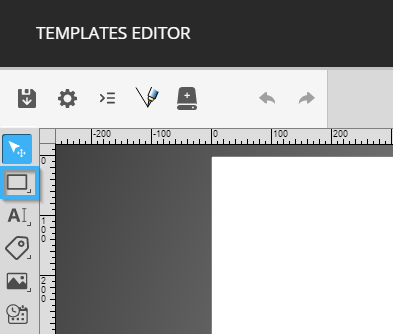
When selecting the tool, you have access to different types of shapes by maintaining your click on the icon that represents a rectangle.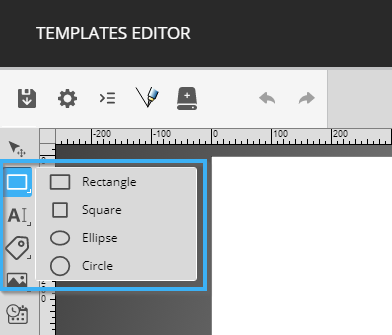
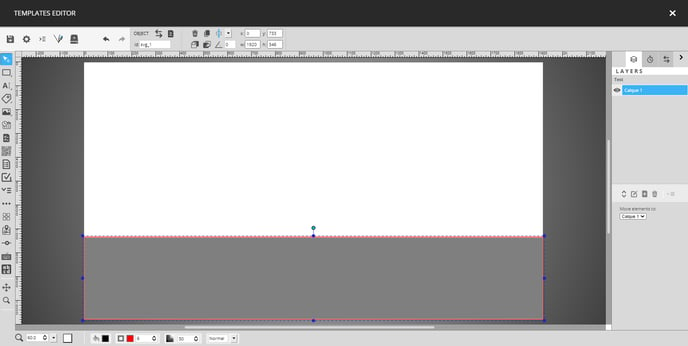
Once you have selected the shape you wish to use, you can place the tool in the editor by clicking and dragging your mouse in the white space in the template.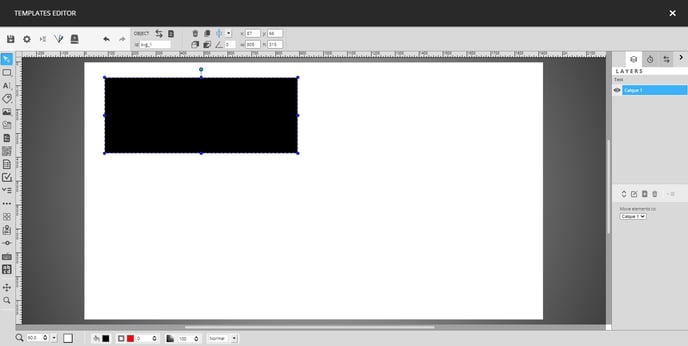
Once you the shape is visible in the editor, you can position it using the circles around it or by using the controls for the tool’s position and size.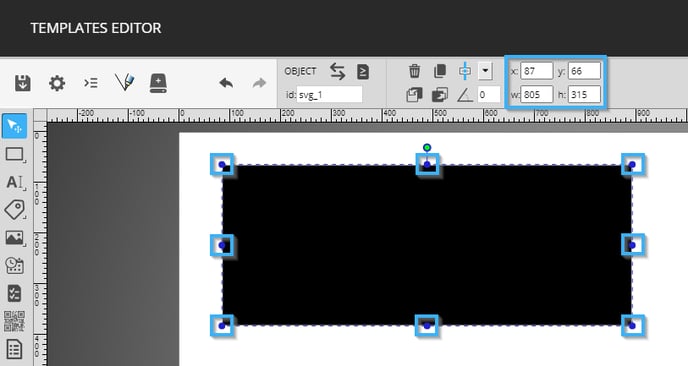
How to configure the shape's colour
When the tool has been positioned, you can use the colour controls in the bottom left-hand corner of the template editor. There are several colour controls the first to the left determines the shape's colour.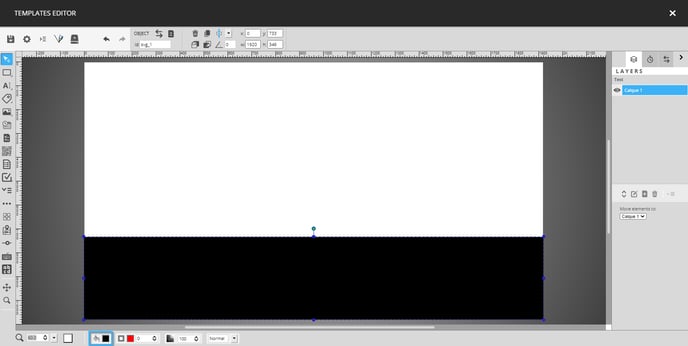
When you click the control, a window containing 4 tabs is open. By default the window will open in the "Solid Colour" tab. Here you can enter an "RGB" (Red, Green, Blue) colour, a hexadecimal colour code or select one of the default colour options.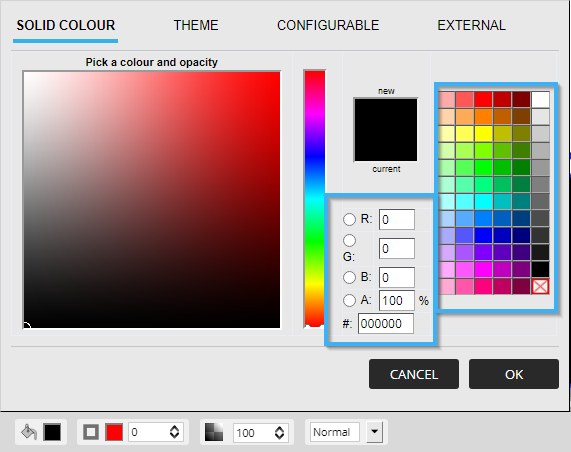
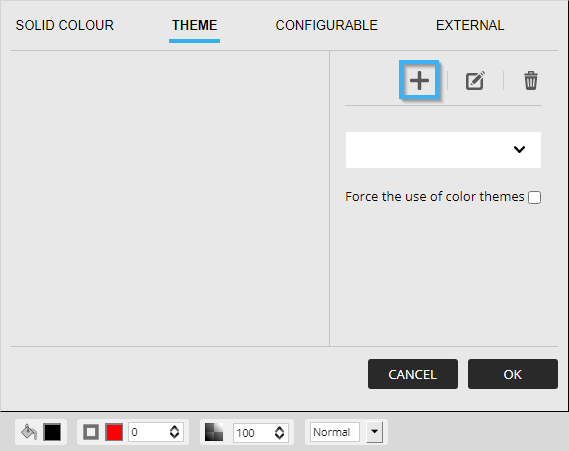
With the "Theme" tab, you can select a colour from a colour theme that is available in your account group. To add a theme click on the "+" icon.
Note: A colour theme is a collection of colours that is predefined, it facilitates the use of the colours it contains because you do not need to have their information on hand. This group of colours can also be used to ensure that the company's branding guidelines are respected.
In the colour themes window, select the desired theme and click the "save" button.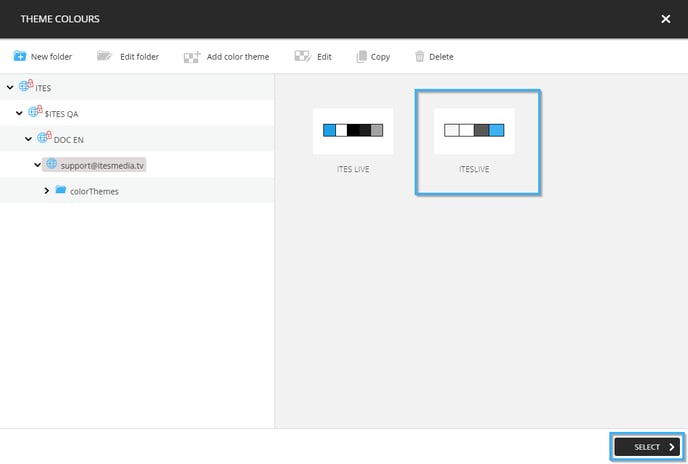
Once the theme is visible in the "Theme" tab, you can choose among the colours it contains.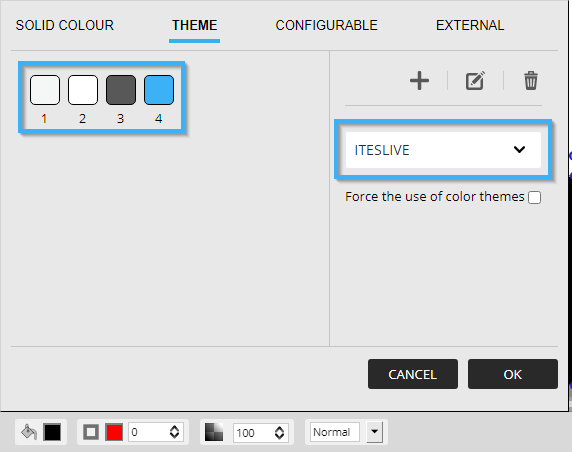
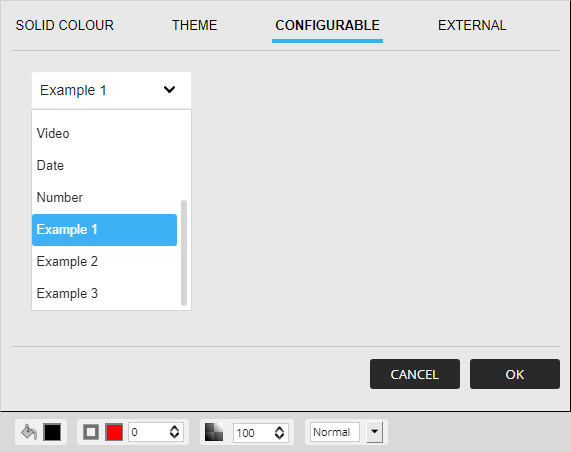
The "Configurable" tab allows you to select a configurable field, this configuration makes it so that the user will be able to select the shape's colour while creating a message clip in a display.
Important: Although the template editor is available with all of the licence types, a Pro licence is required to use the message templates in your display.
Note: For more information on configurable fields, you can read the following article.
How to add an outline to a shape
There are two controls used to add an outline to a shape in the template editor, these two controls are located immediately to the right of the control to configure the shape's colour.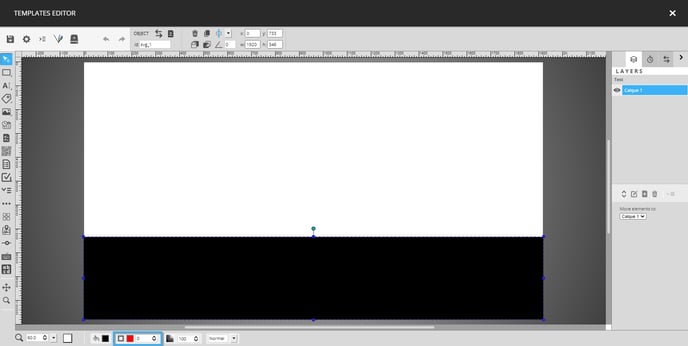
By clicking the control used to determine the outline's colour, you will find the same configurations listed above.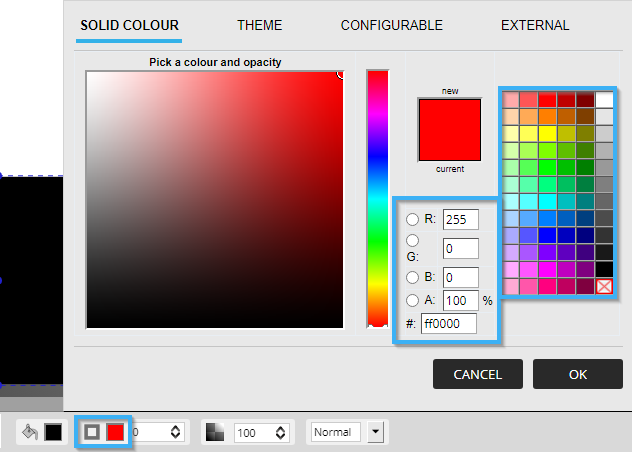
Once you have determined the outline's colour, you must determine its size (in pixels). You can enter a number manually in the field or use one of the arrows to increase or decrease the outline's size.
The outline becomes visible immediately once the size is adjusted in the control.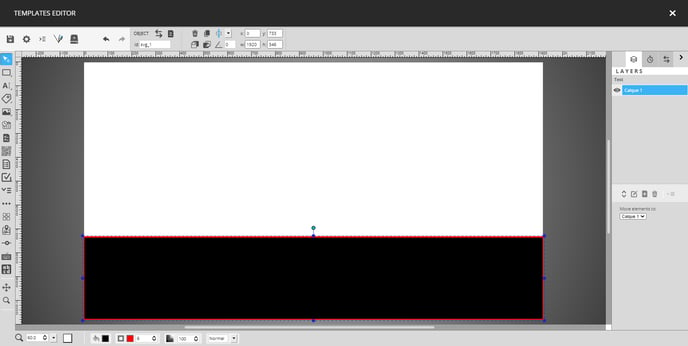
How to configure the shape's opacity
The control to determine the shape's opacity is located immediately to the right of the controls to configure the shape's outline. By default, it will be configured to 100% opacity, that being said, you can reduce the percentage of the shape's opacity. For instance, in the event that you wish to make objects on which the placed, like an image. 
You can enter a value manually or you can use the arrows to increase or decrease the opacity. In any case, you will see the effect as soon as the opacity is adjusted.