This document explains how to install the Visual C++ Redistributable, Microsoft .NET 6.0 Framework and activation of additional updates for Microsoft products through Screenconnect
| Available with: |
| Windows player: Starter, Pro, Premium |
Important: If you do not have a Screenconnect access, please use this procedure: Installing .NET 6.0 and Visual C++ Redistributable and activating the additional updates option during Windows updates
Important: 32-bit operating systems are no longer supported by the ITESLIVE software; thus, you must ensure that the computer you wish to use to broadcast your display has a 64-bit operating system as this is a mandatory requirement for the ITESLIVE software to operate.
1. Connecting to your Screenconnect account
Before installing the two programs, you will first need to access your Screenconnect account. To open a session, use the URL below.
https://itesmedia.screenconnect.com/Login?Reason=0
You will then be able to enter your login details.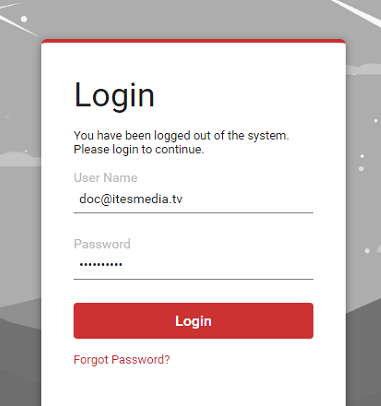
Once you have entered your login details and clicked on “Login”, you will need to enter the code sent to you via email.
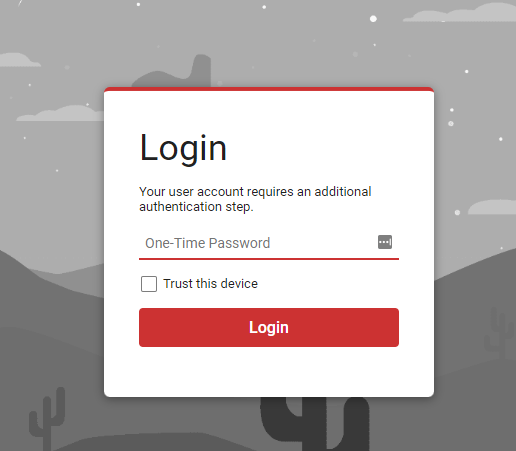
Once you are connected, you will be able to access your display network. This is the interface you will see. 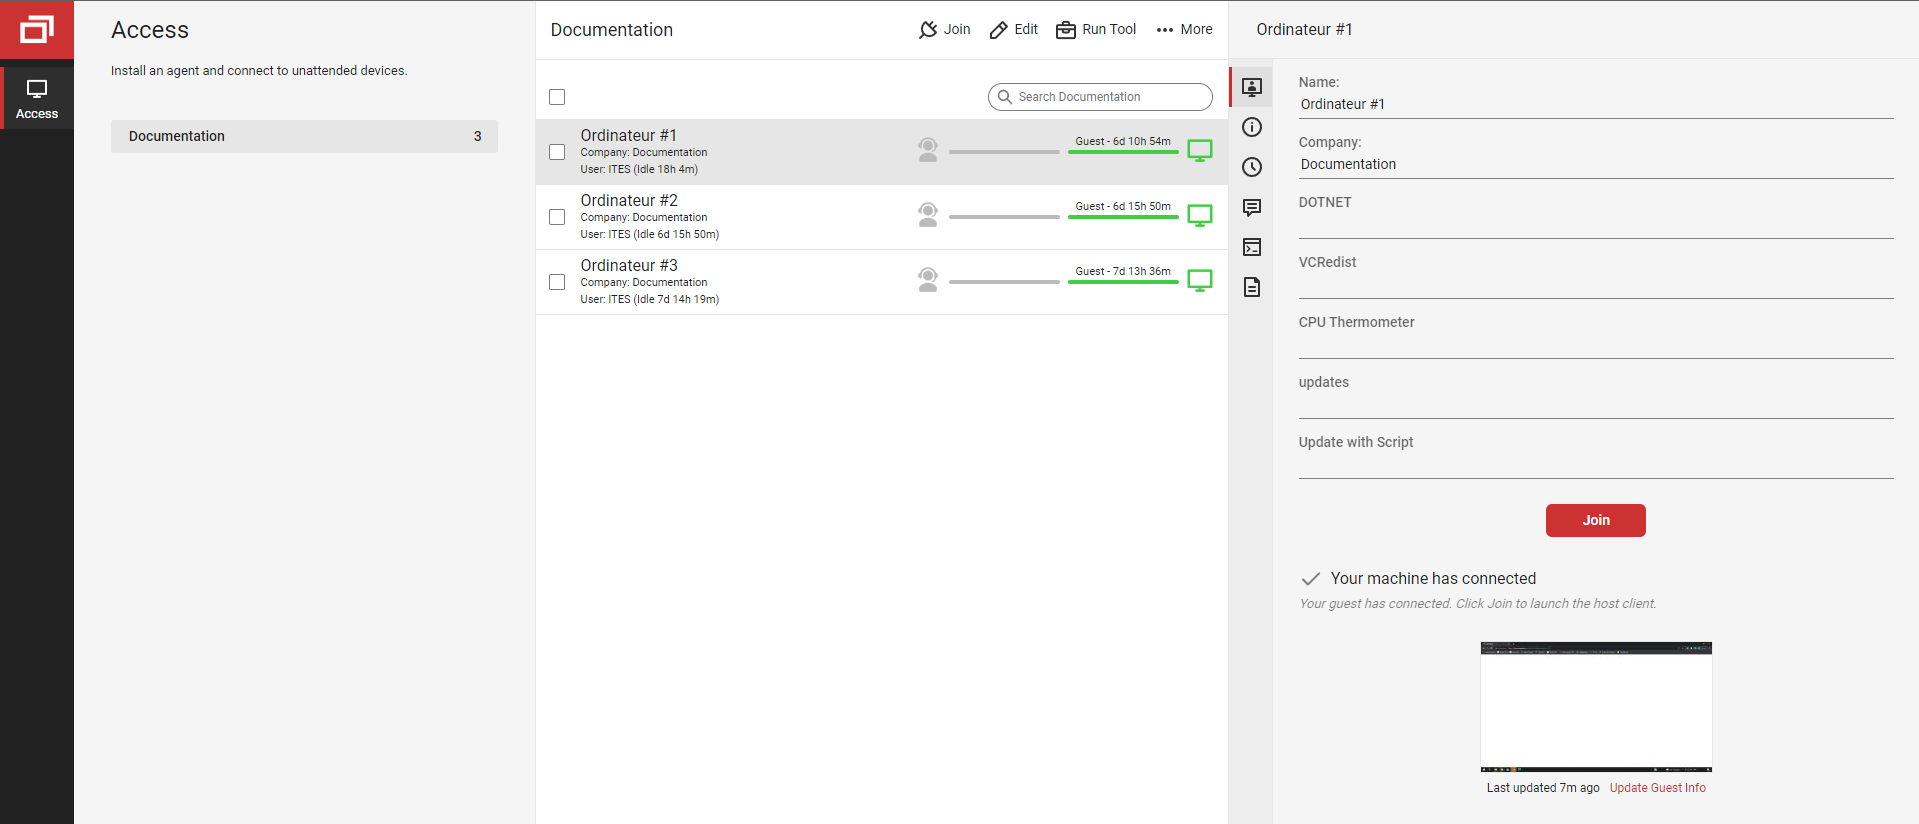
2. Installation of .NET 6.0 and Visual C++ Redistributable software on multiple computers
To install software on multiple computers, you can make a selection by clicking the check boxes on the left of your computer’s name. 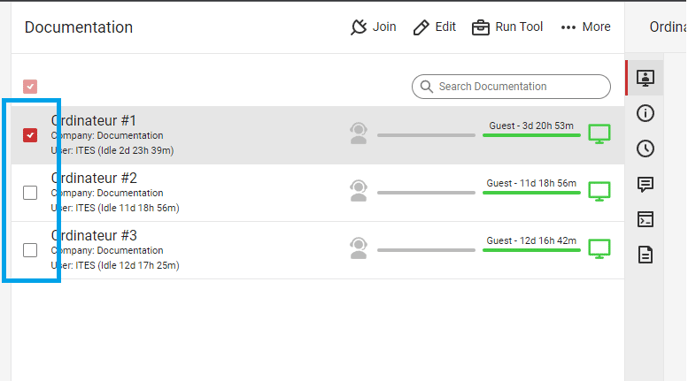
Note that the first check box provides many different selection options depending on your needs.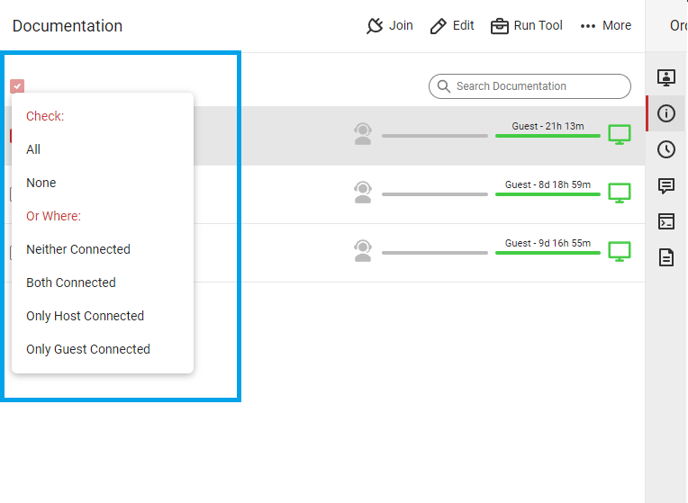
Once you have made your selection, right-click one of the selected computers. A menu appears and offers different options. To send the installation file, you must select the “Run Tool” option. 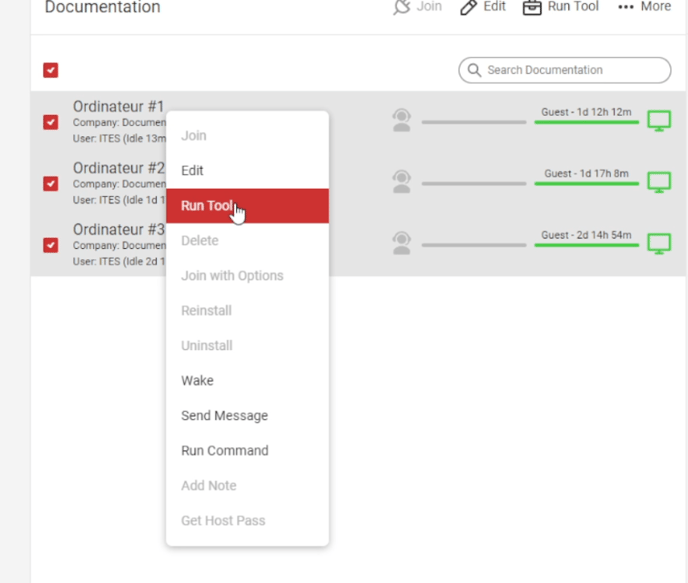
An interface will pop up and show different files. One of them is called “Vcredist2022+.net6”. To open the file, double-click it. 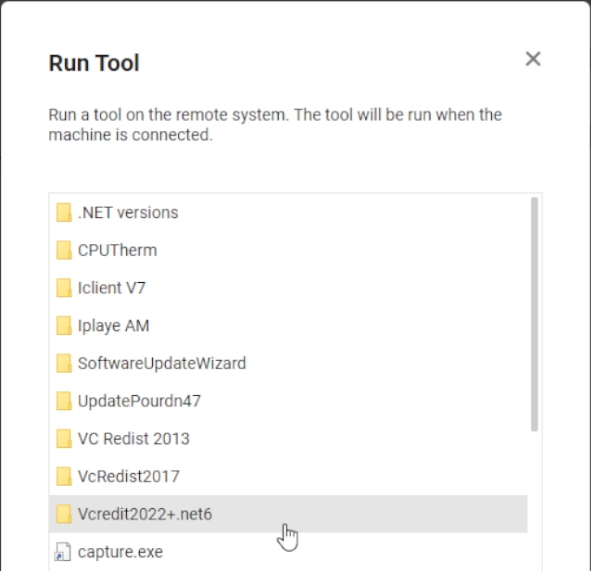
Once the file is open, you can either double-click the file or select it and click on the “Run” button at the bottom to launch the “.net6_vcredist2022.exe” installation file transfer. 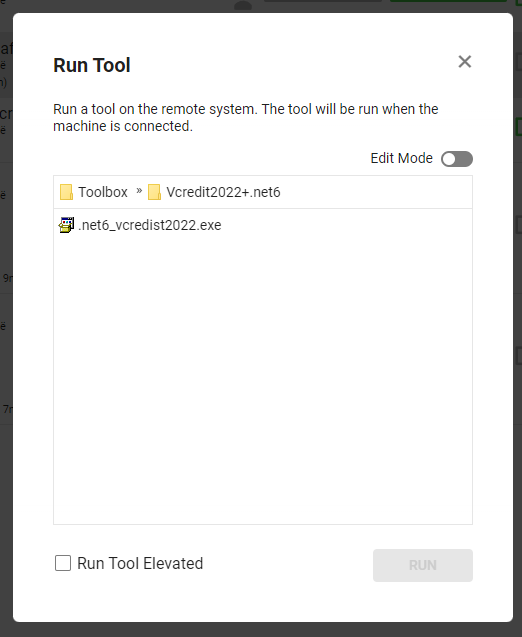
When the menu disappears, the installation file will be sent on the selected computer(s) and will be automatically executed.
In order to access the desktop of a screen running a digital signage, you must press the F1 key.
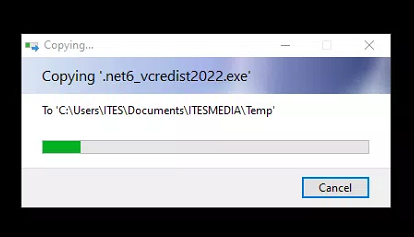
Once the file is downloaded, you may have to authorize Windows to execute it by clicking “Yes”. 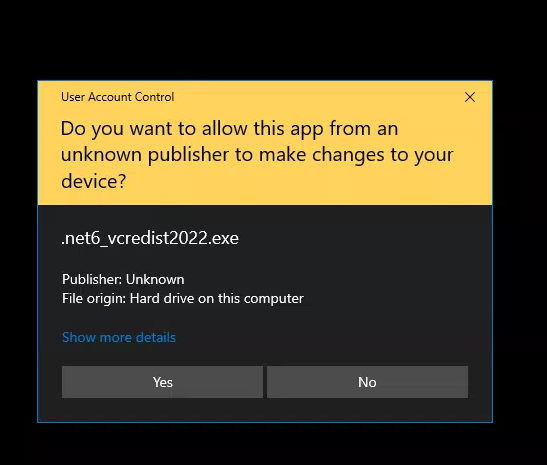
Once you have authorized the action, a quick extraction will be executed.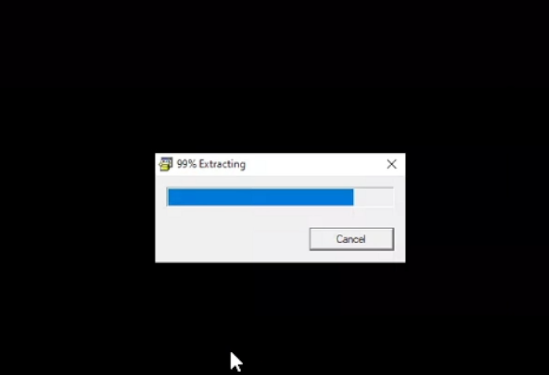
Once the extraction is complete, a command prompt will open and execute the installation. 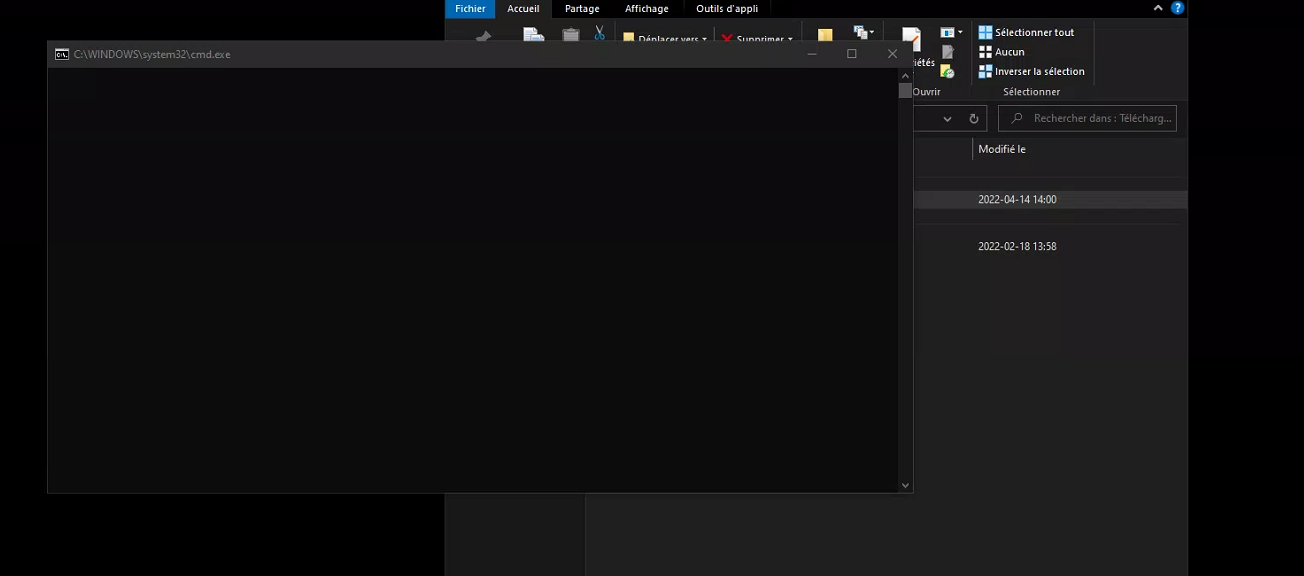
The command prompt disappears, which means the installation is complete. Both. NET and Visual C++ are now installed.
3. Sending a command through Screenconnect for additional updates for Microsoft products.
You can send a command to get additional updates for Microsoft products on the network, in whole or in part, without having to connect on each station. To start, you must log into your Screenconnect account. 
Once you are connected, you can select the computers to which you want to send the command by clicking on the check boxes on the left of the computers’ name. 
Note that the first check box provides many different selection options depending on your needs. 
Once you have made your selection, you can right-click one of the selected computers. A menu appears and offers different options. To send the command, you must select the “Run Command” option. 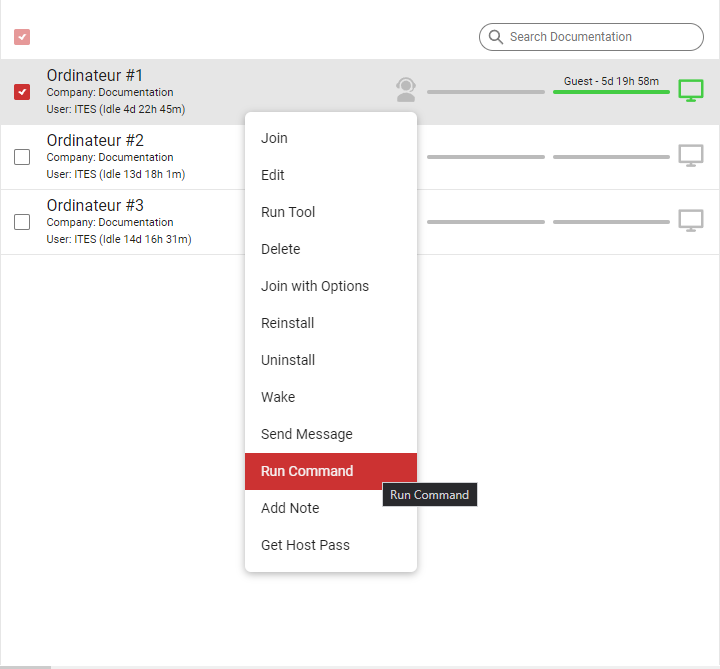
A window will appear, which will let you enter the command.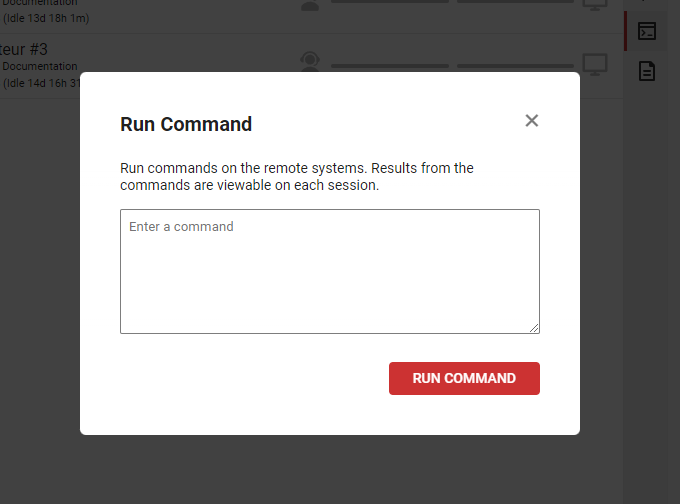
In the text field, copy the command below, then click on “Run Command”.
echo $ServiceManager = New-Object -ComObject "Microsoft.Update.ServiceManager";$ServiceID = "7971f918-a847-4430-9279-4a52d1efe18d";$ServiceManager.ClientApplicationID = "My App";try{ $NewService = $ServiceManager.AddService2($ServiceID,7,"")}catch{Write-Warning "Failed to register service";Write-Warning $_.Exception.Message;Exit 1}if($NewService.IsPendingRegistrationWithAU){Write-Verbose "Needs to reboot"Exit 3010}else{Exit 0} > .\Configure-UpdateMSProducts.ps1 & powershell.exe -ExecutionPolicy Bypass -File .\Configure-UpdateMSProducts.ps1 -RunType InstallService & del .\Configure-UpdateMSProducts.ps1
