| available with: |
| Windows Player : Pro, Premium web Player : Pro, Premium LG webOS Signage Player : Pro, Premium Samsung SMART Signage Platform (SSSP / Tizen) Player : Pro, Premium BrightSign Player: Pro, Premium Android Player: Pro, Premium Linux Player: Pro, Premium macOS Player: Pro, Premium |
Note: If you already have a message group created, please proceed to step 9.
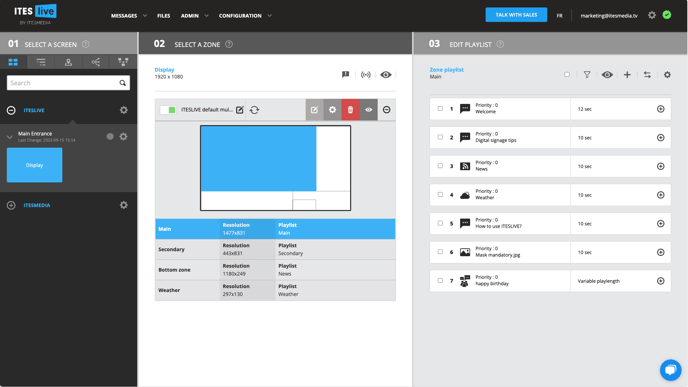
1. Select the zone where you want to add a message group clip.
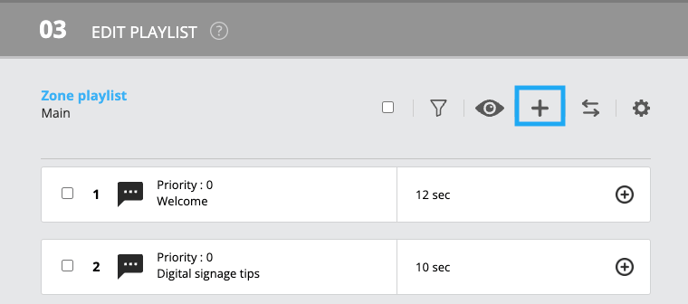
2. Click on the "+" above the content of your playlist.
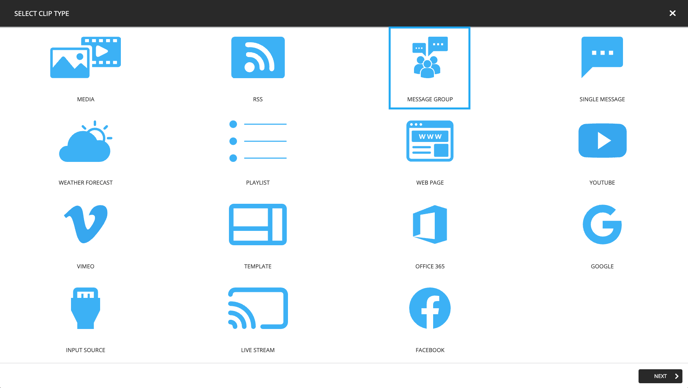
3. Select the clip of type "Message Group".
4. Click on the +
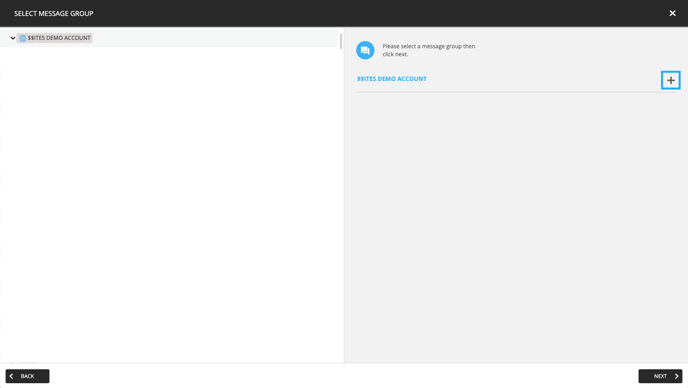
5. A window will open, click on "Message Group".
6. Select the template you want to use.
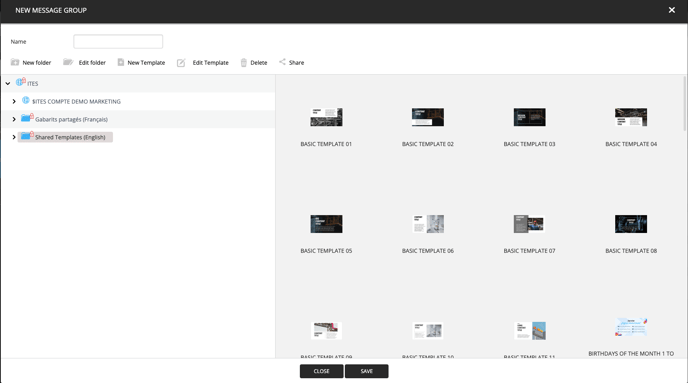
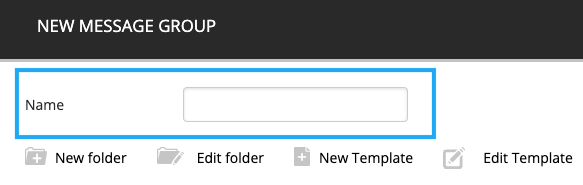
7. Write the name of the message group.
8. Click on "Save" at the bottom of the window.
9. Select the message group.

10. click on the +

11. Fill in the text fields.
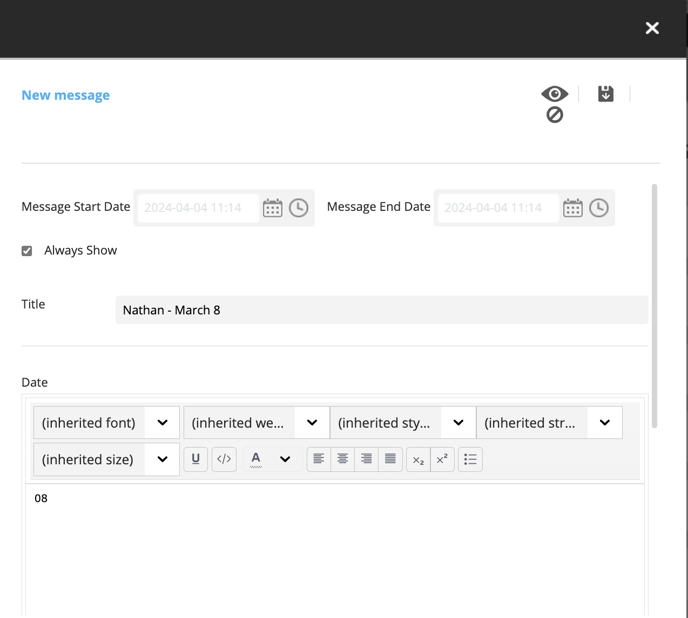
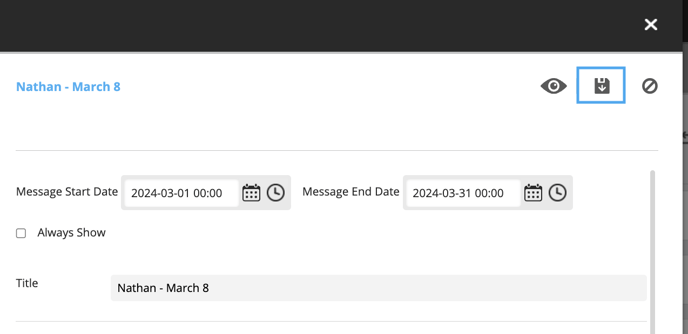
12. Selecting the display period of an item
Firstly, you need to choose the period during which the item will be displayed. In the case of this example, it's a birthday template that has been selected, and I want to display it for the month. So, I set a start date on the 1st of the month and an end date on the 31st of the month. Therefore, in this example, the 4 persons in the company whose birthdays are in March each have a start date of March 1st and an end date of March 31st.
If you check the "always show" box, it means that the item will always be displayed.
Write the title
In this example, the title is the employee's name and the date of their birthday.
Fill in the required fields in the template
In this example, you need to enter the birthday date and the employee's name.
12. Click on the floppy disk icon to save.
13. Add more elements as needed.
You can add more elements by repeating steps 10 through 12.
For example, if there are four employees whose birthday is in March, you will need to repeat steps 10 through 12 four times.
Here is the final example of the added elements.
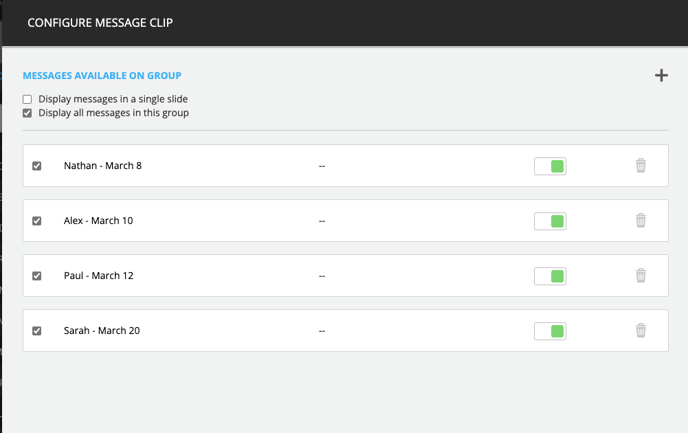
Tip: It is recommended to add all employees' birthday dates. This way, it becomes much easier to manage using the start date/end date and the toggles afterward.
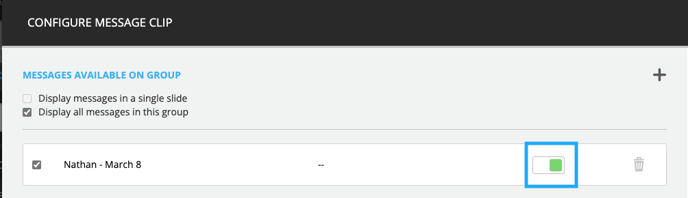
Some options in the left section of the "Configure message clip" window:
Toggle: This button is used to activate or deactivate an element. In this example, if you no longer want to display Nathan's birthday, you can deactivate it. It will be deactivated across all screens that have this message group clip.
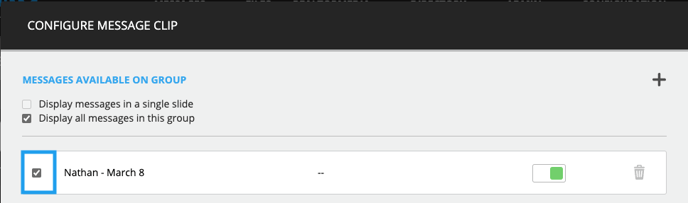
Checkbox: If you uncheck the box, the unchecked element will no longer be displayed only on the screen you are currently modifying.
14. Click on Next
The button is on the right
15. Configure the clip setting and click save
Here is a detailed article on clip settings:
