| Available with: |
| Windows Player : Pro, Premium Web Player : Pro, Premium LG webOS Signage Player : Pro, Premium Samsung SMART Signage Platform (SSSP / Tizen) Player : Pro, Premium Brightsign Player: Pro, Premium Android Player: Pro, Premium Linux Player: Pro, Premium macOS Player: Pro, Premium |
Note: The definition editor is a tool found in the template editor that allows you to create configurable fields. Generally, these configurable fields are used in the production of a message template that can be edited dynamically by a user who is creating a message clip.
1. create definition
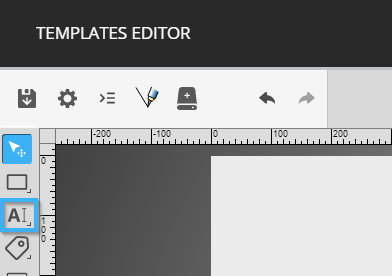
The definition editor is accessible by clicking on the icon representing an arrow followed by three horizontal lines in the top left-hand corner of the ITESLIVE Studio.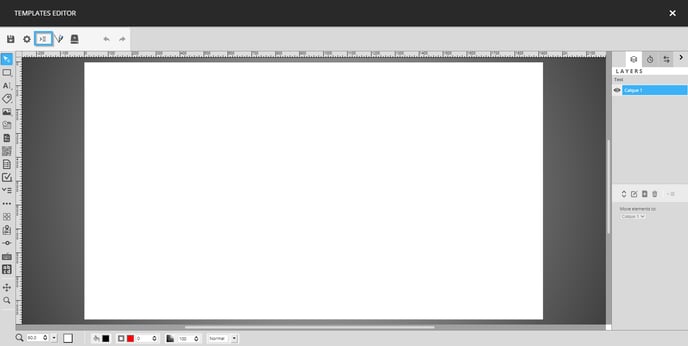
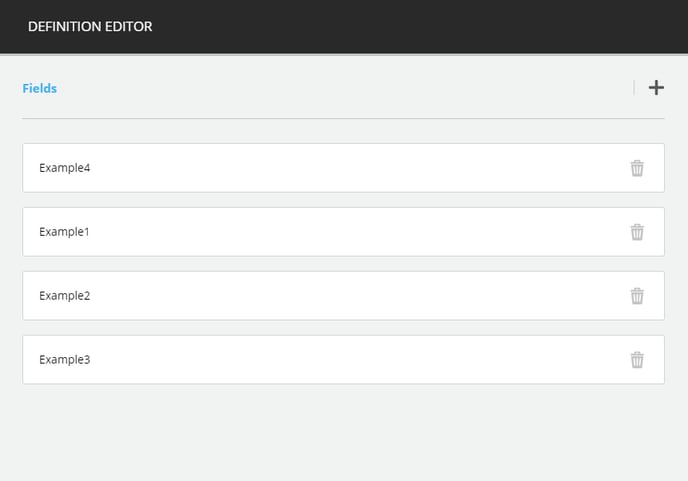
The tool is divided in two sections, the left-hand side of the editor displays a list of existing fields (if there are any). 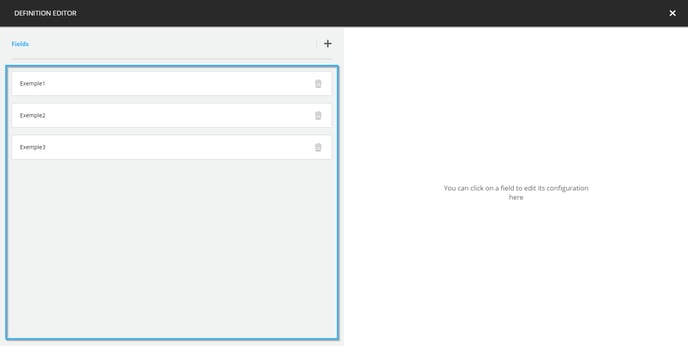
The right-hand side of the editor remains empty unless a field from the list is selected or if you click the "+" icon in the centre or the window. At that moment, the right-hand side of the window displays the information of the selected field or the required information to create a new field if you clicked the "+" icon.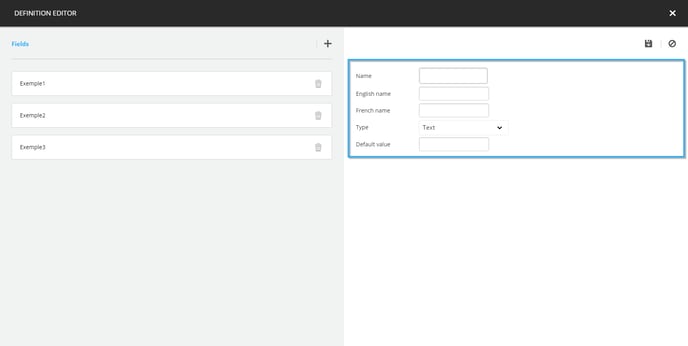
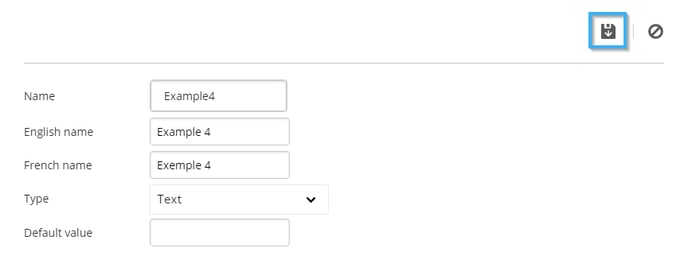
The following is the list of information that must be filled in to create a new field.
- Name: Unique identifier for the field
- Name English: The name displayed when the Studio is used in English
- Name French: The name displayed when the Studio is used in French
- Type: This drop-down list determines the type of information that will be included in the field
- Text: This is a simple text tool, the users will be able to edit the text, but they will not be able to edit the font configurations or color
- Rich text: This is an advanced text tool that allows users to edit the text and font configurations as well as its colour
- Single line: This is a tool that is meant to allow users to enter a text that is meant to be displayed on a single line
- Image: This tool allows users to select an image that will be included in the message when it is created
- Video: This tool allows users to select a video that will be included in the message when it is created
-
- Document: This tool allows users to select a PDF document that will be included in the message when it is created
- Date: This tool allows users to select a date that will be displayed in the message when it is created
- Number: This tool that allows users to enter a numerical value that will be included in the message when it is created
- Coulour: This tool allows a user to select a colour that will determine the colour for text, a shape or other elements in the template
- Dropdown: This tool allows you to create a drop-down list that will be available during the message creation process, the value selected by the user will determine the value that will be broadcast in the display
- Default value: The default value determines the value of the field before then users edit its content
Once the required information has been entered, click on the icon that represents a floppy disk and the field will be added to the list on the left-hand side of the window.
The fields visible on the left-hand side of the window will be available during the content creation in a display. The order of the fields in the window represent the or in which they will be presented during content creation. You can edit the order by clicking and dragging a field to the desired position.
2. Click on the text tool in the list on the left-hand side of the editor
3. Place the text tool wherever you'd like
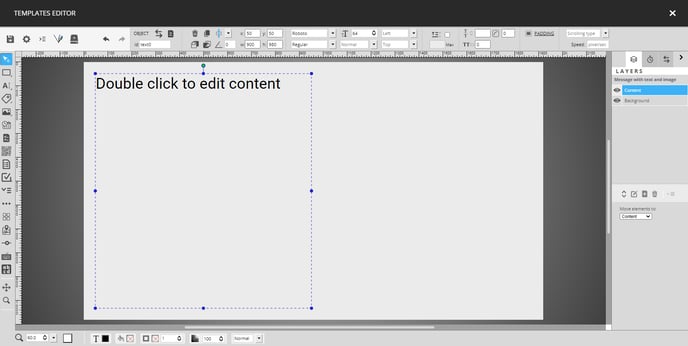
You can position the text the same way you placed the shape earlier, you can also adjust the colour of the text with the controls at the bottom of the editor. You can also adjust the font configurations with the controls to the right of the controls for the position and size of the text tool.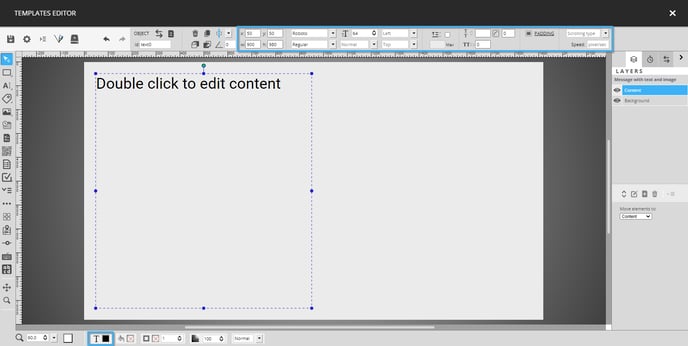
4. Double click on the text box
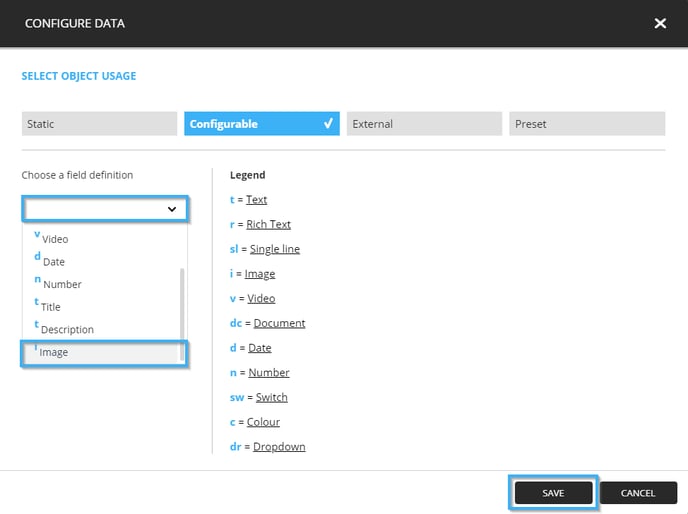
5. Click on configurable at the top of the menu
6. Select the definition you created in step 1
Click on the drop-down list and select the field that you created earlier, then click the "Save" button