| Available with: |
| Linux Player: Starter, Pro, Premium |
On the Linux device that you wish to use, log in to your account on the ITESLIVE Studio and navigate to the player you want to use for your display.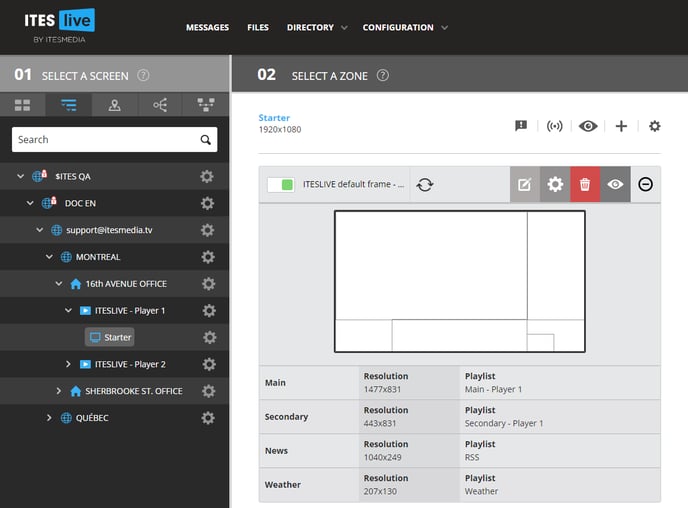
To obtain the URL to download the ITESLIVE software for Linux, click on the broadcasting button for the selected player.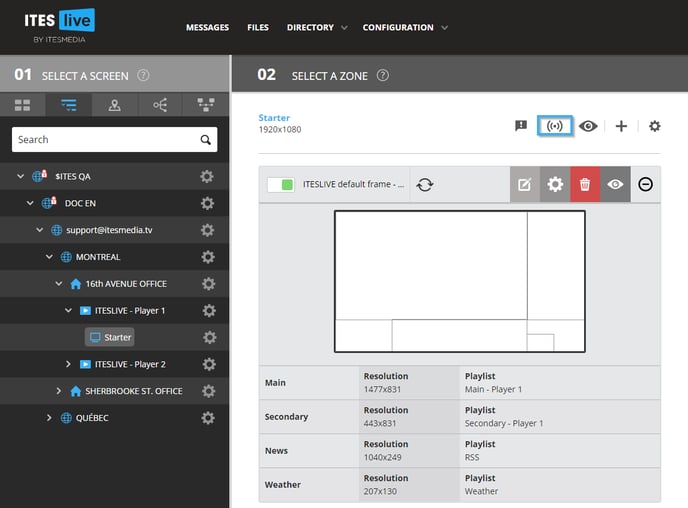
Select the version of the "AppImage" file that is appropriate for your operating system, click on the link that represents this file and the download will begin.
Important: Please note that the button that generates the PIN is located beneath the URLs for the download of the ITESLIVE application, this button will be required at the end of the installation process.
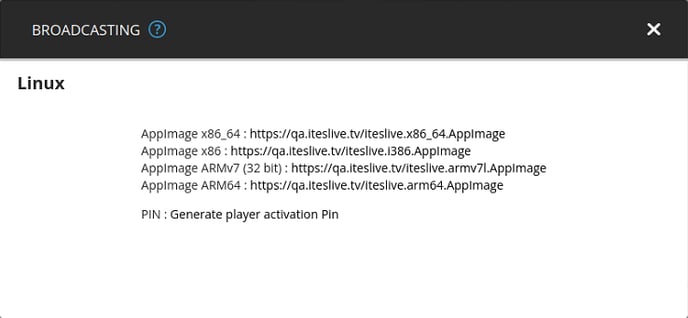
AppImage ARM64 : https://iteslive.tv/iteslive.arm64.AppImage
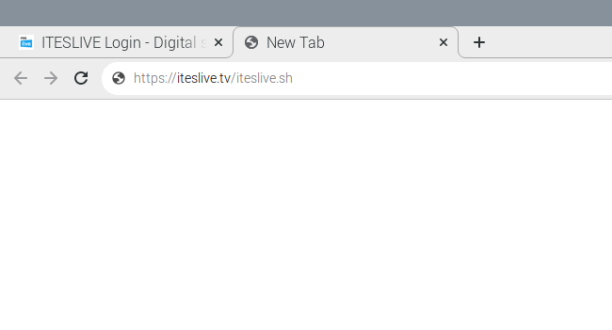
Open a new "tab" in your browser and download the following script.
https://iteslive.tv/iteslive.sh
Note: The iteslive.sh file is a script that is used to ensure that the ITESLIVE process is in use on the computer that is broadcasting the display. This script will periodically confirm that the software is in use and will start it in the event that it is not.
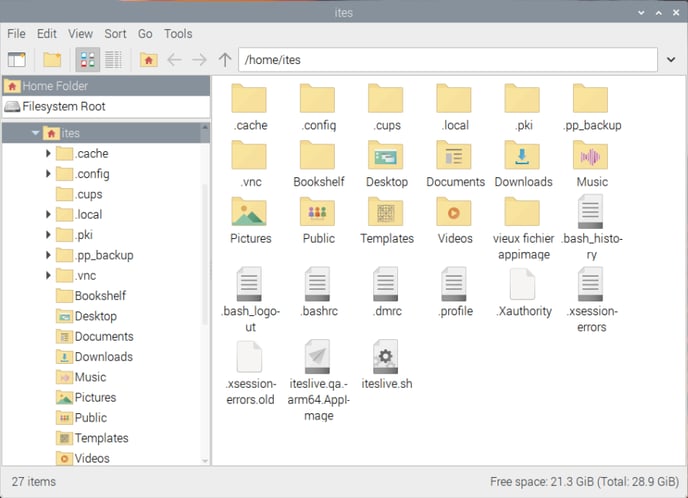
Move the AppImage file and the .sh file to the location where you wish to store them, in this example the will be located in the user's home folder.
Important: The user used to broadcast the display must have read and write access to the folder that contains the application.
Right-click on the "sh" file and click "Properties".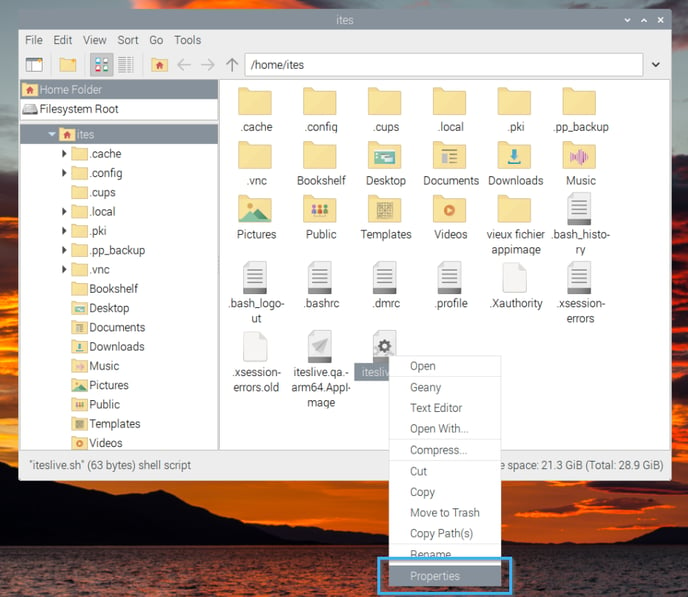
Click on the "Permissions" tab.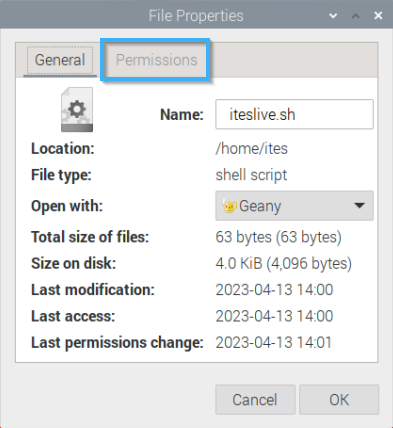
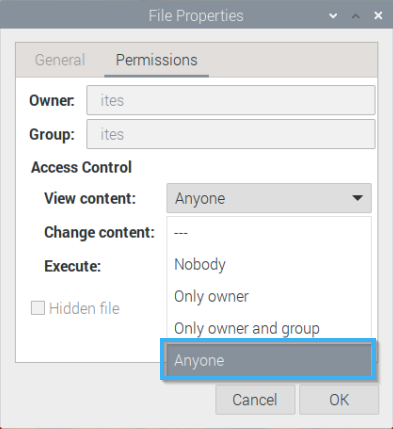
Click on the drop-down list to the right of the "Execute" header and select the "Anyone" entry.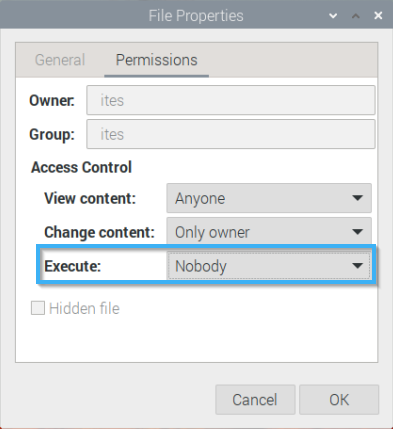
Now click on the "Ok" button.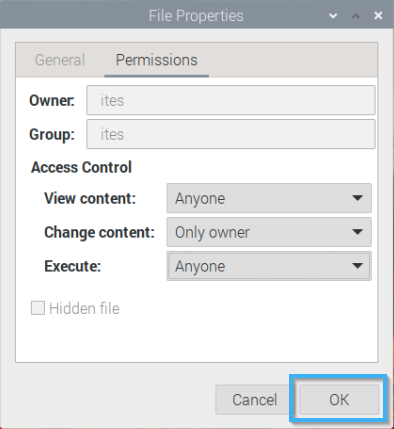
Now right-click on the "AppImage" file and then select "Properties".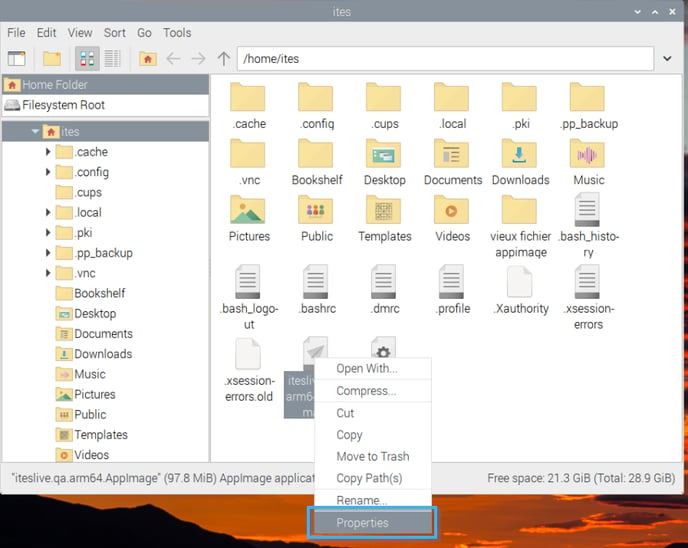
Click on the "Permissions" tab.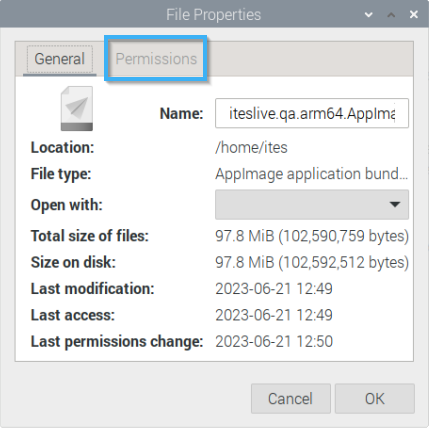
Click on the drop-down list to the right of the "Execute" header and select the "Anyone" entry.
Now click on the "Ok" button.
Now access the following folder.
/home/(username)/.config
Once at this location, create a folder named "autostart".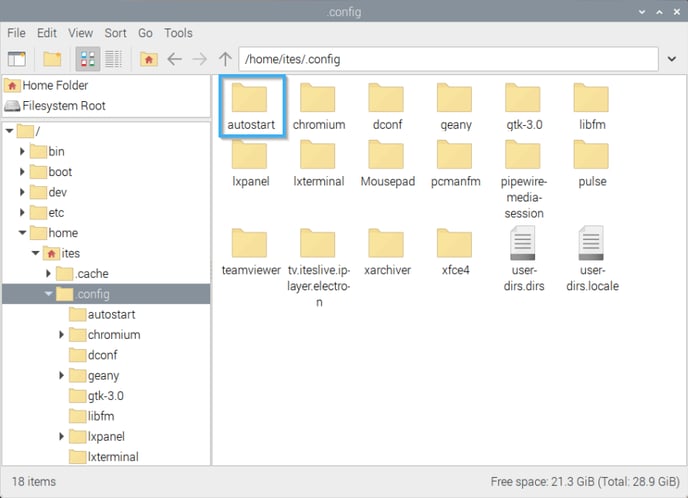
Once inside the "autostart" folder, create a "iteslive.desktop" file.
Once the file is visible in the ".config" folder, right-click on the file and click on the "Text editor" entry. Then enter the following text in the file.
[Desktop Entry]
Type=Application
Name=ITESLIVE
Exec=/home/ites/iteslive.sh
Important: You need to ensure that the file is configured to start the iteslive.sh when the device boots.
Save the .desktop file and you have completed the "autostart" configurations.
Close the window and return to the ITESLIVE Studio in your browser, and access the broadcasting window. Click the button to generate the player's activation PIN.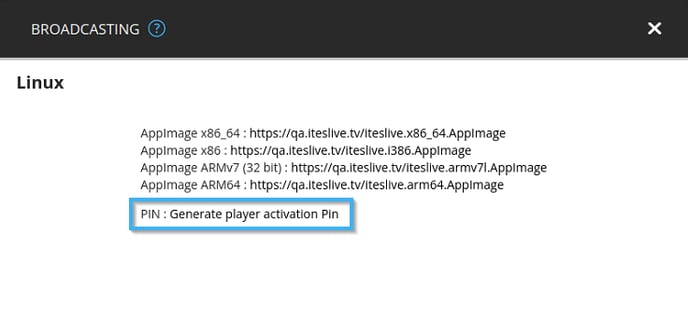
Click the "Accept" button to generate the PIN.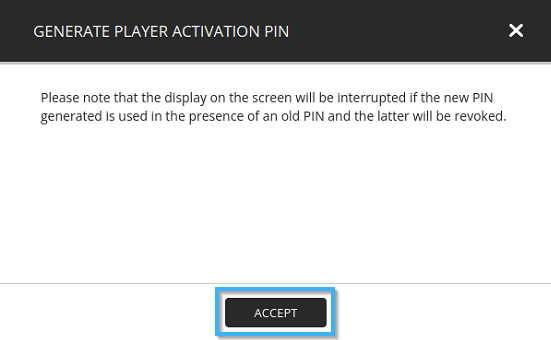
Take note of the PIN generated by the Studio and restart the computer.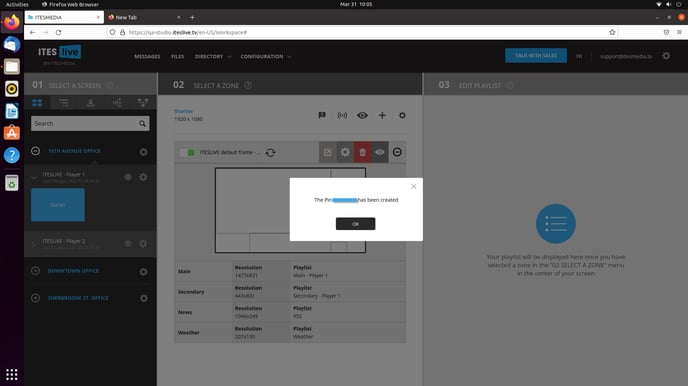
Once the computer restarts, the ITESLIVE application will launch and a window asking for an ITESLIVE ID will be displayed.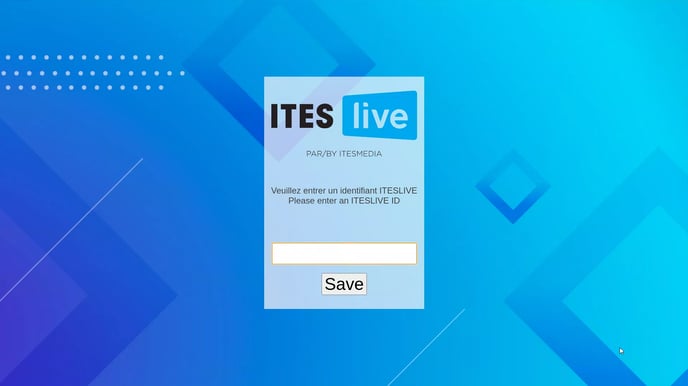
Enter the PIN you noted earlier in the text field and click on the "Save" button to start the display.