| available with: |
| Windows Player : Starter, Pro, Premium Web Player : Starter, Pro, Premium LG webOS Signage Player : Starter, Pro, Premium Samsung SMART Signage Platform (SSSP / Tizen) Player : Starter, Pro, Premium Brightsign Player: Starter, Pro, Premium Android Player: Starter, Pro, Premium Linux Player: Starter, Pro, Premium macOS Player: Starter, Pro, Premium |
The ITESLIVE software allows multiple monitors from the same site (location, office, factory, etc.) to have a synchronized broadcast of their content. We specify monitors in the same site because the monitors need to be visible at the same location for the synchronization to have the desired effect.
In addition to having the monitors at the same site synchronized, ideally, you want to activate the synchronization in areas that have multiple monitors in the same room. If you have 3 monitors in the cafeteria and 1 monitor on the 2nd floor in a waiting room. Although you can active the synchronization on all 4 displays seeing that they are in the same site, none of the people who are looking at the monitor that is separated from the others (the second floor) will be able to perceive the effect of the synchronization.
1. Configure an NTP server on the devices broadcasting the displays
The synchronization uses very precise calculations to schedule each time every communication will be broadcast, for this to be synchronized correctly each monitor that will be using it must have the same date and time. Although most operating systems offer some kind of date and time synchronization, NTP servers are services that are used to synchronize the date and time for multiple devices with the greatest possible precision.
This configuration does not take place on the ITESLIVE Studio, but it is done on each individual device directly.
Important: We recommend that you involve your IT team in this process, they can recommend the use of a specific NTP server and will also likely be required for the configurations on the devices themselves.
2. Playlist preparation
Important: For the synchronization to have the desired effect, each of the players that will be using the synchronization must have the same content, in the same order and with the same play lengths. Otherwise, the content will not be broadcast at the same time on screen.
To active the synchronization, you must ensure that every zone in every player that will be using the synchronization is using the same playlist. To complete this preparation, navigate to one of the desired players and click on its screen to select it.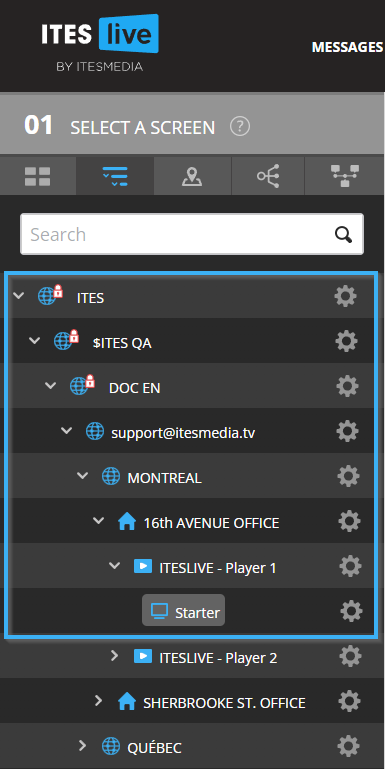
Select one of the zones in the screen frame once it is visible under the "02 Select a zone" section of the Studio.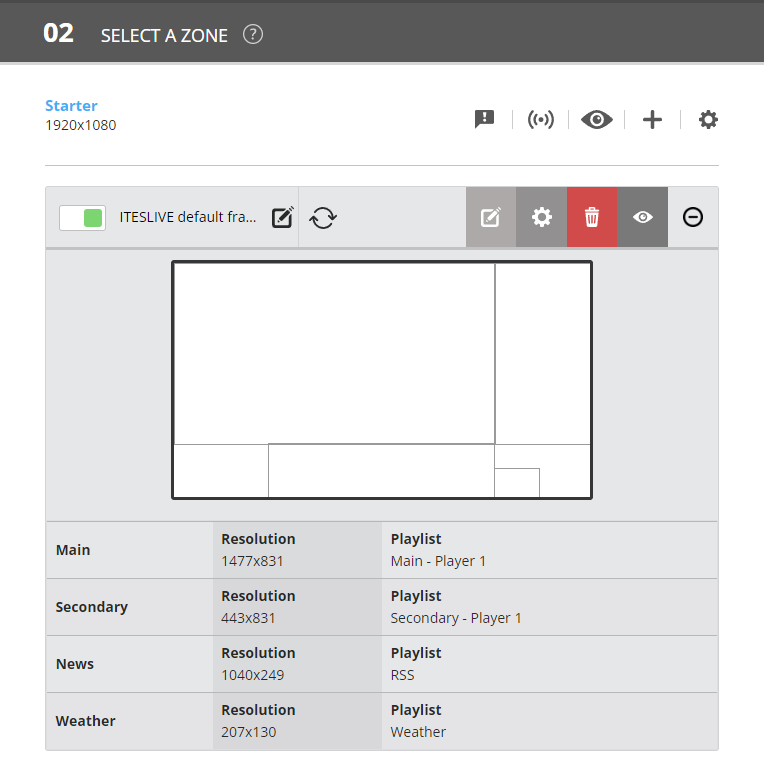
Once the playlist's content is visible under the "03 edit playlist" section of the Studio, click on the icon that represents two reversed arrows above the playlist's content.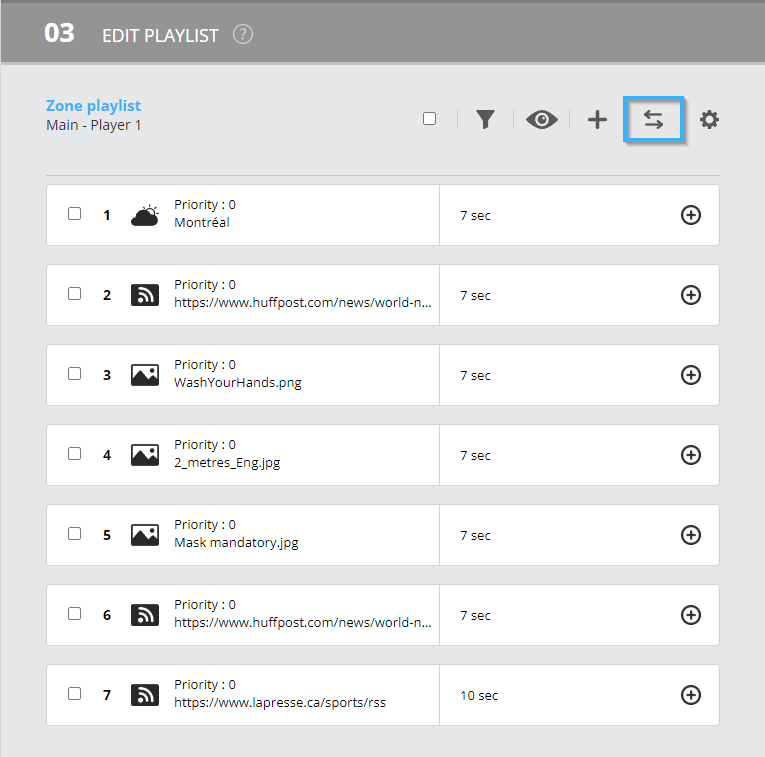
Navigate to the to the playlist that you wish to use for the synchronization for the selected zone and click on it to select it. Once it is selected, click on the "Select" button to change the playlist associated to the zone.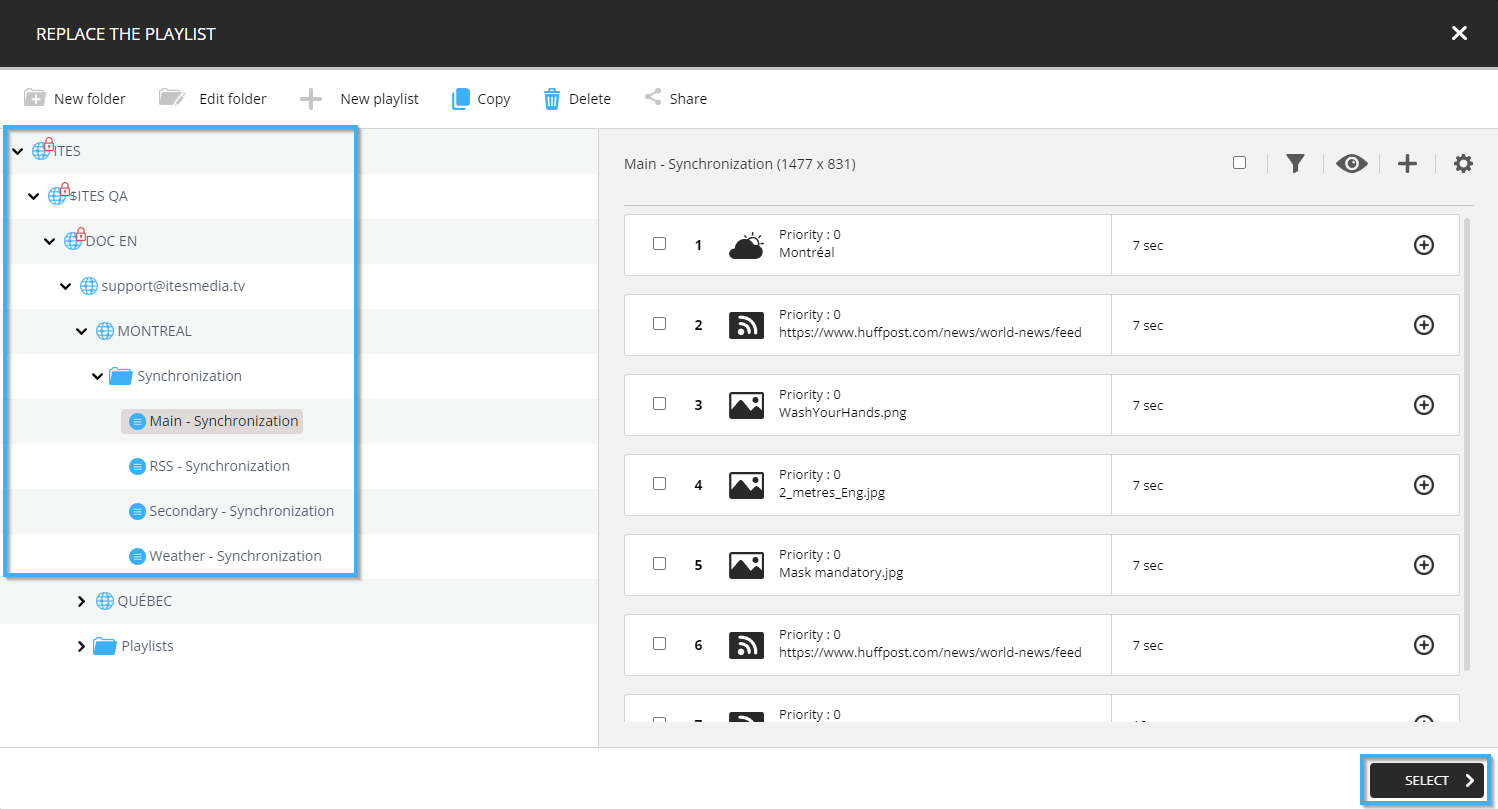
Important: You must repeat the steps described above until every zone, in every player is using the same playlist.
3. Activate the synchronization
Une fois que les configurations de serveur NTP ont été appliquées et que vous avez associé les mêmes listes de diffusion sur l'ensemble des lecteurs qui seront affectés. Naviguez à nouveau vers un des lecteurs désirés sur le Studio et cliquez sur son écran pour la sélectionner.
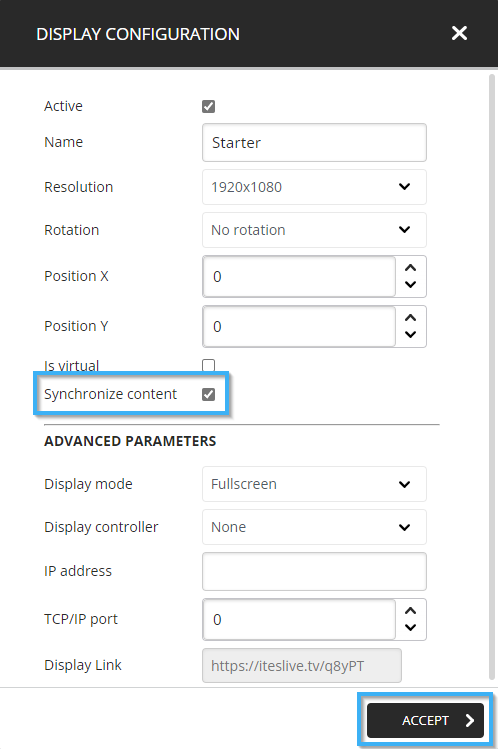
Cliquez ensuite sur l'engrenage à la droite du nom de l'écran sous la section « 02 Sélection de la zone ».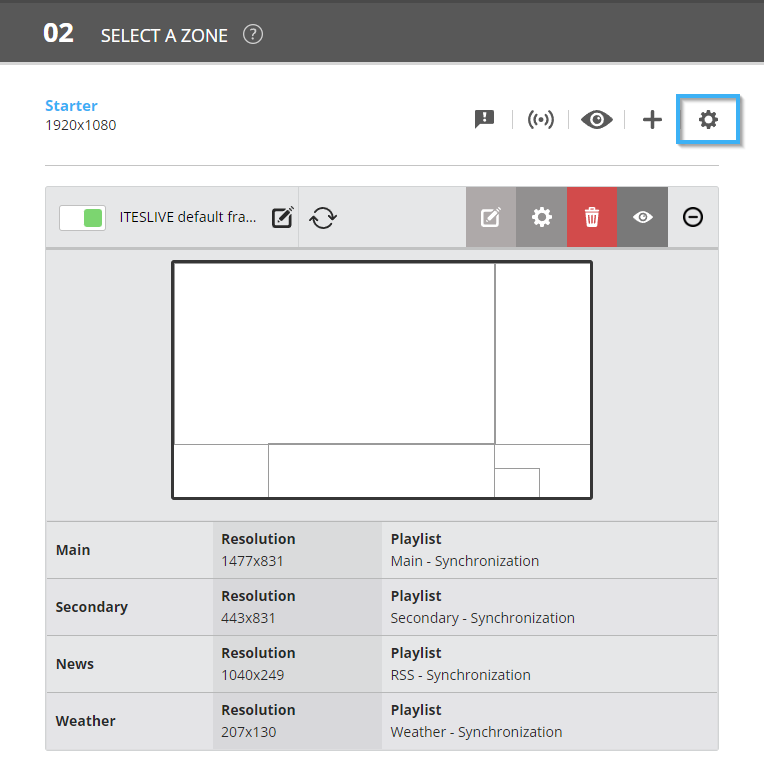
Cliquez maintenant sur la case à cocher « Synchroniser contenu » et cliquez sur le bouton « Accepter » pour activer la modification.