Troubleshooting BrightSign - How to obtain the device's logs
Export BrightSign device logs for diagnostic purposes
Note: Please note that you will need to know the BrightSign device's IP address and serial number in order to complete these steps.
Important : URLs for the images used in the procedure will be made available at the end of the procedure, so that you may download them to send to the client.
Take the SD card and open its contents on a computer, then open the "itesconfig.json" file in notepad.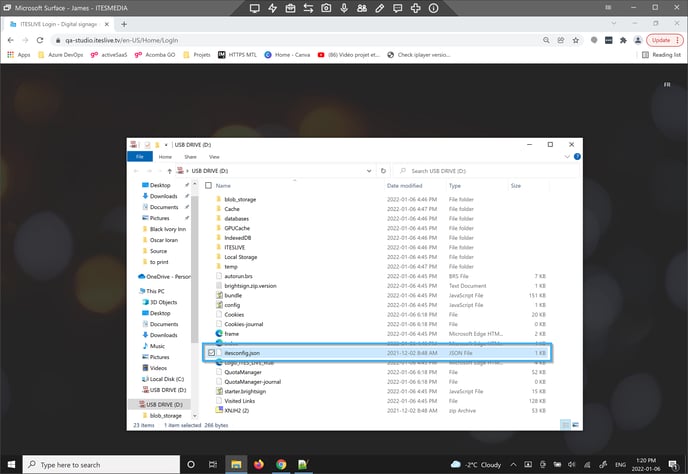
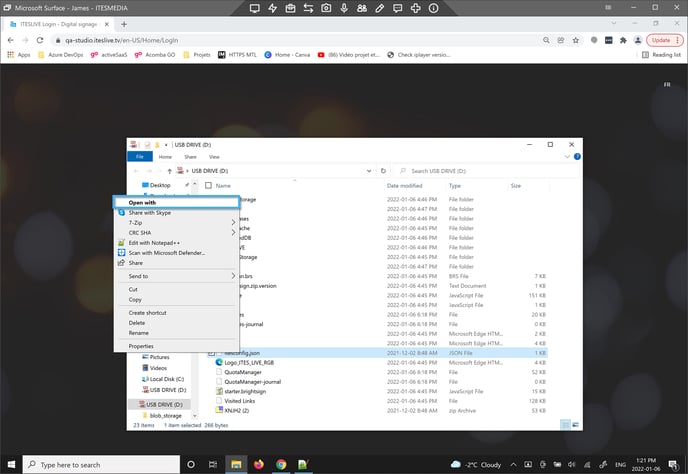
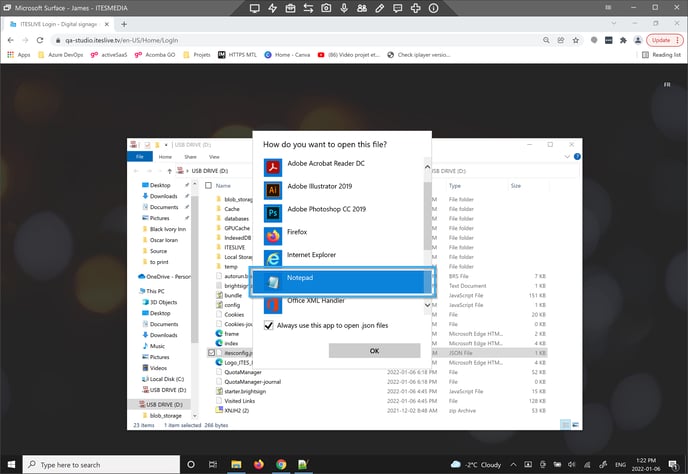
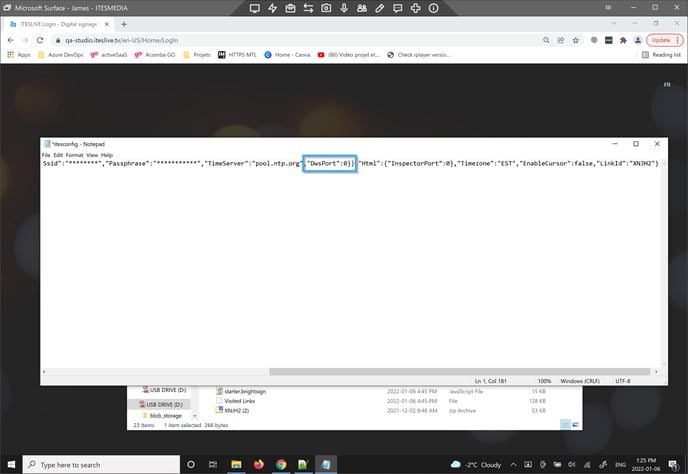
Find the "DwsPort" entry and change its value to 80. Save the file, eject the SD from your computer and insert it in the BrightSign device. You willl need to start the device and allow it to reach the point where you are experiencing the challenge.
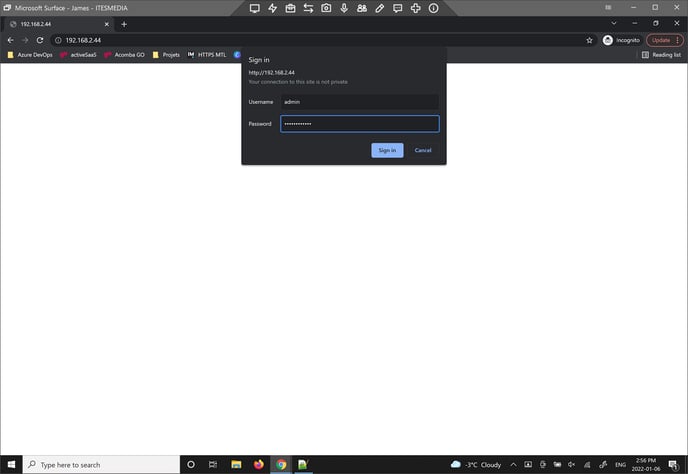
Once the device is running, access the BrightSign DWS page using the following URL. http://ipadress:80 (replace ipaddress with the device's ip)The DWS page will ask you to sign in, the username is "admin" and the password is your device's serial number.
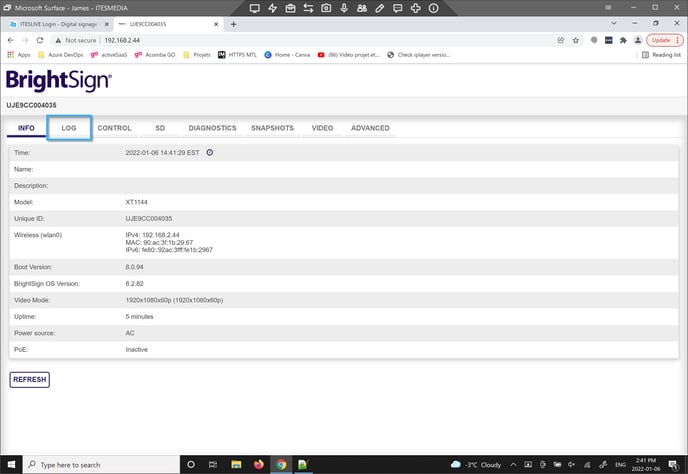
Click on the "LOG" tab
Download the log using the "DOWNLOAD LOG" button and send us the resulting file.
The information contained in the log file obtained using this procedure will have the information that our team needs to identify the root cause of the challenge with your devices.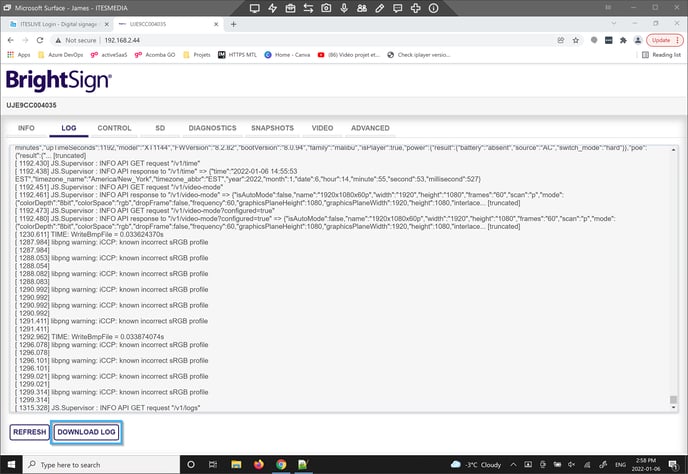
- https://itesfrontendcaneast.blob.core.windows.net/doc-interne/Troubleshoot Brightsign/1.png
- https://itesfrontendcaneast.blob.core.windows.net/doc-interne/Troubleshoot Brightsign/2.png
- https://itesfrontendcaneast.blob.core.windows.net/doc-interne/Troubleshoot Brightsign/3.png
- https://itesfrontendcaneast.blob.core.windows.net/doc-interne/Troubleshoot Brightsign/4.png
- https://itesfrontendcaneast.blob.core.windows.net/doc-interne/Troubleshoot Brightsign/5.png
- https://itesfrontendcaneast.blob.core.windows.net/doc-interne/Troubleshoot Brightsign/6.png
- https://itesfrontendcaneast.blob.core.windows.net/doc-interne/Troubleshoot Brightsign/7.png