| available with: |
| Windows Player : Premium Web Player : Premium LG webOS Signage Player : Premium Samsung SMART Signage Platform (SSSP / Tizen) Player : Premium Brightsign Player: Premium Android Player: Premium Linux Player: Premium macOS Player: Premium |
Important: To create a passenger information message from a library, you need to have created your message library and your transport message group. Furthermore, you must have associated your message library to your message group.
Click on the "Messages' tab and select the "Manage message group" entry.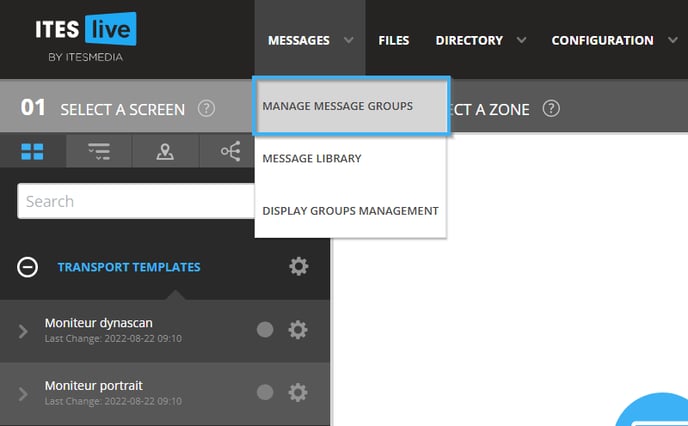
Click on the account group that contains the message group in which you wish to add a message on the left-hand side of the window. Then click on the message group on the right-hand side of the window.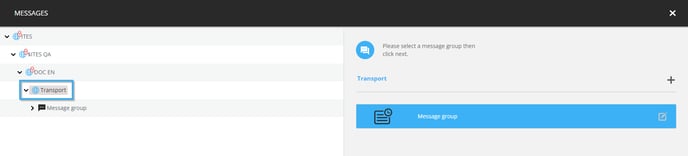
Once you have selected the group, click on the "Next" button in the bottom right-hand corner of the window.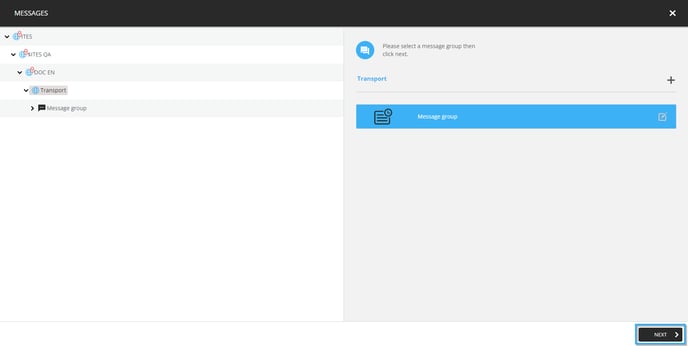
To add a message from the message library, click on the "New message from library" button.
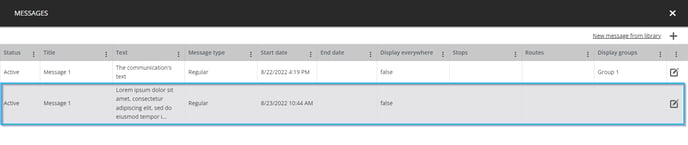
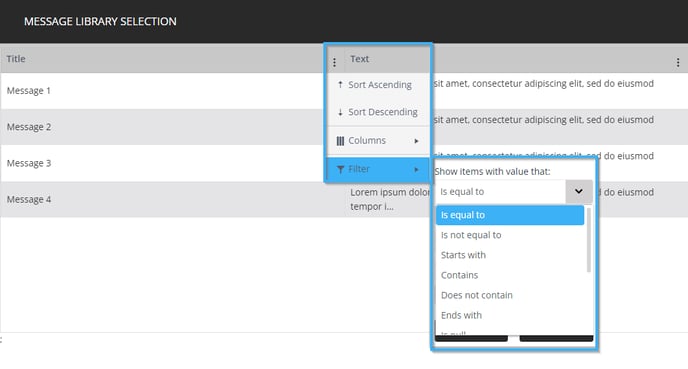
The messages included in the library will be displayed in a list. The following actions can be taken to facilitate your navigation through the list by clicking on the icon that resembles 3 small dots to the right of each column.
- Sort Ascending: Sorts the entries in an ascending order according to the values of the selected column.
- Sort descending: Sorts the entries in a descending order according to the values of the selected column.
- Columns: By clicking on this entry, a list of columns with check boxes next them will be displayed. By disabling one of the check boxes to the left of the column's name will hide it from the window's visual presentation. Enabling a disabled check box will make the selected column visible once more.
- Filter: It is possible to search for a message according to the text entered in the text box.
- Is equal to: The entries must be identical to the text entered here.
- Is not equal to: The entries must not be identical to the text entered here.
- Starts with: The entries must start with the text entered here.
- Ends with: The entries must end with the text entered here.
- Contains: The entries must contain the text entered here.
- Does not contain: The entries must not contain the texte entered here.
- Is equal to: The entries must be identical to the text entered here.
Once you have selected the desired message, click on the "Select" button to its right.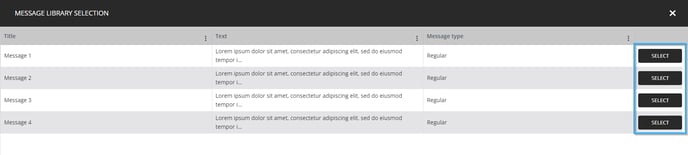
The configuration window will open and the content of the message selected from the library will already be present, you simply need to select the message's destination, enter a start and end date and edit the message's text if necessary.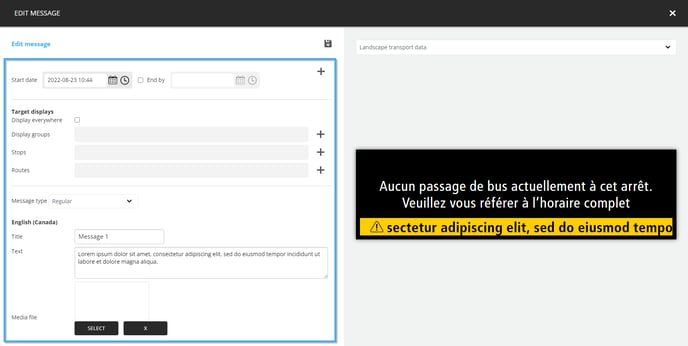
In addition to writing the message, you can see the content's preview on the right-hand side of the window.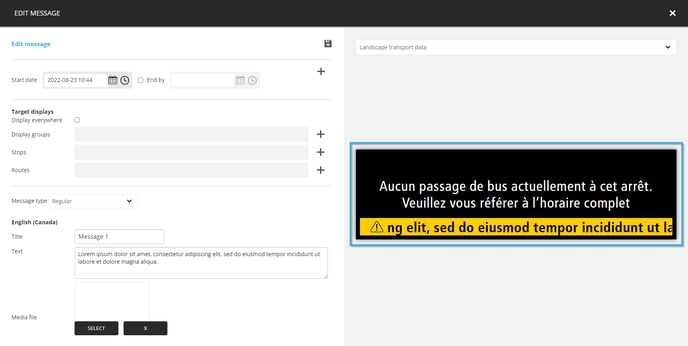
If there are multiple templates associated to the message group, you can click on the drop-down list above the preview to select a different template.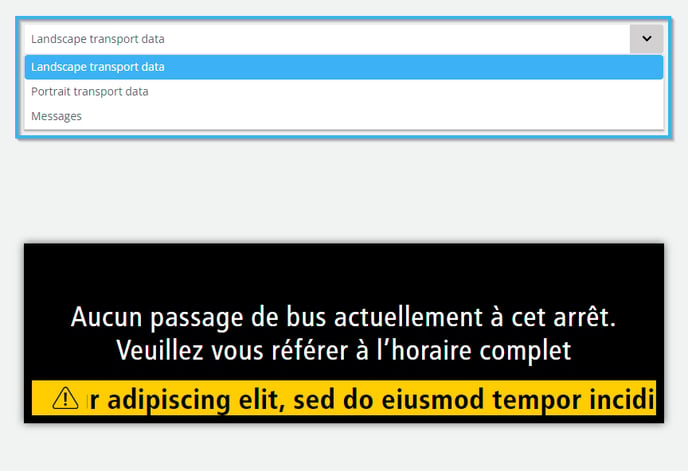
When you are ready to save the message, click on the "floppy disk" icon above the message configurations.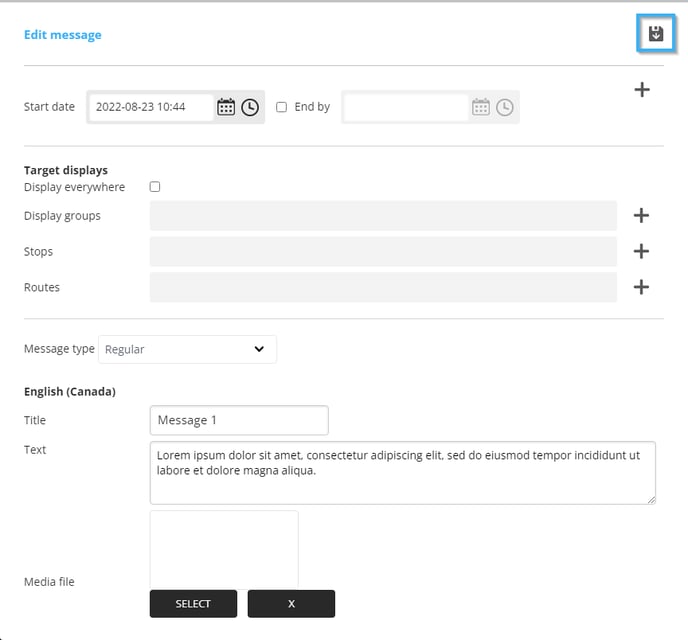
Once the message has been saved, click on the "x" icon in the top right-hand side of the corner.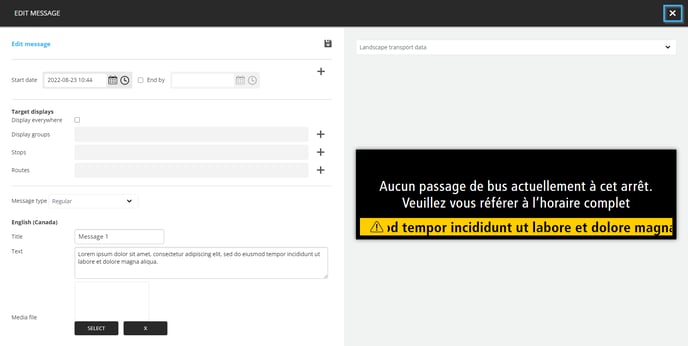
The message will now be visible in the list of messages in the group.