| available with: |
| Windows Player : Starter, Pro, Premium Web Player : Starter, Pro, Premium LG webOS Signage Player : Starter, Pro, Premium Samsung SMART Signage Platform (SSSP / Tizen) Player : Starter, Pro, Premium Brightsign Player: Starter, Pro, Premium Android Player: Starter, Pro, Premium Linux Player: Starter, Pro, Premium macOS Player: Starter, Pro, Premium |
What is the list tool?
The list tool is used to configure lists of internal data, such as birthdays in a message group or in a list of external data such as the trips of several bus routes in a transport clip.
How to place a list tool in a template
Click the list tool in the list on the left-hand side of the template editor.
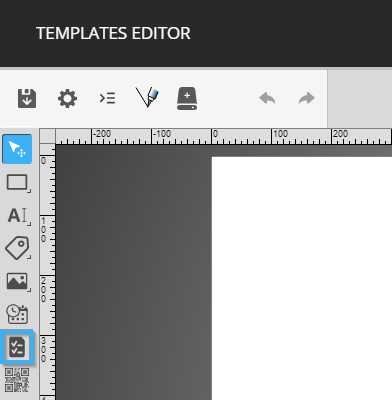
Click and drag your mouse in the template's white space to place the list tool.
You can use the circles around the tool or the controls for its position and size to place the tool.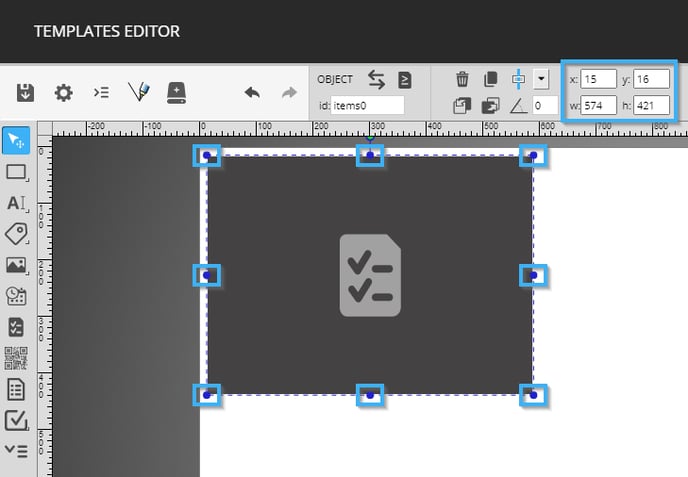
Once the list has been placed, you can determine the number of rows and columns that will be present in the list. There are other configurations that are available at the top of the template editor, the following is the list of these configurations.
- Rows: The number of rows in the list
- Columns: The number of columns in the list
- Horizontal gap: The horizontal space in pixels between elements in the list
- Vertical gap: The vertical space in pixels between elements in the list
- Element direction: Determines if the elements in the list are organized horizontally or vertically
- Scrolling method: Determines if the list scrolls horizontally or vertically.
- None: The list does not scroll
- Continuous: The list will scroll constantly in the direction specfied
- By page: The list will vertically scroll one page at a time
- By page horizontal: The list will horizontally scroll one page at a time
- Touch vertical: The list can be scrolled manually using an interactive display and will also scroll automatically
- Touch horizontal: The list can be scrolled manually using an interactive display and will also scroll automatically
- Max elem./list: Limit the number of items displayed in the list. This configuration allows you to control the number of visible items on the screen, even when using dynamic external data.
- Data source: This drop-down list allows you to select the data source that will be used in the list. This configuration is only pertinent if you are configuring an external data list.
- Data node: Determines the data node in the data source that contains the information that will be displayed in the list.

How to configure the list's content
Note: In the event that you wish to configure a list of internal data, you must have created your fields in the definition editor beforehand
In the event that you wish to configure a list of external data, you must have added a data source to the template beforehand
Important: Although the use of message group clips (internal data lists) are available to both Pro and Premium licences. A Premium licence is required for the use of a template containing a list of external data.
Double-click the list tool in the template to edit its content.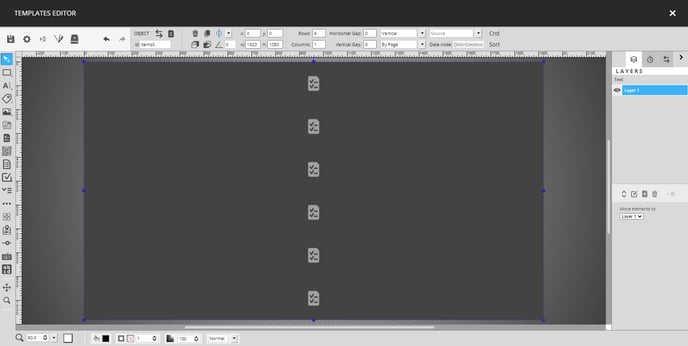
Once you have double-clicked the list, you will see that the template becomes greyed out and that you have a new list of layers.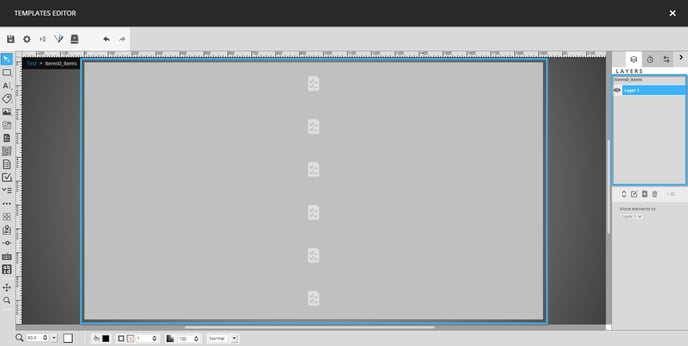
We recommend that you create several layers to separate the elements that will be one on top of the other in the list. Doing so will make updating or maintaining the template easier in the future. You can create new layers using the controls on the right side of the template editor.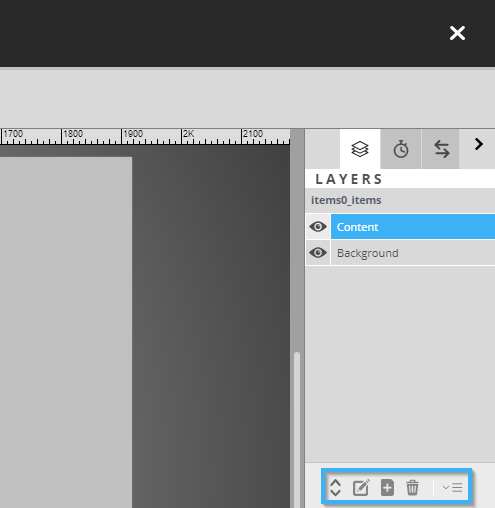
When you configure a list, it is important to note that you must only configure the first row in the list. The list will automatically reproduce the visual items in the first row to the following rows in the display.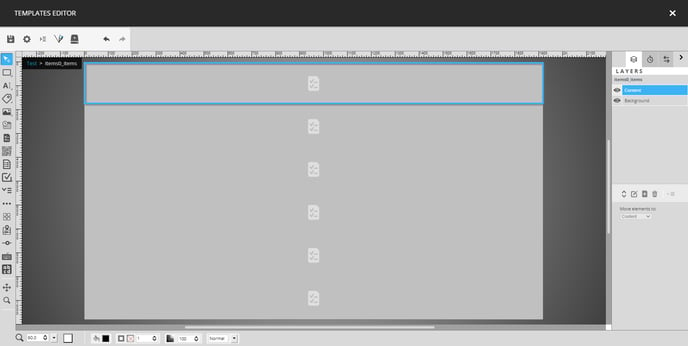
Once you have placed the list's content, click on the button bearing the template's name to return to its root.

You can see that you are no longer in the list's context, because the template is no longer greyed out. You can now click on the icon that represents a hard drive to save the changes made to the list.