| AVAILABLE WITH: |
| Windows Player: Starter, Pro, Premium Web Player: Starter, Pro, Premium LG webOS Signage Player: Starter, Pro, Premium Samsung SMART Signage Platform (SSSP / Tizen) Player: Starter, Pro, Premium Brightsign Player: Starter, Pro, Premium Android Player: Starter, Pro, Premium Linux Player: Starter, Pro, Premium macOS Player: Starter, Pro, Premium |
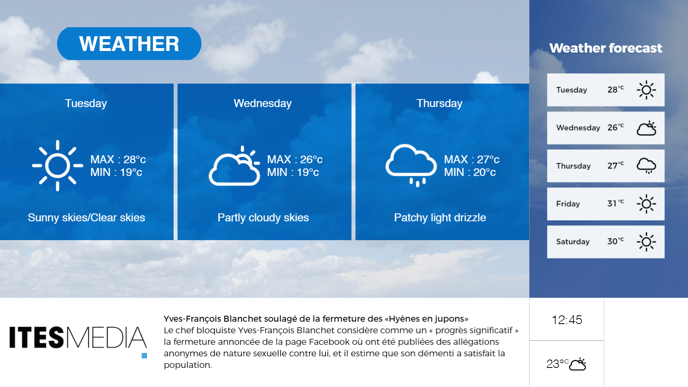
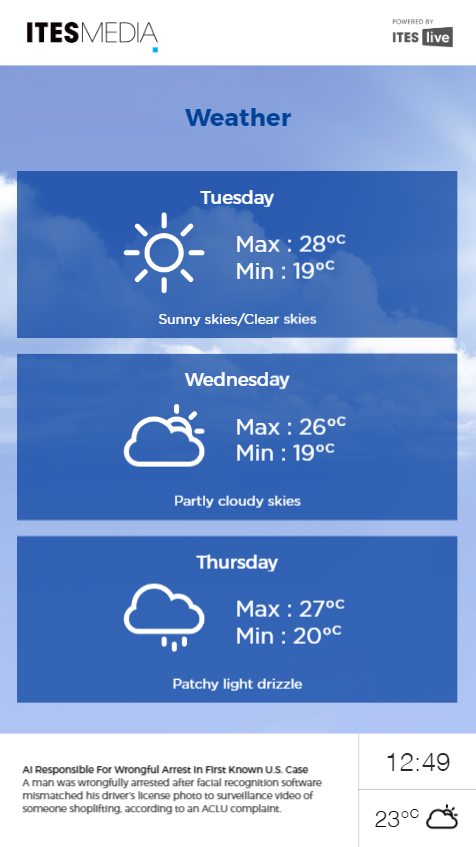
Your account automatically comes loaded with weather information display templates. You can see some of the available choices below.
Landscape
 Portrait
The resolution settings for the various weather clip templates are as follows:
- Main zone (landscape): 1477x831
- Main zone (portrait): 1080x1516
- Secondary zone on the right (landscape): 443x831
- Secondary zone on the bottom (landscape): 1040x249, 1180x249, 1477x249
- Secondary zone on the bottom (portrait): 813x257
Note: You can also create new visuals using the content template editor available in the Pro and Premium versions.
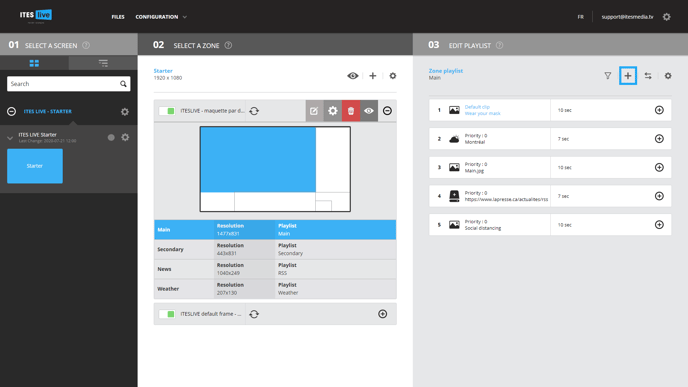
1. Select the zone where you wish to display the weather information
There is generally a zone specifically set aside for weather information in your zone template.
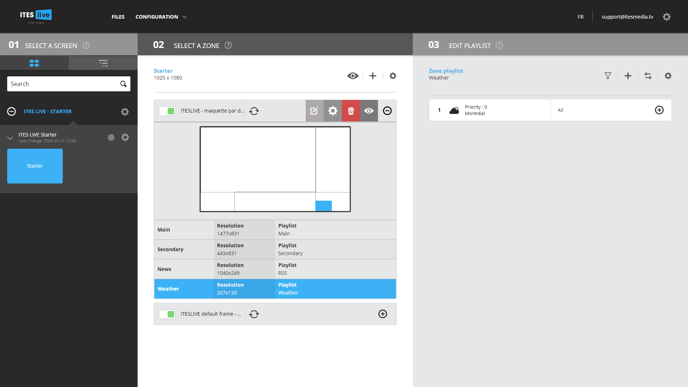
You can also incorporate weather information into other zones.
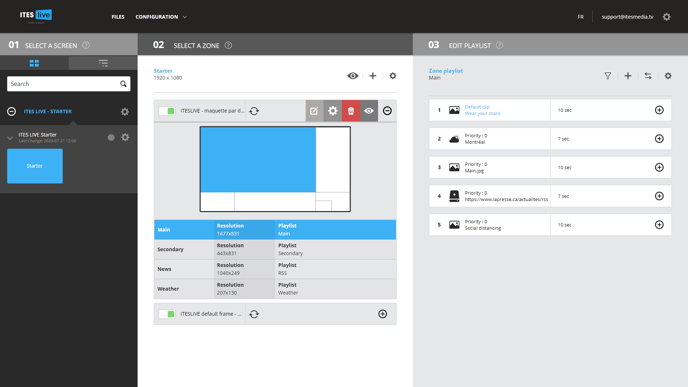
2. Click the “+” above the content of your playlist
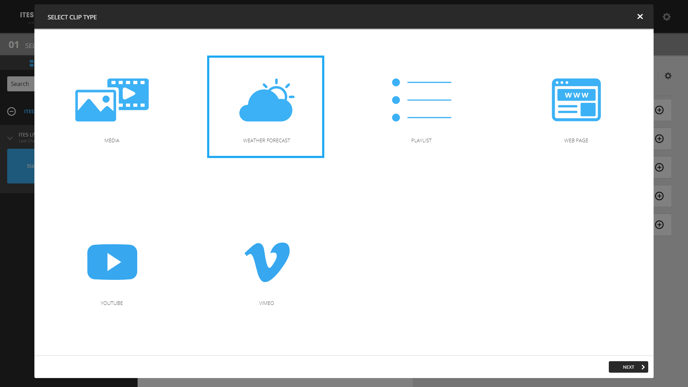
3. Choose the type of weather information
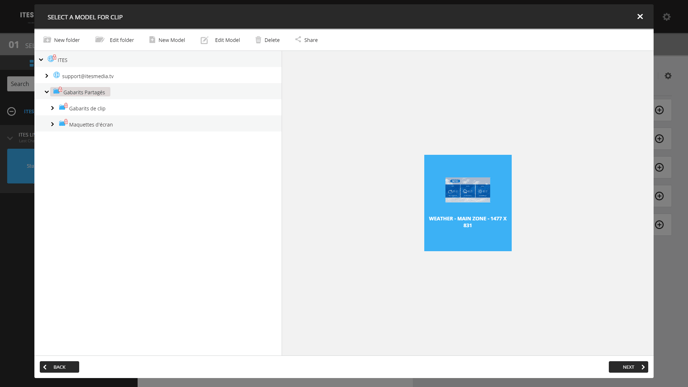
4. Choose the desired template
5. Select the desired city for your weather information
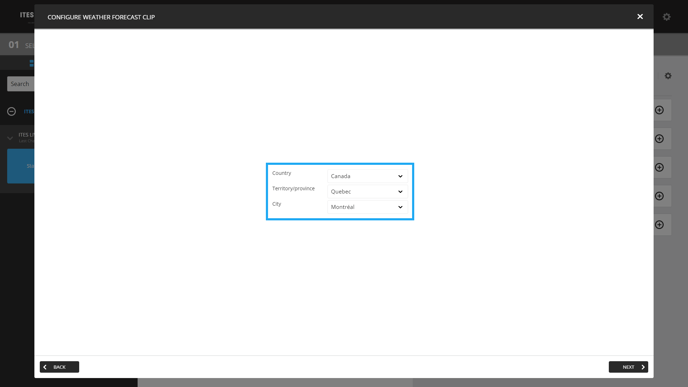
6. Adjust your clip settings
Click “Next” to adjust your clip settings.