How to attribute a role to a user
Learn how to attribute a role to a user
| available with: |
| Windows Player : Pro, Premium Web Player : Pro, Premium LG webOS Signage Player : Pro, Premium Samsung SMART Signage Platform (SSSP / Tizen) Player : Pro, Premium Brightsign Player: Pro, Premium Android Player: Pro, Premium Linux Player: Pro, Premium macOS Player: Pro, Premium |
While creating a user
Attributing a role to an existing user
While creating a user
After logging into the ITESLIVE Studio, click the button to access the tree view under the "01 Select a screen" header.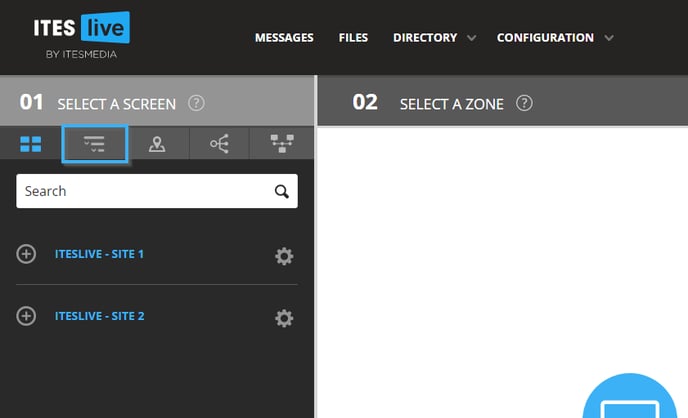
Click on the gear to the right of the account group in which you wish to create a role and select the "Users" entry.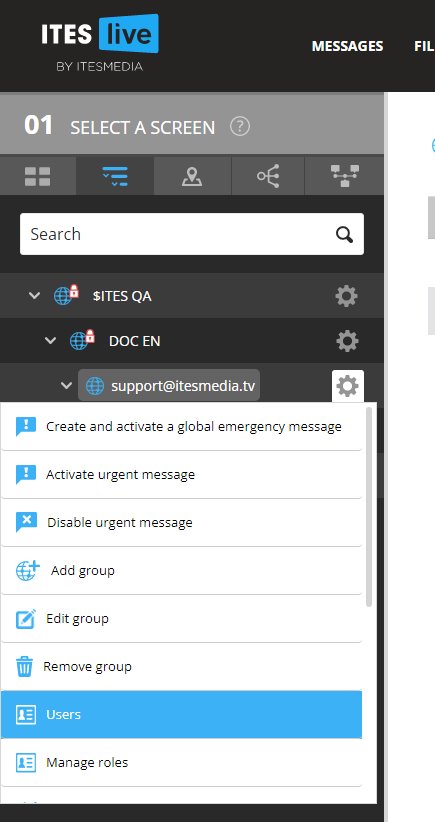
Click the "+" icon above the user list to create a new user.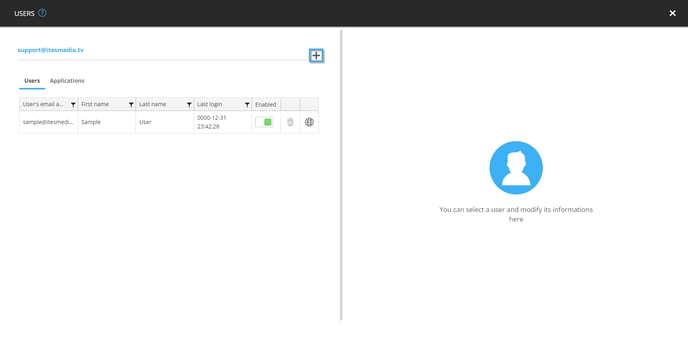
Enter the user's information as you normally would during the user creation process, then, navigate to the end of the form. Under the "Roles" header displayed in bold, you will find an empty list with a "+" symbol to its right. Click on the "+" icon.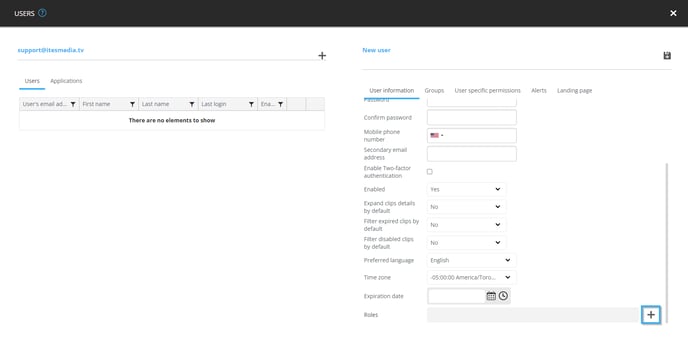
Navigate to the account group that contains the role you wish to attribute to the user, select the desired role in the list and click on the "Select" button to apply your selection.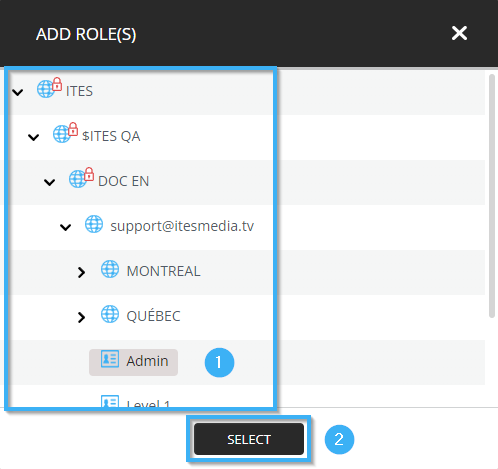
Once you see the role's name in the list, click the icon that represents a floppy disk in the top right-hand corner of the window.
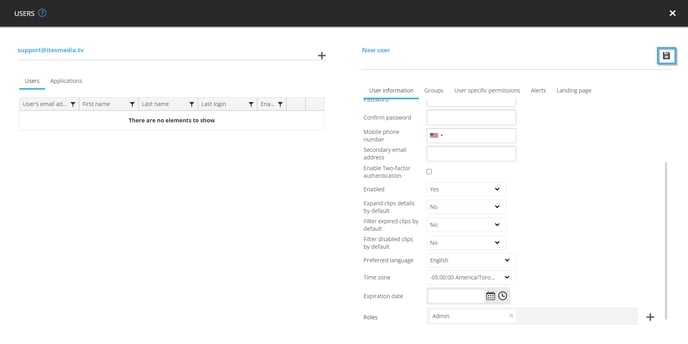
Attributing a role to an existing user
After logging into the ITESLIVE Studio, click the button to access the tree view under the "01 Select a screen" header.
Click on the gear to the right of the account group in which you wish to create a role and select the "Users" entry.
Click on the user to which you wish to attribute a role in the user list on the left-hand side of the window.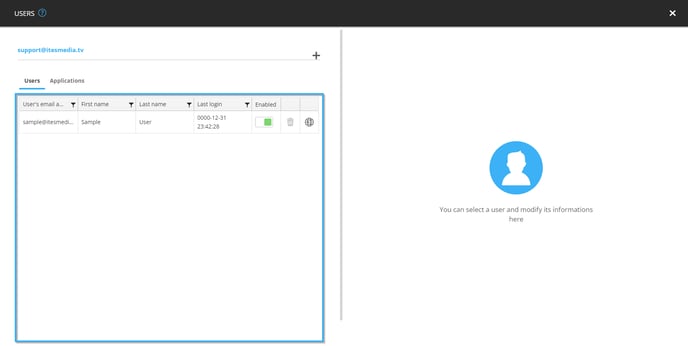
Navigate to the end of the form. Under the "Roles" header displayed in bold, you will find an empty list with a "+" icon to its right. Click on the "+" icon.
Note: If the user already has a role, its name will already be visible in the list.
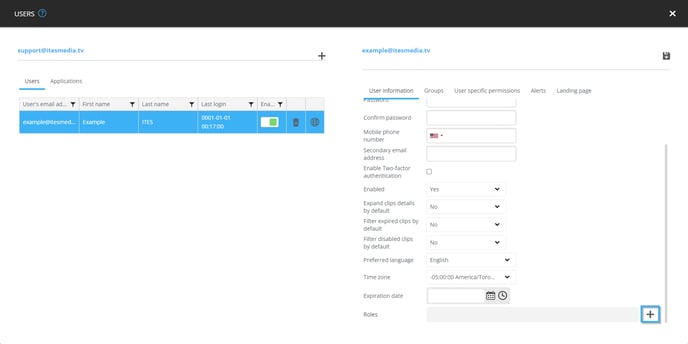
Navigate to the account group that contains the role you wish to attribute to the user, select the desired role in the list and click on the "Select" button to apply your selection.
Once you see the role's name in the list, click the icon that represents a floppy disk in the top right-hand corner of the window.
