How to create a property clip
Learn how to create a property clip
| available with: |
| Windows Player : Real Estate Pro, Real Estate Premium Web Player : Real Estate Pro, Real Estate Premium LG webOS Signage Player : Real Estate Pro, Real Estate Premium Samsung SMART Signage Platform (SSSP / Tizen) Player : Real Estate Pro, Real Estate Premium BrightSign Player: Real Estate Pro, Real Estate Premium Android Player: Real Estate Pro, Real Estate Premium Linux Player: Real Estate Pro, Real Estate Premium macOS Player: Real Estate Pro, Real Estate Premium |
Select the zone in which you wish to add a "listing" clip
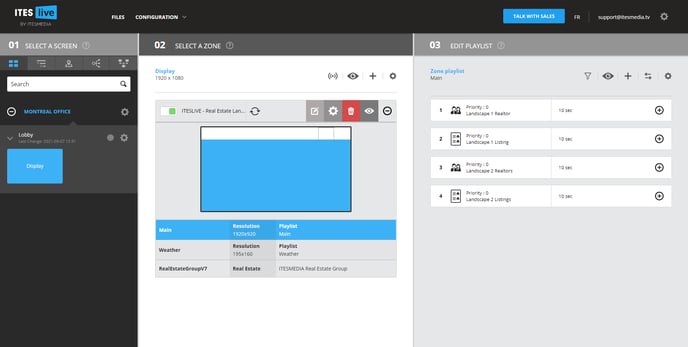
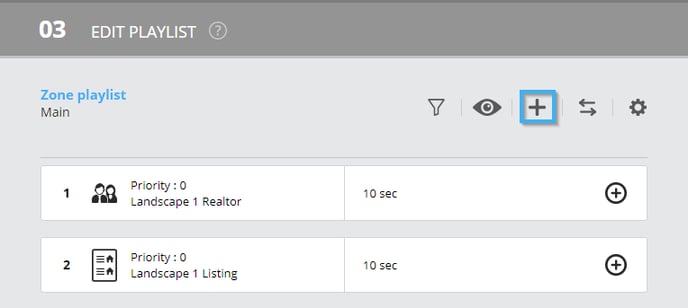
Click the "+" icon above the playlist
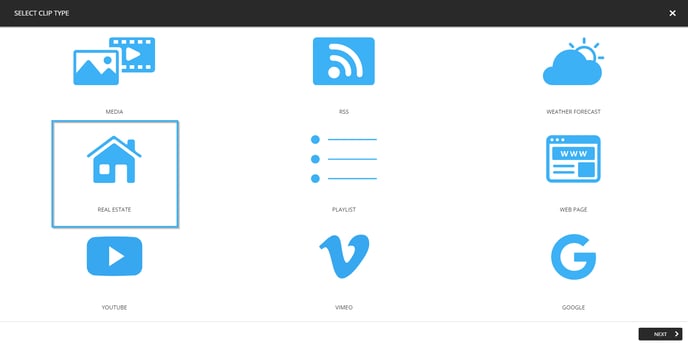
Select the "Real Estate" clip type
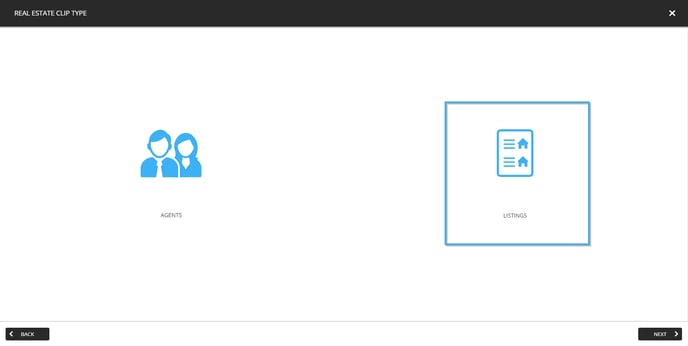
Select the "listings" subtype
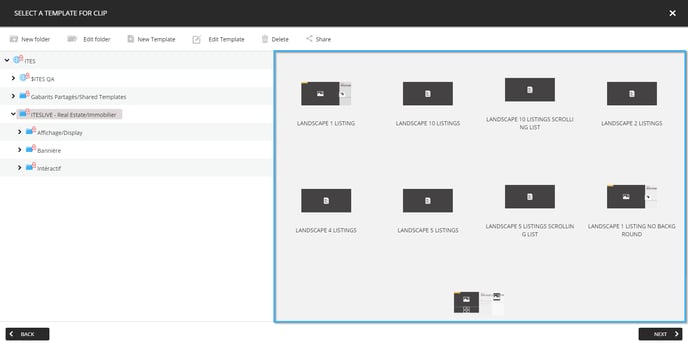
Select the template that you wish to use for the clip
Note: The template used for a Real Estate clip determines both the visual aspects of the clip and the number of listings displayed in the clip.
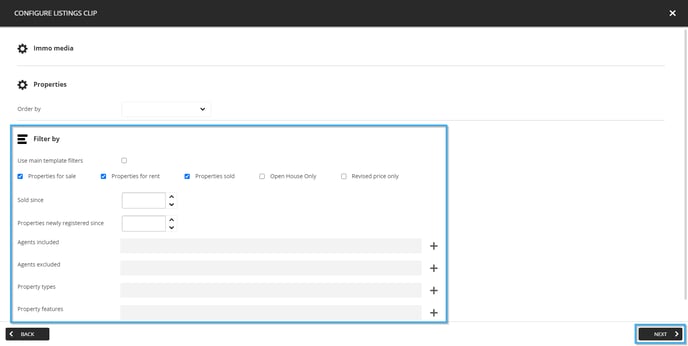
Apply the desired filters and click the "Next" button.
Real Estate clips use filters that determine which information is included in the clip when it is broadcast. If you do not edit the default configurations and click the "next" button, all of the available data will be used. In the event that you edit the filters, the data that respects the configurations that you have applied will be broadcast exclusively. The following is the list of available configurations for listing clips.
- Order by : Allows you to sort the listings displayed in the clip by inscription date or by sale date. This configuration will not sort the data if the default option is selected.
- Use main template filters : This configuration makes it so that the filters applied on the screen frame are applied rather than those in the clip. When this configuration is active, the clip's filters are hidden by the ITESLIVE Studio.
- Properties for sale : Includes the listings that are for sale in the clip's data if it is activated.
- Properties for rent : Includes the listings that are for rent in the clip's data if it is activated.
- Properties sold : Includes the listings that have been sold in the clip's data if it is activated.
- Open house only : Includes the listings that have open houses exclusively in the clip's data if it is activated.
- Revised price only : Includes the listings that have revised prices exclusively in the clip's data if it is activated.
- Sold since : A numerical value that represents the number of days since the listing was sold. This configuration will include exclusively listings sold within that time frame.
Important: This configuration cannot be used if the "Properties sold" checkbox is not active.
- Properties newly registered since : A numerical value that represents the number of days since the property was listed. This configuration will include properties that have been listed within the specified time frame exclusively.
- Agents included : Allows you to select one or more realtors that will be included exclusively in the clip's data.
Important: Although there are configurations to include and exclude realtors, you cannot include and exclude realtors in the same clip. Due to the contradicting natures of these filters, it is not possible to use them together, you need to either include or exclude realtors in the clip's data.
- Agents excluded : Allows you to select one or more realtors that will be excluded from the clip's data.
Important: Although there are configurations to include and exclude realtors, you cannot include and exclude realtors in the same clip. Due to the contradicting natures of these filters, it is not possible to use them together, you need to either include or exclude realtors in the clip's data.
- Property types : Allows you to select one or more property types that will be included exclusively in the clip's data.
- Property features : Allows you to select one or more property features, this configuration will make it so that only listings that have these features are included in the clip's data.
- Cities : Allows you to select one or more cities, this configuration will make so that properties located in the selected cities will be included exclusively in the clip's data.
Once you have applied the desired filters, click the "Next" button.
Adjust your clip settings
Click “Next” to adjust your clip settings.