| available with: |
| Windows Player : Pro, Premium Web Player : Pro, Premium LG webOS Signage Player : Pro, Premium Samsung SMART Signage Platform (SSSP / Tizen) Player : Pro, Premium Brightsign Player: Pro, Premium Android Player: Pro, Premium Linux Player: Pro, Premium macOS Player: Pro, Premium |
Creating a new template
Once you are logged into the ITESLIVE Studio, click on the "Configuration" tab and select "Templates management". 
Select the folder in which you wish to create the template and click the "New template" button.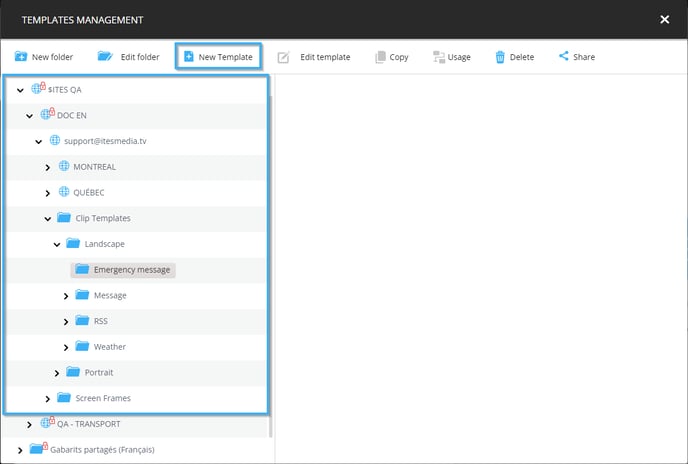
Before create the template's visual elements, you must fill the following fields.
- Name: Unique identifier used for this template
- English name: The name that will be displayed when the Studio is used in English
- French name: The name that will be displayed when the Studio is used in French
- Type: In this example, we must select the "Urgent message" type template.
- Dimensions: The template's resolution must match that of the monitor it will be used on
- Icône: Vous pouvez sélectionner un fichier qui servira de "Thumbnail" pour le gabarit
- Icon: A file that you can select that will be used as a thumbnail for the template
- Language: Determines the number of languages included in the template
- Intro transition (optional): The animation of the transition used by the template if it has an introduction
- Intro transition duration (optional): The play length for the intro's transition animation
- Intro play length (option): The playlength for the introduction
Once this information has been completed, click on the accept button.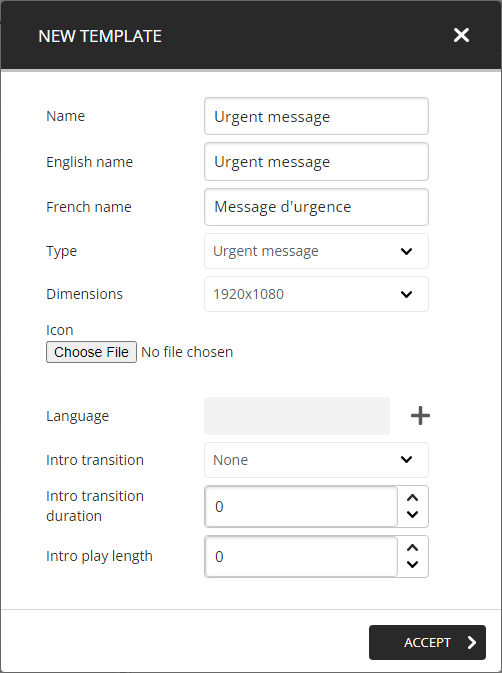
Creating the fields in the definition editor
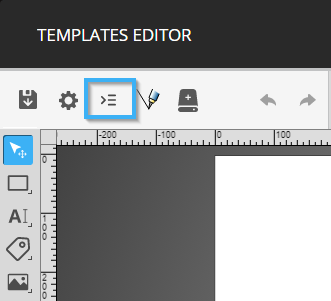
Click on the button to the right of the gear in the top left-hand corner of the template editor.
Click on the icon that resembles a "+" symbol.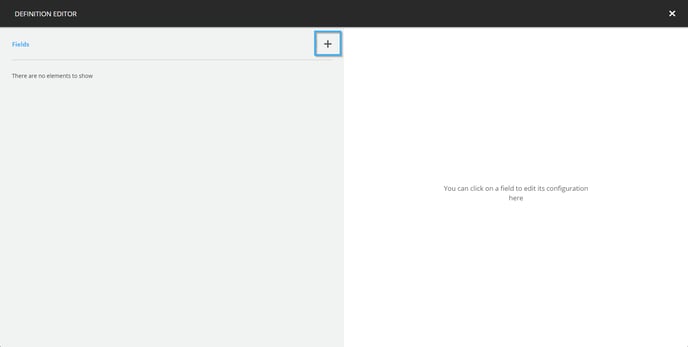
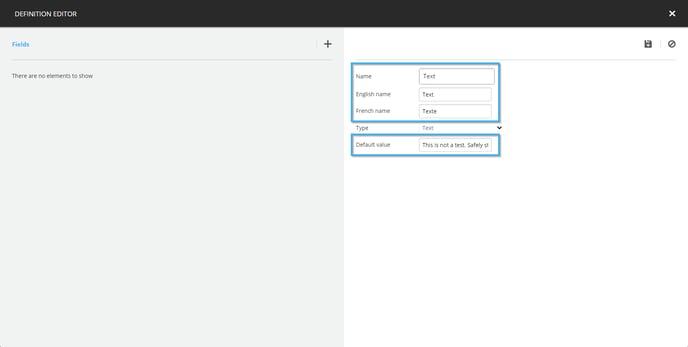
Enter the following information in the "Name", "English name", "French name".
- Name : Text
- English name : Text
- French name : Texte
Note: If there is a default text you would like to include, you can copy and paste it in the Default Value field. This will make it so that the field will be filled with this texte by default.
Click the drop-down list to the right of the "Type" heading and select "Rich text".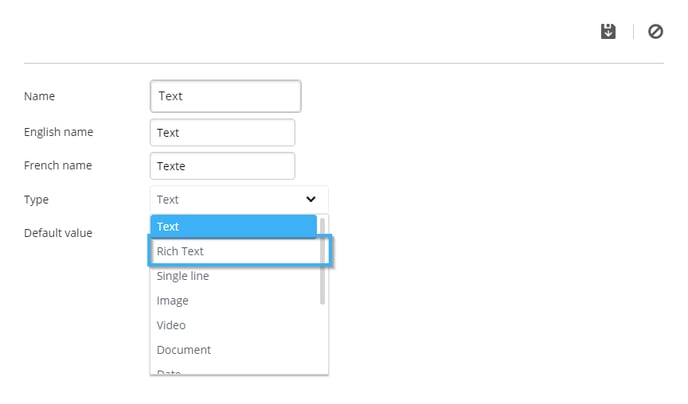
Then click the save button that resembles a floppy disk in the top right-hand corner of the window.
Creating the template's visual elements
Creating a background
Click on the button that allows you to edit a layer's name under the layer list on the right-hand side of the template editor.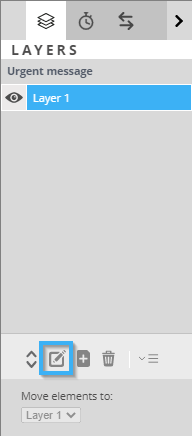
In the window that opens, enter the following texte and click the "OK" button.
Background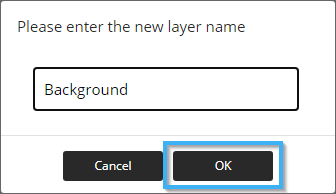
Click the shape tool in the list on the left-hand side of the template editor.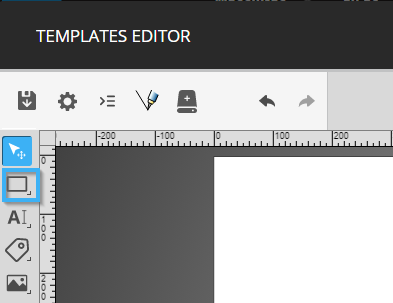
Click and drag your mouse in the template to place the tool.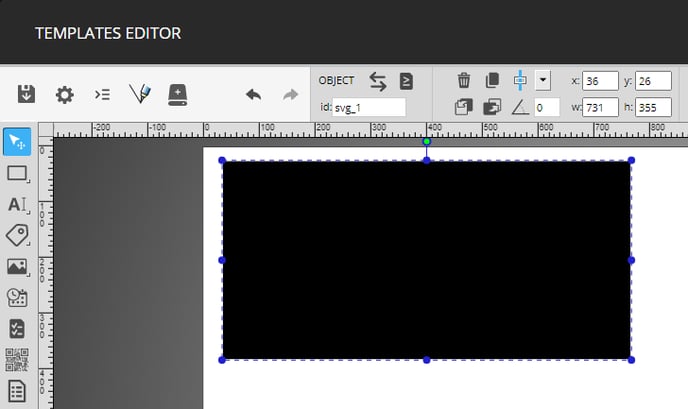
You can use the circles around the shape or the controls for the tool's position and size to place it.
Then click on the control that determines the shape's colour in the bottom left-hand corner of the template editor. You can enter the desired colour in the hexadecimal or RGB formats, once a colour has been entered, click on the "OK" button to apply it.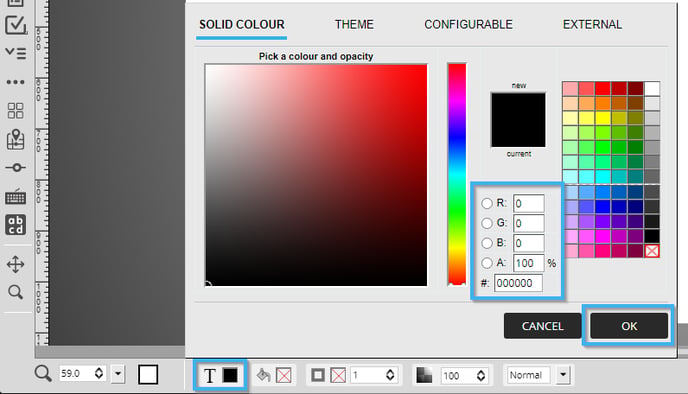
The following are the values used in this example.
- X : 0
- Y : 0
- W : 1920
- H : 1080
- Colour : #ffffff
Creating the text
Click on the button that adds a layer below the list of layers on the right-hand side of the template editor.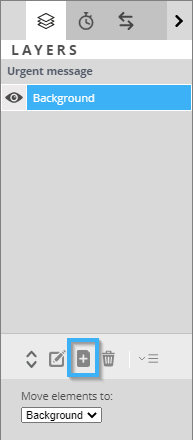
In the window that opens, enter the following text and click the "OK" button.
Text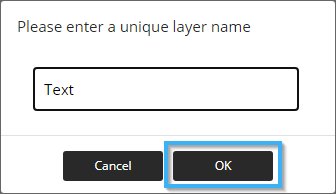
Click on the text tool in the list on the left-hand side of the template editor.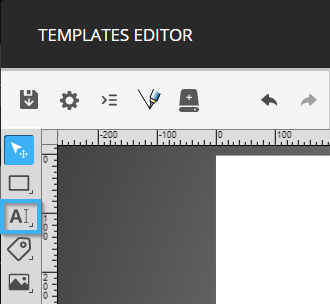
Click and drag your mouse in the template to place the tool.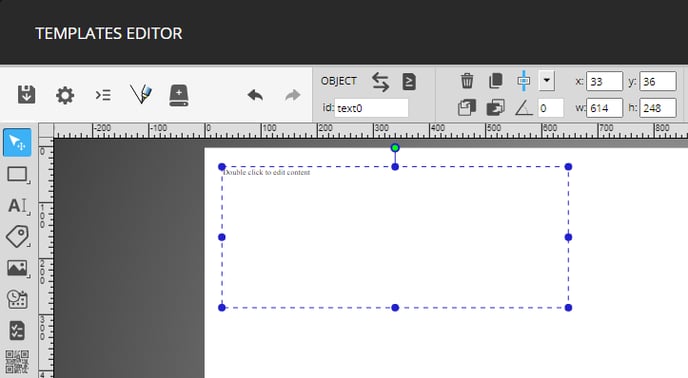
You can use the circles around the shape or the controls that determine its size and position to place it.
You can use the controls to the right of those that determine the tool's size and position to configure its default font.
Click on the control that determines the text's colour in the bottom left-hand corner of the template editor. You can enter a colour in the hexadecimal or in the RGB format and click on the "OK" button to apply it.
The following are the configurations used in this example
- X: 245
- Y: 607
- W: 1433
- Y: 394
- Font family: Montserrat
- Font style: Semi bold
- Font size: 48px
- Text transformation: Normal
- Horizontal alignment: Center
- Vertical alignment: Top

Once the tool has been placed, double-click it to configure its content.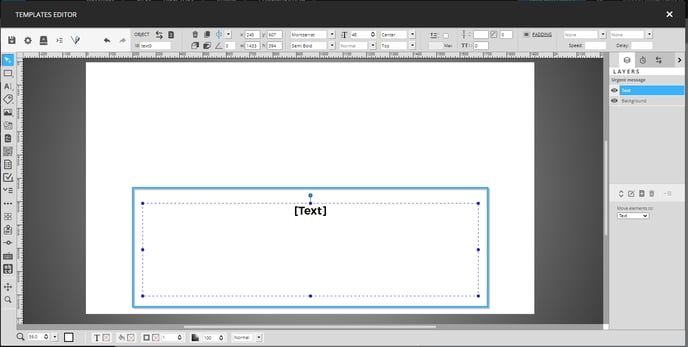
In the content configuration window, click on the "Insert field" drop-down list and select the "Text" field you created earlier.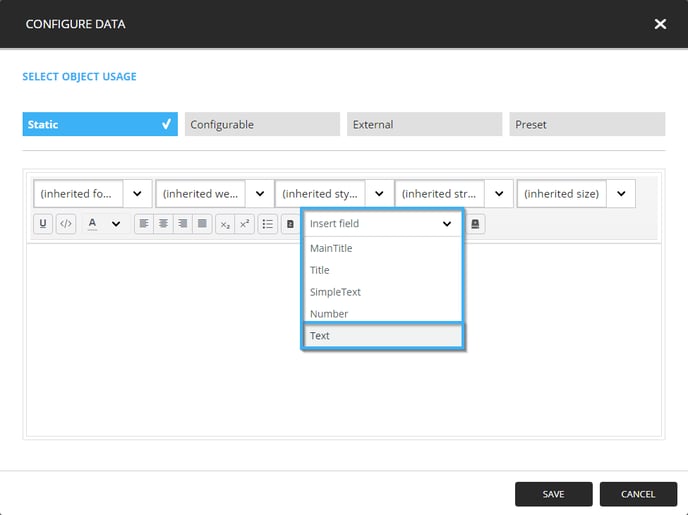
Once the text is vicible in the content configuration visible, click on the "Save" button.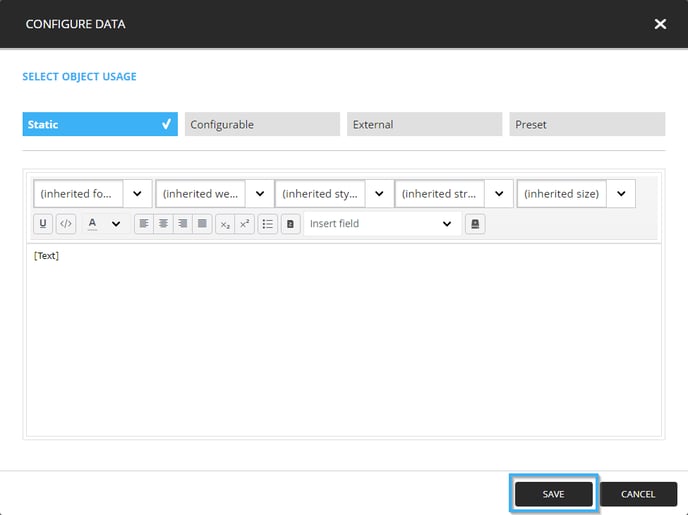
Adding an urget icon
Click the image tool in the list on the left-hand side of the editor.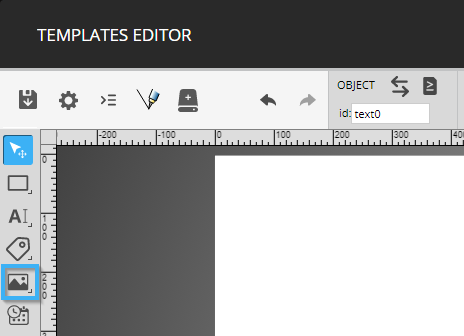
Click and drag your mouse in the template to place the tool.
You can use the circles around the tool or the controls that determine its size and position to place it.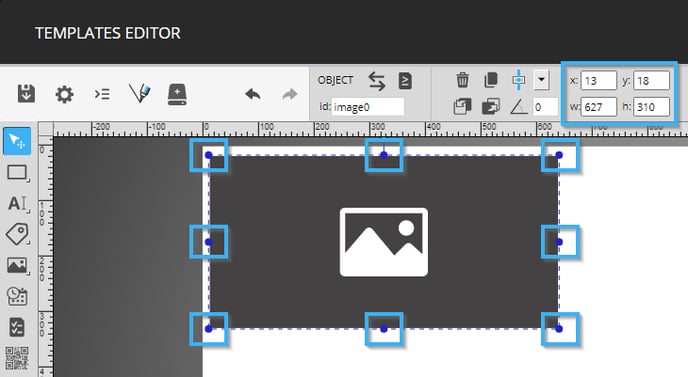
The following are the configurations used in this example.
- X: 657
- Y: 127
- W: 603
- H: 363
- Horizontal alignment: Center
- Vertical alignment: Middle
- Scalling method: Contenir

Now double-click the tool in the template to configure its content.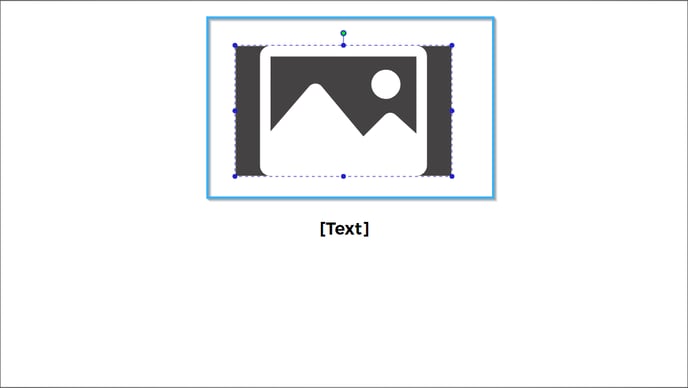
In the content configuration window, click the "Select" button.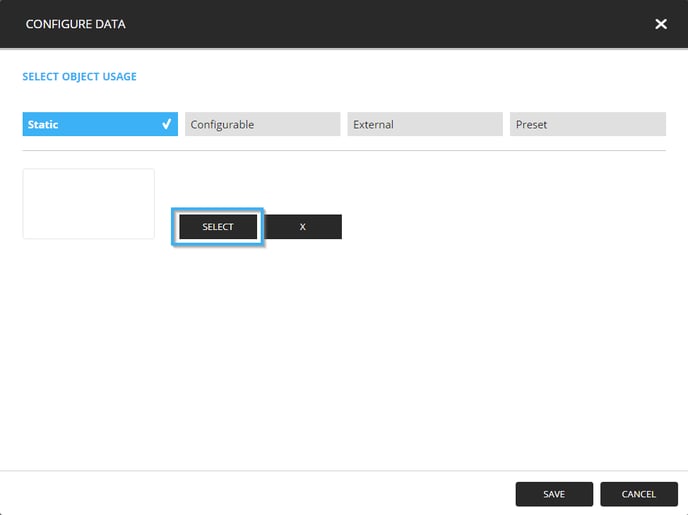
Navigate to the folder that contains the image that you wish to use and select the image. You have selected the desired image, click on the "Select" button.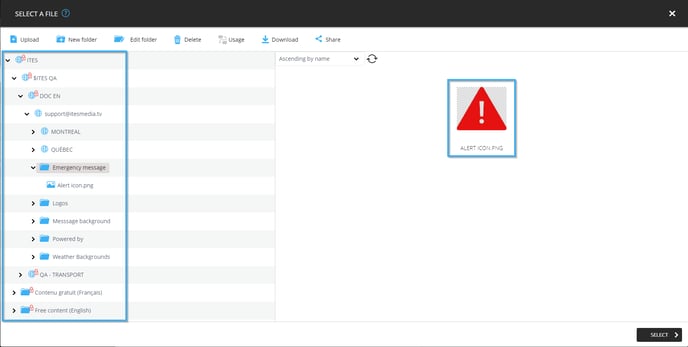
Once the image is visible in the tool's content configuration window, click on the "Save" button.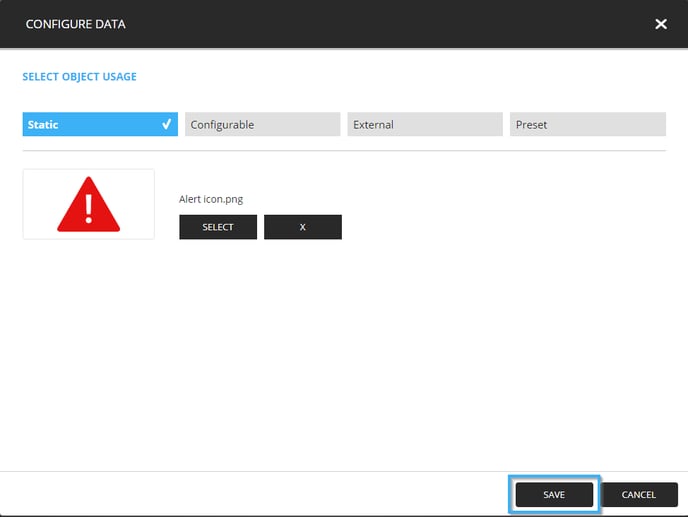
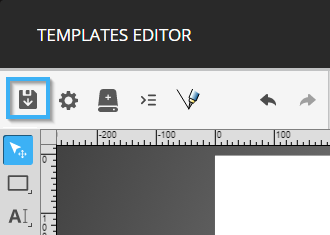
Now click on the button that resembles a floppy disk to save the template.