| available with: |
| Windows Player : Pro, Premium Web Player : Pro, Premium LG webOS Signage Player : Pro, Premium Samsung SMART Signage Platform (SSSP / Tizen) Player : Pro, Premium Brightsign Player: Pro, Premium Android Player: Pro, Premium Linux Player: Pro, Premium macOS Player: Pro, Premium |
Once connected to the ITESLIVE Studio, click on the "Configuration" tab and select the "Template management" entry.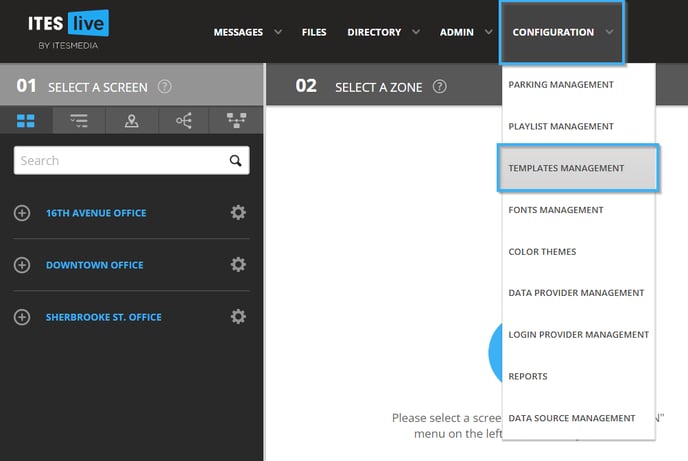
Navigate the tree view on the left-hand side of the template management window to select the template in which you want to configure blinking text, once the template is highlighted in grey click on the "Edit template" button.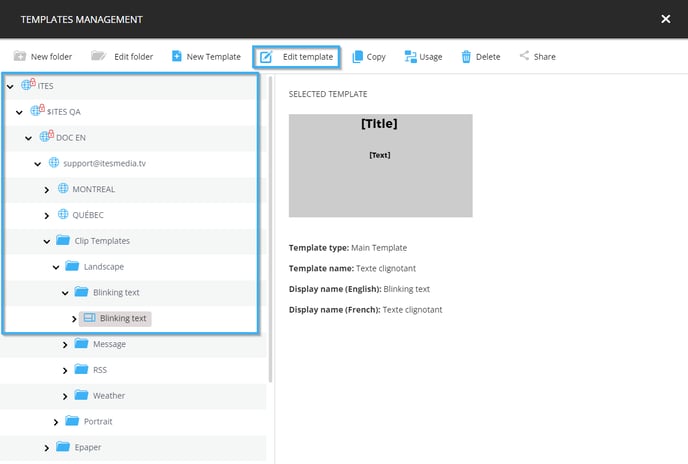
When the template is visible in the template editor, click each element you wish to have blinking to select them and take a note of their identifier.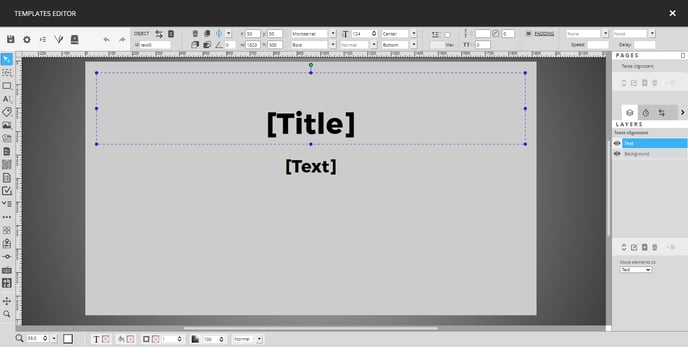
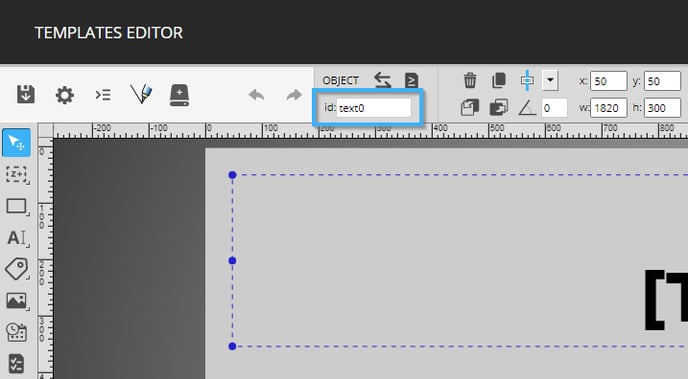
For the example in this article we have 2 text fields; the "Title" field with the "text0" identifier and the "Text" field with the identifier "text1". Click on the icon that represents an hourglass above the list of layers on the right-hand side of the template editor.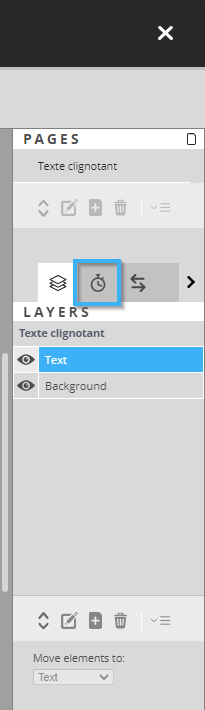
This part of the template manages timers that are starter after the template is loaded. You must now click on the icon that resembles a "+" under the timer list to add a timer in the template.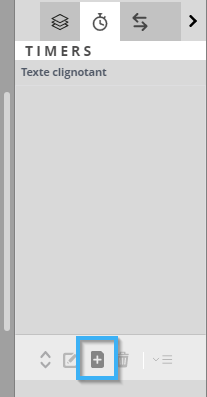
Give the timer a name and click the "Ok" button.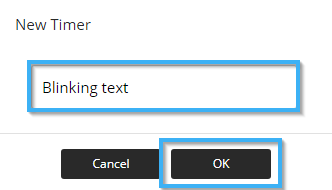
Click on the on the entry sporting the name you gave the timer.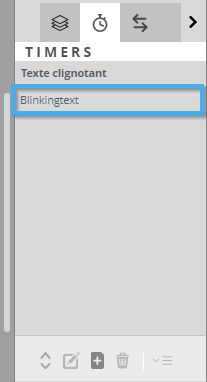
Once the timer has been selected, its configurations become visible at the top of the template editor. The following are the configurations available at this location and the values configured for this example.
-
Timer autostart : This configuration determines if an interaction is required to start the counter or if it starts automatically. This is configurable in the drop-down list containing 2 values, "True" and "False".
-
For this example, we will be using "True".
-
Note: The configuration of the auto start with the "No" value should only be used with a touch display. If the display is not interactive, there will be no way to interact with the display to start the timer.
-
Timer mode : The timer's mode is determines whether the timer is exclusively started according to the "Delay" and "Repeat" configurations, or if it can also start using interactions from an interactive display (or touch screen if you prefer). This is configurable using the drop-down list that contains 2 values, "Simple" and "Interactive".
-
For this example, we will use the "Simple" value.
-
- Delay : The delay in seconds before the first execution of the actions in the timer.
- For this example, we will use the "1" value.
-
Repeat : A numerical value that represents the number of times the timer will be repeated, configure this field with the "-1" value if you want the timer to repeat indefinitely.
- For this example, we will us the "-1" value.

Now click on the icon that represents 2 arrows one on top of the other to the left of the configurations mentioned above.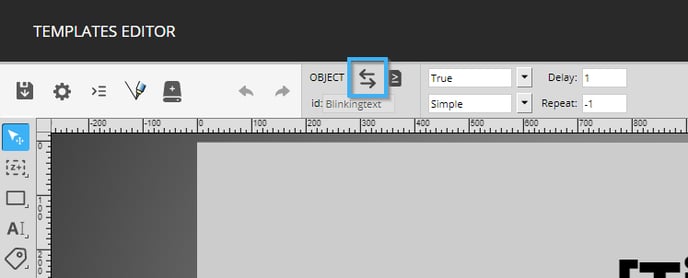
In the actions configurations window, click on the "+" icon.
When the action's configurations are visible, enter the following information.
- Name : Make text0 blink
- Action : Toggle
- Condition : No conditions are required in this case
- Élément : text0
Once the values are configured, click on the icon that looks like a floppy disk.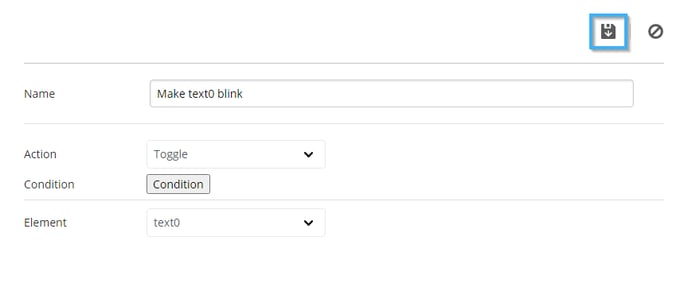
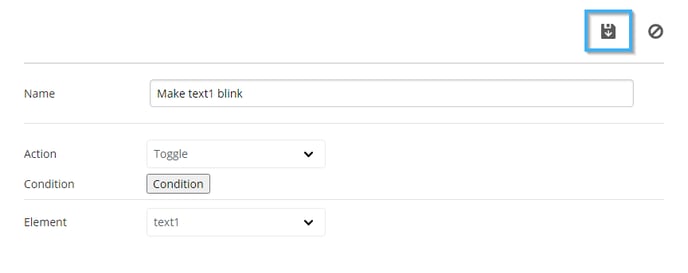
Click once more on the "+" icon to add a second action.
When the action's configurations are visible, enter the following information.
- Name : Make text1 blink
- Action : Toggle
- Condition : No conditions are required in this case
- Élément : text1
Once the values are configured, click on the icon that looks like a floppy disk.
Once the 2 actions are visible on the left-hand side of the template editor, click on the "X" icon in the top right-hand corner of the window.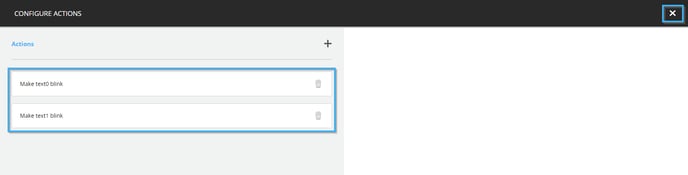
Now click on the icon that resembles a floppy disk in the top left-hand corner of the template editor.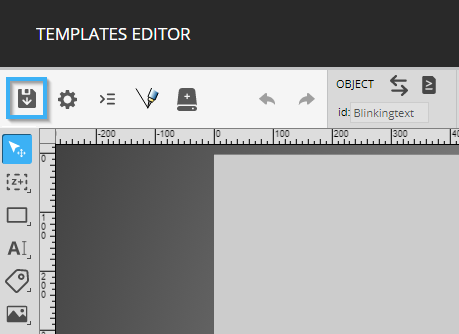
Click on the following link to view the result of the configurations applied in this article.
https://demo.iteslive.tv/en/blinkingtext/