| available with: |
| Windows Player : Starter, Pro, Premium Web Player : Starter, Pro, Premium LG webOS Signage Player : Starter, Pro, Premium Samsung SMART Signage Platform (SSSP / Tizen) Player : Starter, Pro, Premium Brightsign Player: Starter, Pro, Premium Android Player: Starter, Pro, Premium Linux Player: Starter, Pro, Premium macOS Player: Starter, Pro, Premium |
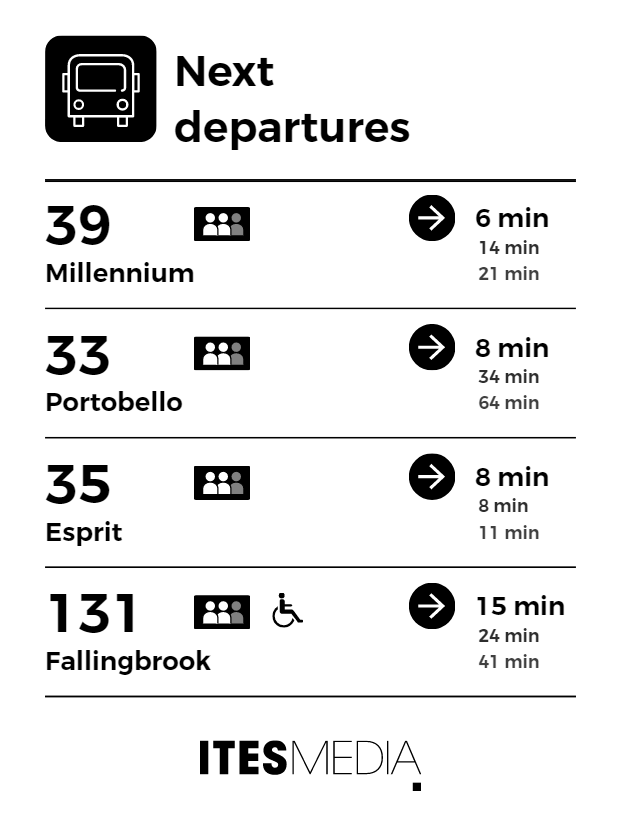
The example in this article demonstrates the procedure that you must follow to add icons that represent the vehicle occupancy status from your GTFS data in a transport clip template. For the following example, the configuration will be completed with the following values = 0 (empty) ou 1 (many seats available)
 = 2 (few seats available)
 = 3 (standing room only), 4 (crushed standing room only), 5 (full), 6 (not accepting passengers)
Note: You can use the followin URL as a reference if you need to know where you find, or configure, this information in your GTFS feed.
https://gtfs.org/realtime/feed-entities/vehicle-positions/#occupancystatus
Once connected to the ITESLIVE Studio, click on the "Configuration" tab and select the "Templates management" entry.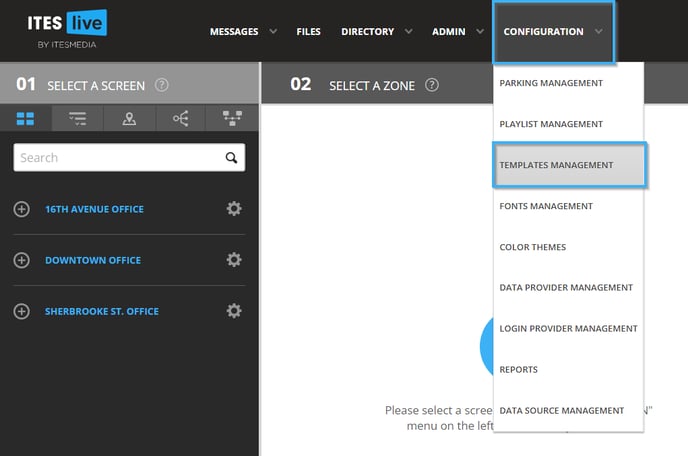
Navigate to the desired template and click on it in the list on the left-hand side of the template management window. Once the template is highlighted in gray, click on the "Edit template" button in the top of the window.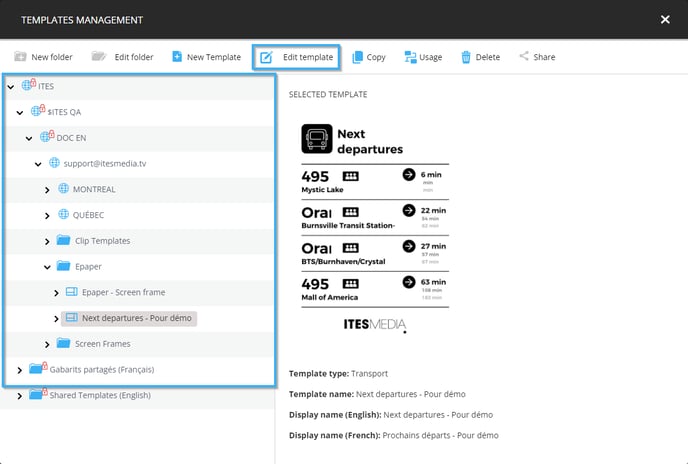
Double-click the list in the center of the template to access the list's context and see the layer list located in the list.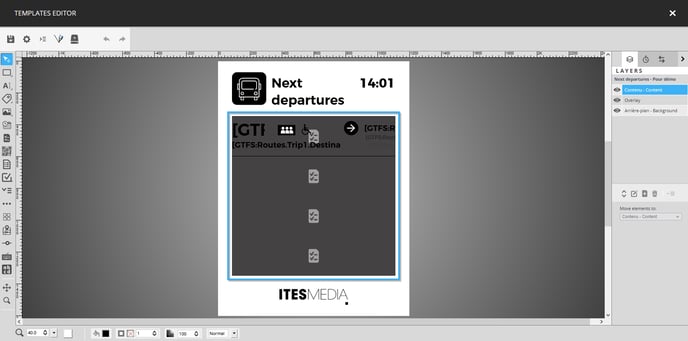
Once in the list's context, click on the button to add a layer on the right-hand side of the template editor.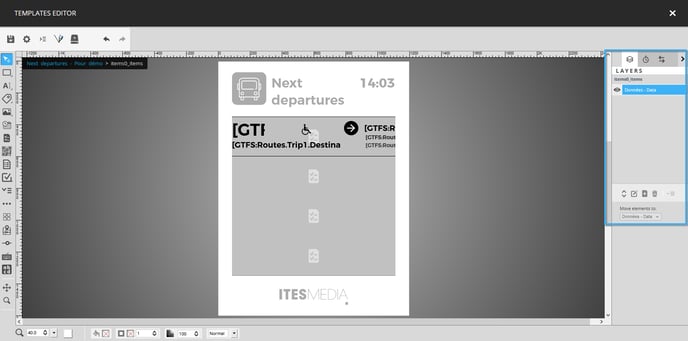

Name the layer "Occupancy 1" and click on the "Ok" button.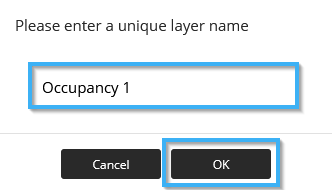
Select the image tool in the list on the left-hand side of the template editor and place it in the template.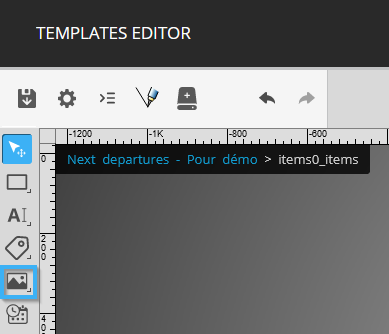
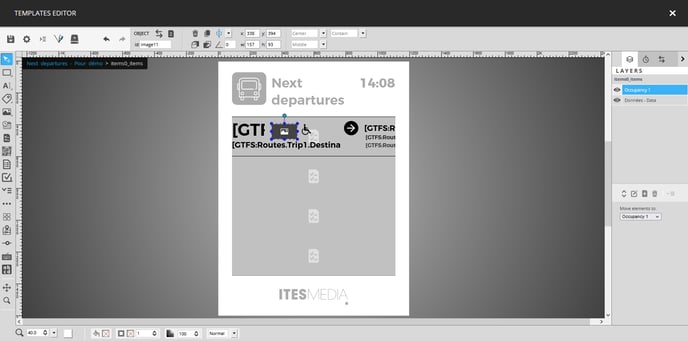
Configure the image tool with the following values
- X: 374
- Y: 400
- W: 110
- H: 66

Double-click on the image tool to configure its content.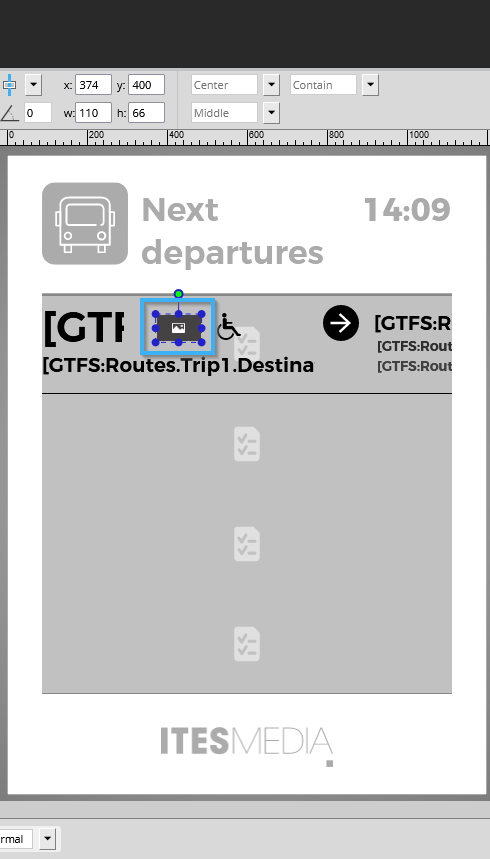
Once in the configuration window for the image tool, click on the "Select" button.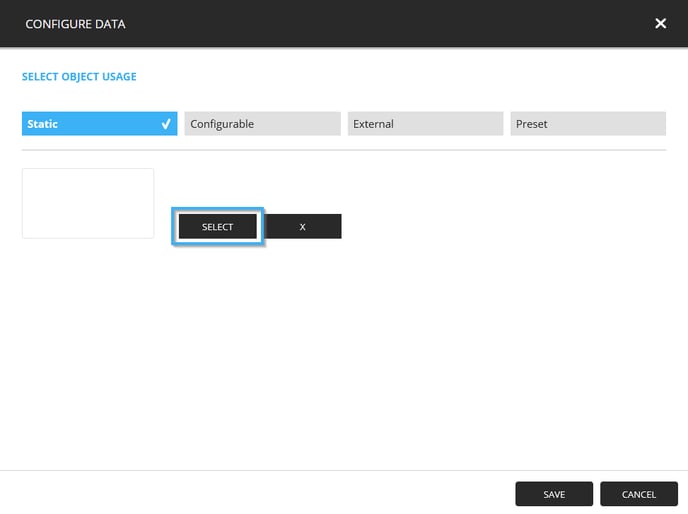
Navigate to the icons you wish to use, if you have already uploaded them to the Studio.
Note: If you haven't upload the icons on the Studio yet, you can follow the steps in the following article to do so.
https://support.itesmedia.tv/en/how-to-upload-new-files
Select the desired image and click on the "Select" button in the bottom right-hand corner of the window.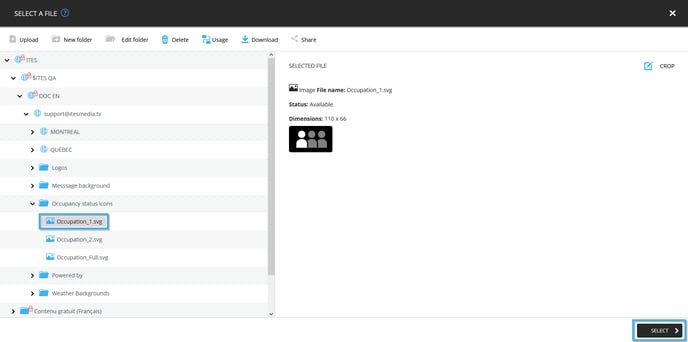
Click on the "Save" button in the bottom right-hand corner of the window.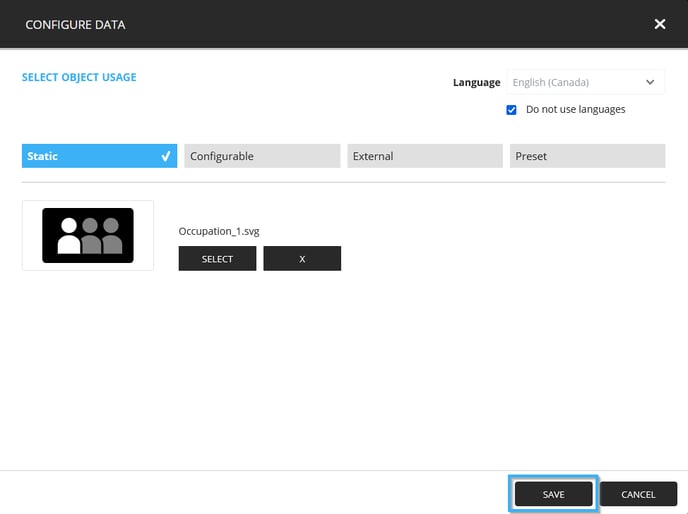
Once the image is visible in the template, click on the condition configuration button for the image tool.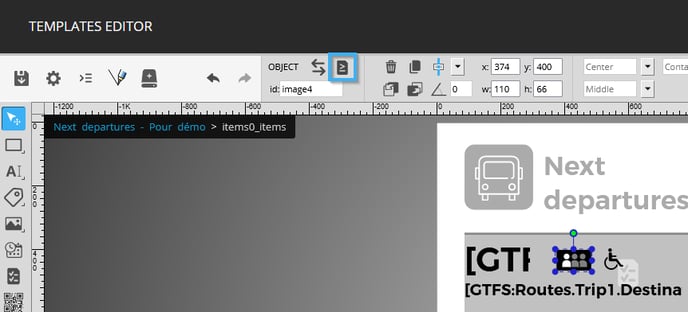
Once the condition configuration window, click on the "+" icon.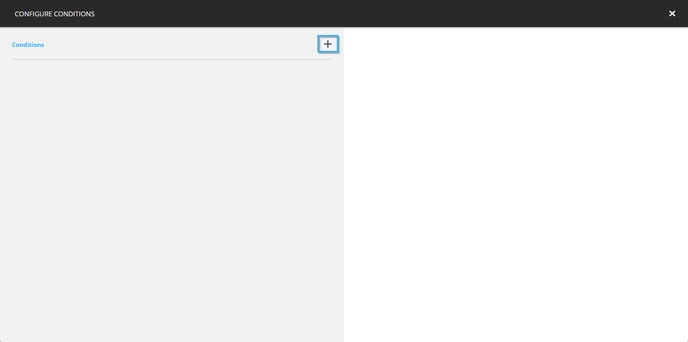
Configure a condition with the following values.
- Condition: Data
- DataSource: GTFS
- Node: GtfsTransportData -> Routes -> Trip1 -> Vehicle -> OccupancyStatus
- Operator: Equals
- Condition: Static
- Value: 0
- Quantificator: None
Once the first condition is configured, click on the "+" icon under it.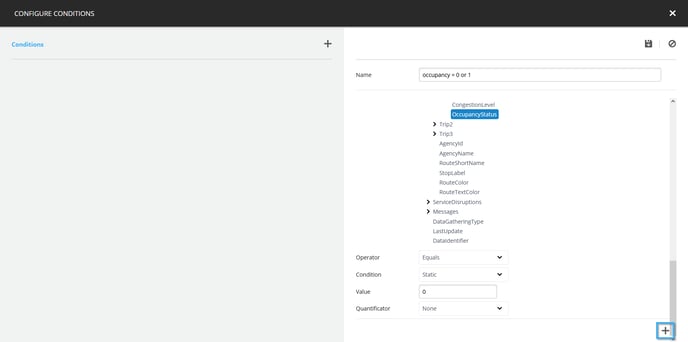
Configure the following values for the second condition.
- Condition: Data
- DataSource: GTFS
- Node: GtfsTransportData -> Routes -> Trip1 -> Vehicle -> OccupancyStatus
- Operator: Equals
- Condition: Static
- Value: 1
- Quantificator: None
Now click on the icon that resembles a floppy disk in the top right-hand corner of the window.
Once the condition is visible on the left-hand side of the window, click on the "X" button to exit it.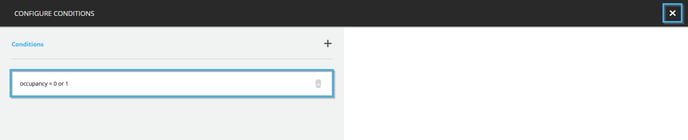
Now add a second layer named "Occupation 2".
Note: If you need a reminder on how to do that, click here.
One the layer is visible in the list on the left-hand side of the template editor, add an image tool with the following configurations.
- X: 374
- Y: 400
- W: 110
- H: 66
Double-click on the image tool to configure its content.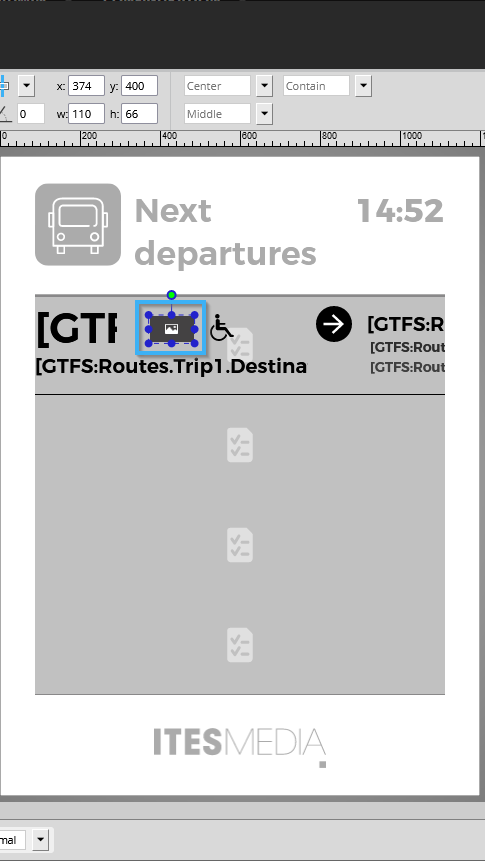
Select the second image you wish to use to represent the occupation status.
Note: If you need a reminder on how to do this, click here.
Once the image is visible in the template editor, click on the condition configuration button for the image tool.
Once in the condition configuration window, click on the "+" icon.
Configure a condition with the following values.
- Condition: Data
- DataSource: GTFS
- Node: GtfsTransportData -> Routes -> Trip1 -> Vehicle -> OccupancyStatus
- Operator: Equals
- Condition: Static
- Valeur: 2
- Quantificator: None
Now click on the icon that resembles a floppy disk in the top right-hand corner of the window.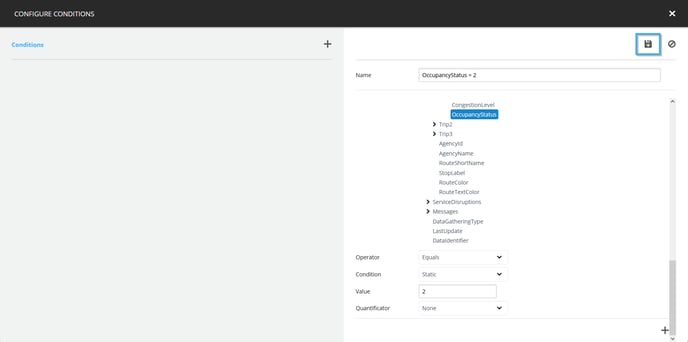
When the condition is visible on the left-hand side of the window, click the "X" icon to exit it.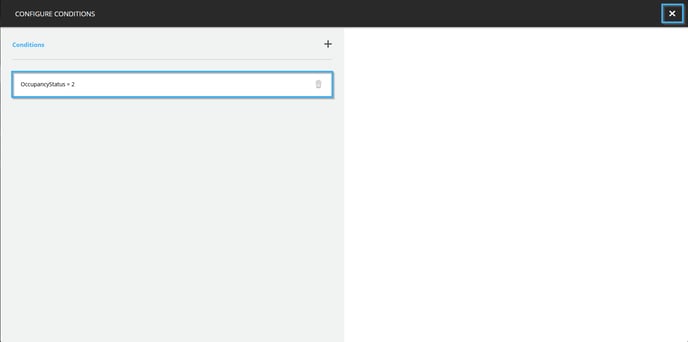
Now add a third layer named "Occupation 3".
Note: If you need a reminder on how to do this click here.
Once the layer is visible in the list on the right-hand side of the template editor, add an image tool with the following configurations.
- X: 374
- Y: 400
- W: 110
- H: 66
Double-clik on the image tool to configure its content.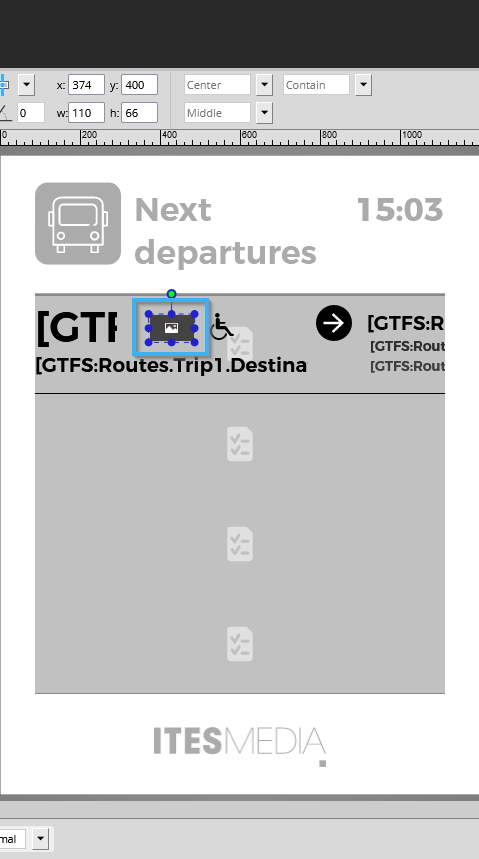
Select the third image that you wish to use to represent the occupation status.
Note: If you need a reminder on how to do so, click here.
Once the image is visible in the template edior, click on the condition configuration button for the image tool.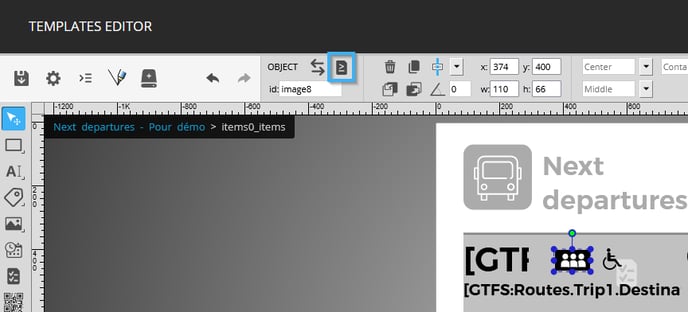
Once in the condition configuration window, click on the "+" icon.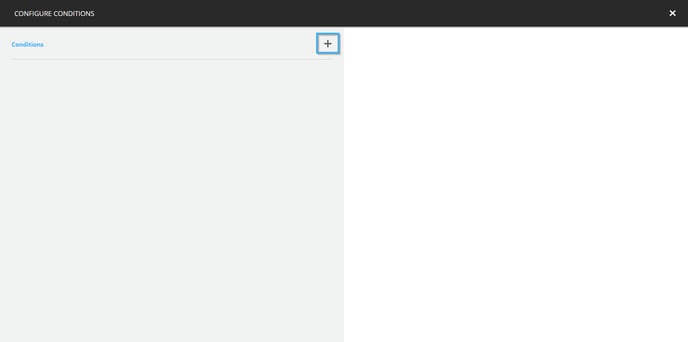
Configure a condition with the following values.
- Condition: Data
- DataSource: GTFS
- Node: GtfsTransportData -> Routes -> Trip1 -> Vehicle -> OccupancyStatus
- Operator: Equals
- Condition: Static
- Valeur: 3
- Quantificator: None
Once the first condition has been configured, click on the "+" under it.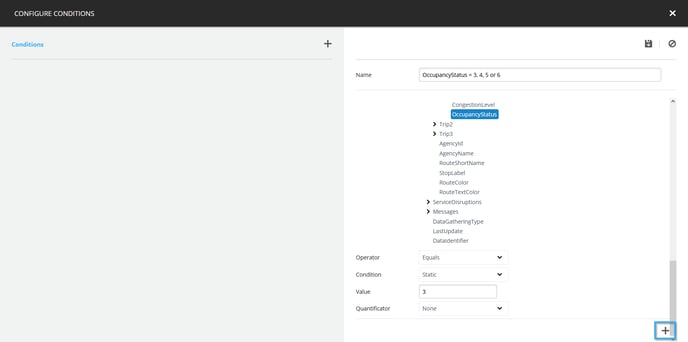
In this case, you need to configure 3 additional conditions. The following are the configurations for these conditions.
- Condition 1
- Condition: Data
- DataSource: GTFS
- Node: GtfsTransportData -> Routes -> Trip1 -> Vehicle -> OccupancyStatus
- Operator: Equals
- Condition: Static
- Value: 4
- Quantificator: None
- Condition 2
- Condition: Data
- DataSource: GTFS
- Node: GtfsTransportData -> Routes -> Trip1 -> Vehicle -> OccupancyStatus
- Operator: Equals
- Condition: Static
- Value: 5
- Quantificator: None
- Condition 3
- Condition: Data
- DataSource: GTFS
- Node: GtfsTransportData -> Routes -> Trip1 -> Vehicle -> OccupancyStatus
- Operator: Equals
- Condition: Static
- Value: 6
- Quantificator: None
Now click on the icon that resembles a floppy disk in the top right-hand corner of the window.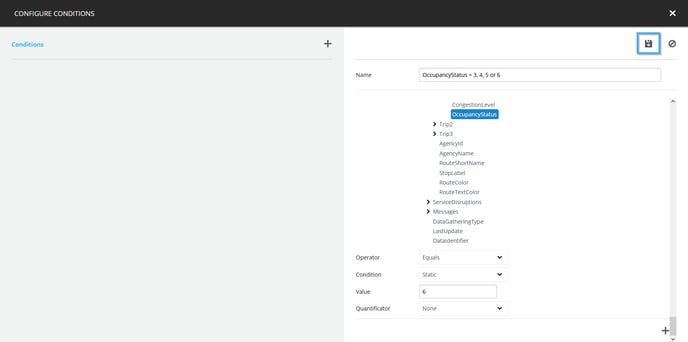
Once the condition is visible on the left-hand side of the window, click the "X" button to exit it.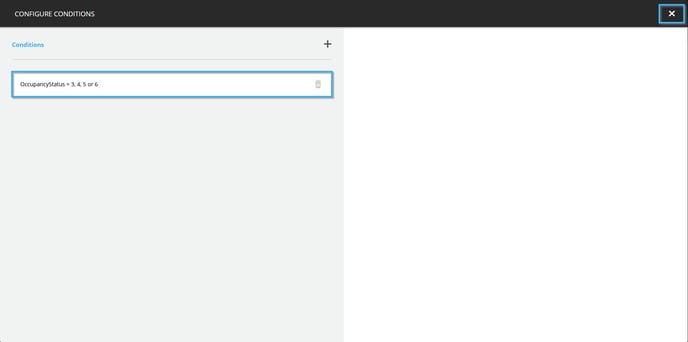
Click on the template's name in the top left-hand corner of the template editor to return to the template's global context.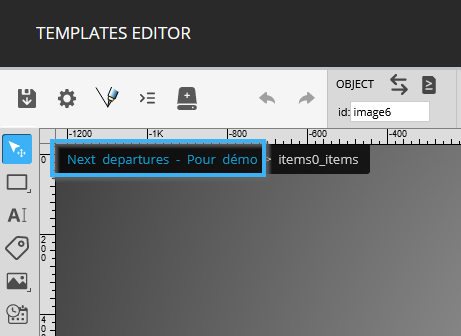
Click on the icon that resembles a floppy disk in the top left-hand corner of the template editor to save your modifications.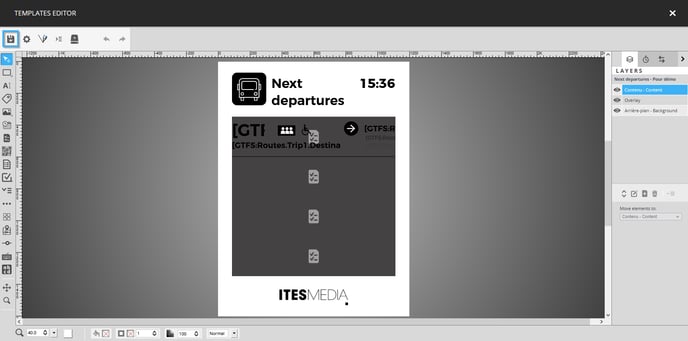
The following is a sample of the result in a display.