| AVAILABLE WITH |
| Windows Player : Starter, Pro, Premium |
| Web Player : Starter, Pro, Premium LG webOS Signage Player: Starter, Pro, Premium Samsung SMART Signage Platform (SSSP / Tizen) Player: Starter, Pro, Premium BrightSign Player: Starter, Pro, Premium Android Player: Starter, Pro, Premium Linux Player: Starter, Pro, Premium macOS Player: Starter, Pro, Premium |
Tip: Check your files meet ITESlive standards before uploading.
We also recommend creating directories to keep your content organized.
1. Where to upload your files
You can upload files from one of two places:
1. Directly from the menu.
2. When you are adding a new file to your playlist.
Directly from the menu
Select “Files” and “Upload.”


When adding a new file to your playlist
1. Select the zone where you wish to add an image or video.
2. Click the “+” above the content of your playlist.
3. Click “Media”.
2. Upload a new file
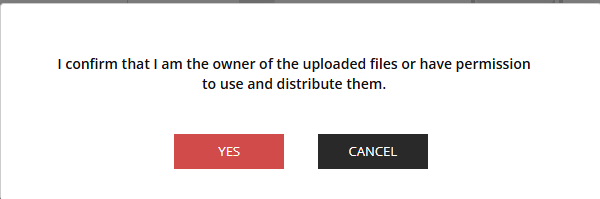
Important: Before uploading new file you must confirm that you are the owner of the uploaded files or have permission to use and distribute them.
To upload a new file:
1. Start by selecting the destination directory.
2. Click “Upload.”
Important: You cannot rename a file once it is imported. We therefore recommend making any adjustments to the file name before uploading. If you wish to make a change in an imported file name, you will have to delete it and re-upload it.
Images can be resized using the cropping tool included with the software.
Now that your files are uploaded, you can add your images and videos to a playlist and use this content in your “Message” clips.