How to broadcast my ITESlive display on an Android Player
The steps to follow to install the ITESlive software on an Android device.
| Available with: |
| Android Player: Starter, Pro, Premium |
❗VERY IMPORTANT❗: You must complete the ITESlive software installation on the device that will be used to broadcast the display. Do not complete the ITESlive software installation on your personal computer.
Important: We generally recommend avoiding a 4K configuration unless the device has the necessary performance to handle this resolution smoothly, particularly a sufficiently powerful graphics card. A Full HD resolution (1920x1080) is more suitable in most cases and helps ensure optimal display performance.
Note: In the event that you wish to dedicate your Android exclusively to the use of the ITESLIVE display, there are optional configurations that can be applied to the device to do so. These configurations are much more restrictive in nature than the configurations completed in the base installation procedure for the ITESLIVE application. Here's How to dedicate an Android player to your ITESLIVE display?
Note: Improper installation due to not following the described procedure may cause security vulnerabilities.
1. Download the ITESlive Installer
The first step is to download ITESlive on the device that will be used to broadcast the content.
Download ITESlive by clicking the following link: https://iteslive.tv/iteslive.apk
Connecting your WiFi
On the Android player's home screen, click in the bottom of the screen and drag upwards to open the app explorer.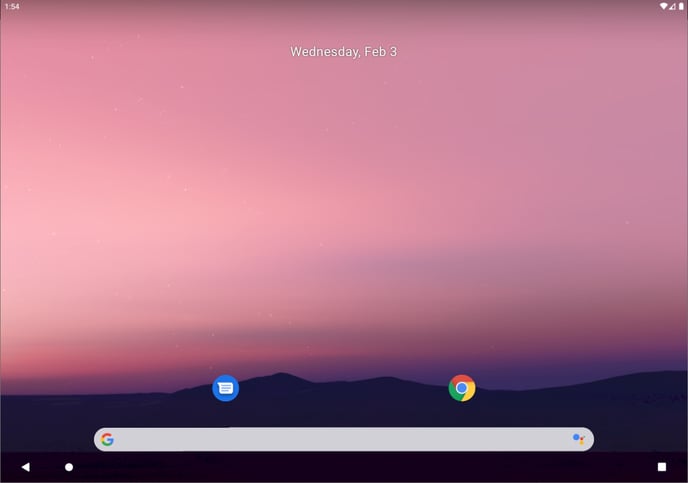
In the application list, select the application named " Settings ".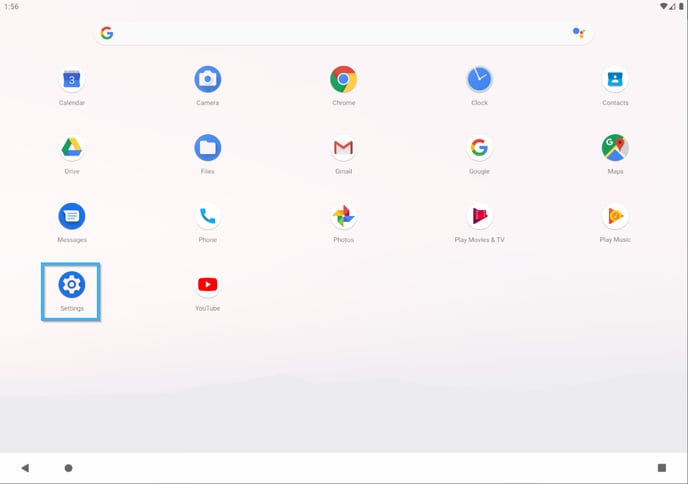
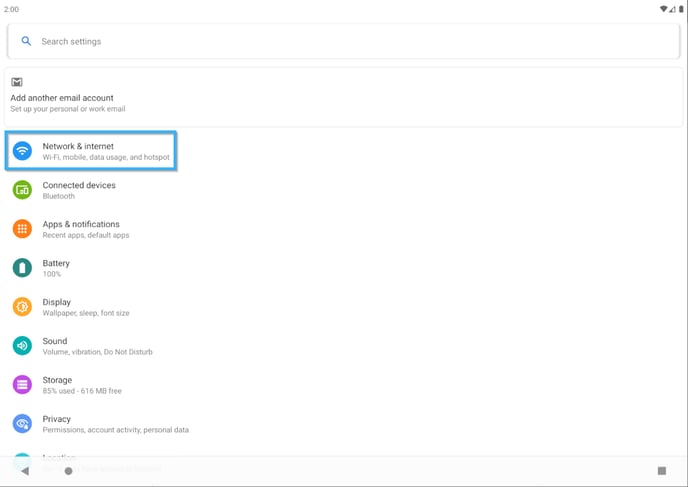
On the "Settings " page, select the entry named " Network & internet ".
Click the button to the right of the entry named " WiFi " and click on the " WiFi " entry in order to access the network list.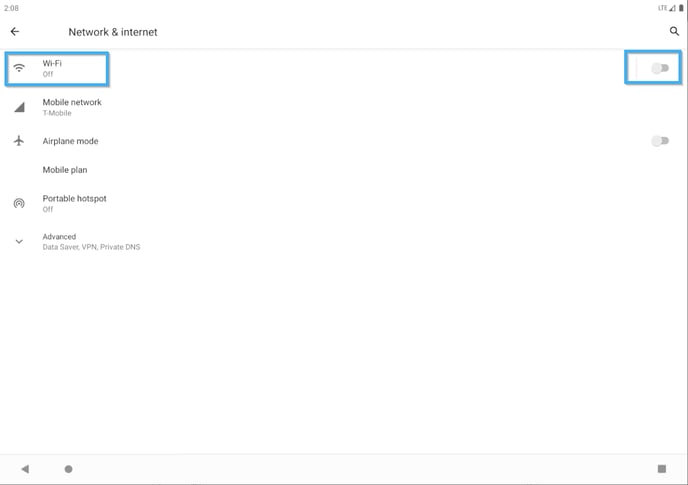
Select your WiFi network from the list. 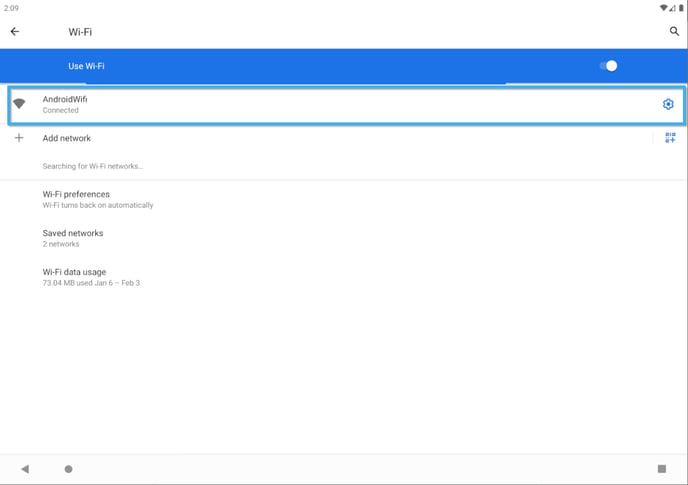
Click in the password field and enter the WiFi for the network that you selected.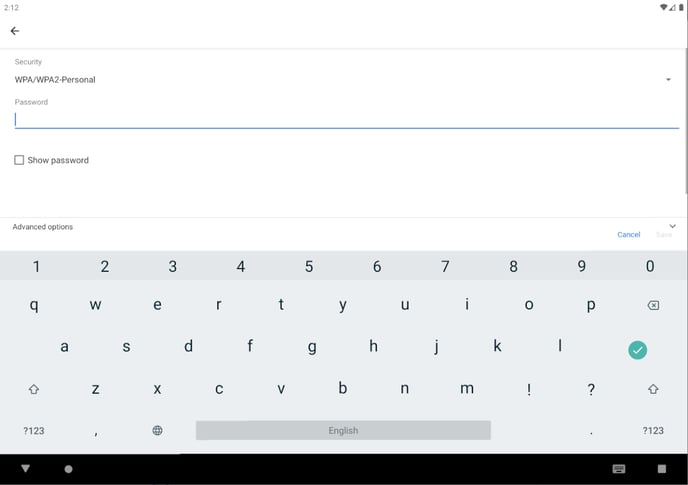
Once the player is connected to your network, use the back button in the top left corner of the window to return to the " Settings " menu.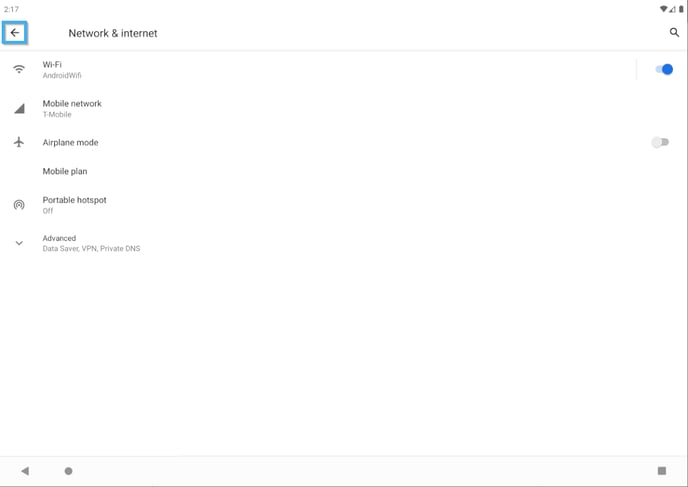
Date and time configurations
Important: Although the basic date and time configurations will work correctly, it is possible for the time to become inaccurate if the player is not automatically synchronizing this information. The following steps help ensure that the player is always using the correct date and time, this is important because any inaccuracy in this information can cause challenges in your display (IE. content using start and end dates).
In the "Settings " menu, select the entry named " System ".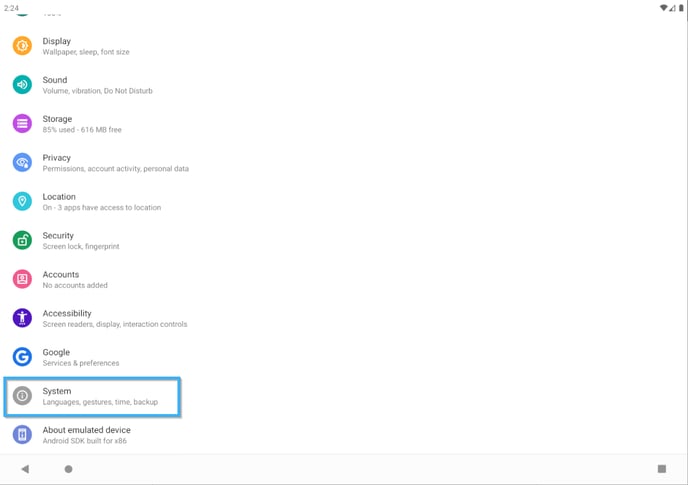
Once in the " System " menu, select the entry named " Date & Time ".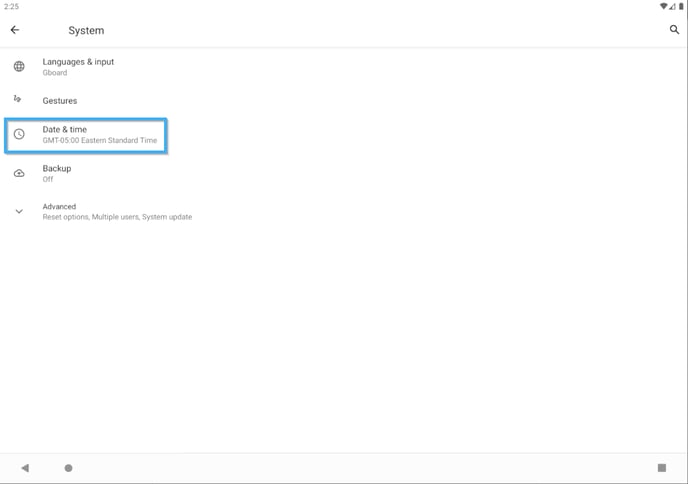
Click the button on the right of the entry named " Use network-provided time " and click on the entry name " Time zone ".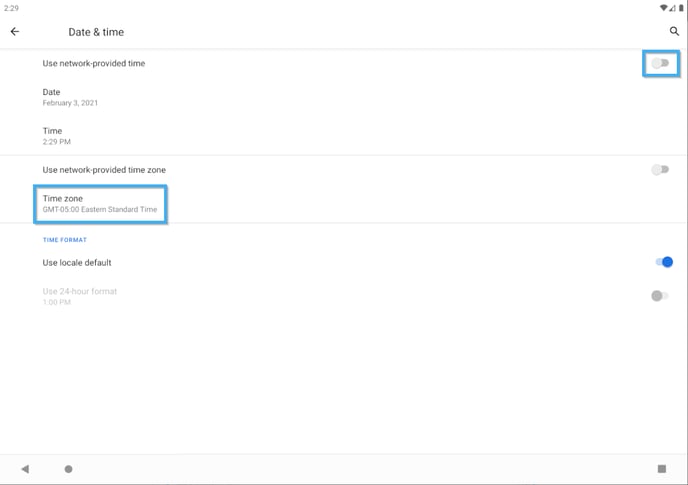
Select you time zone from the list.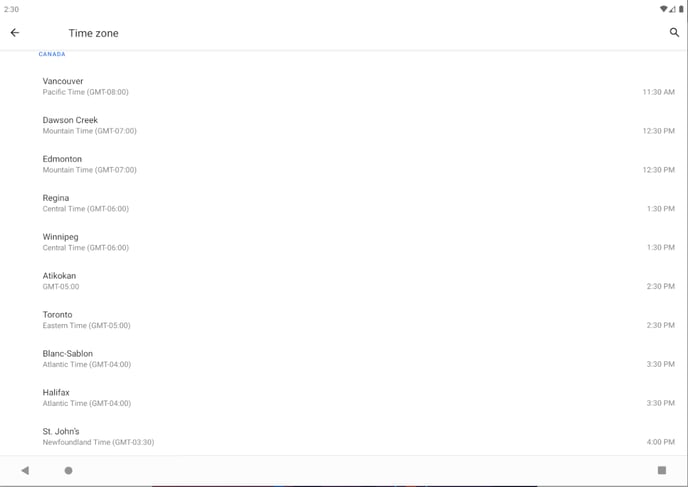
Once you have selected your time zone, close the " Settings " application.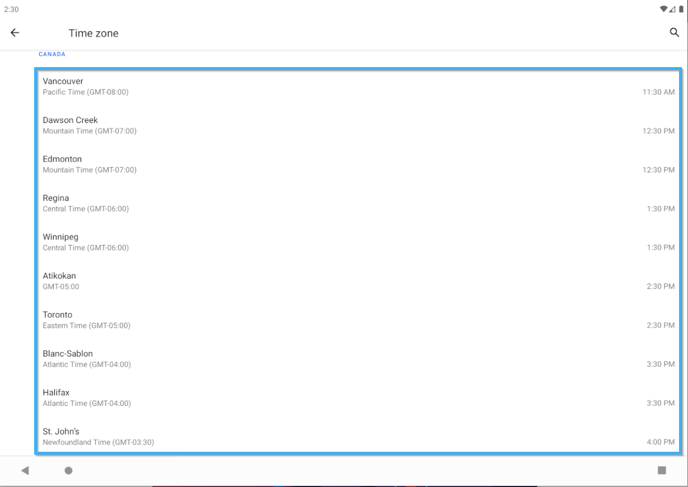
Installing the ITESLIVE application
On the Android home screen, click on the browser to download the ITESLIVE application.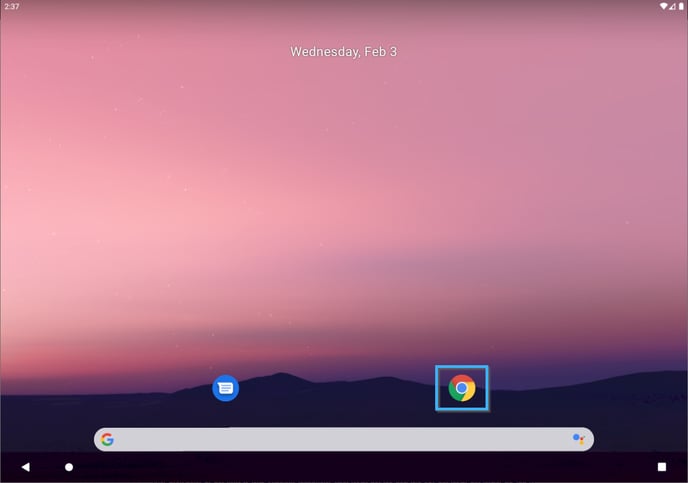
Once the browser is open, click in the address bar in the top of the screen and enter the following URL.
https://iteslive.tv/iteslive.apk
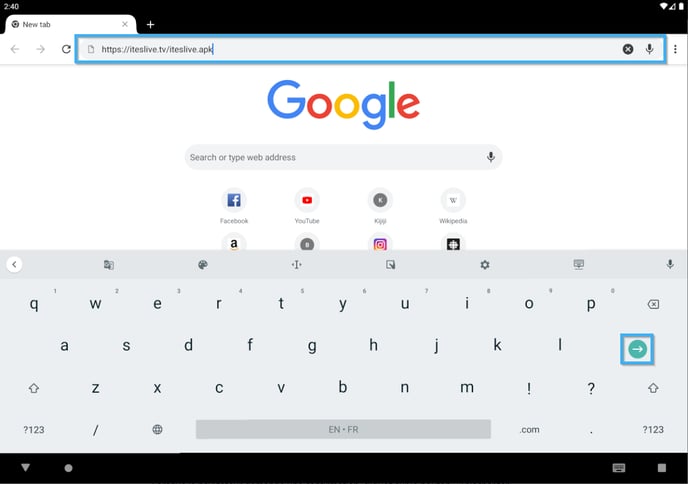
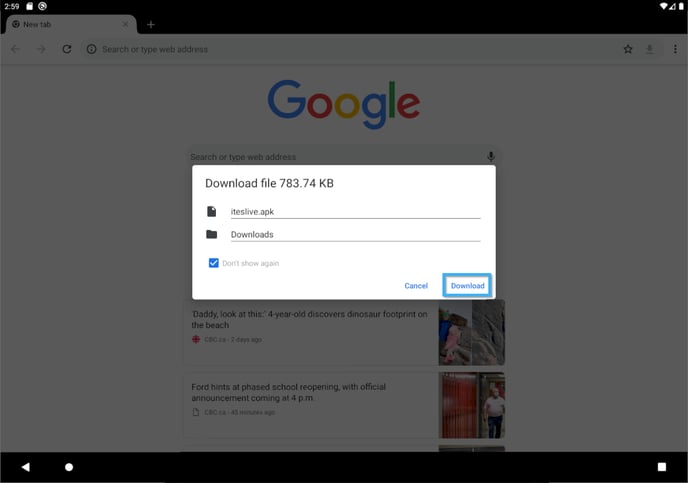
When the browser asks for a confirmation, click the " Download " button.
Once the download has been completed, click the " Open " button to launch the application.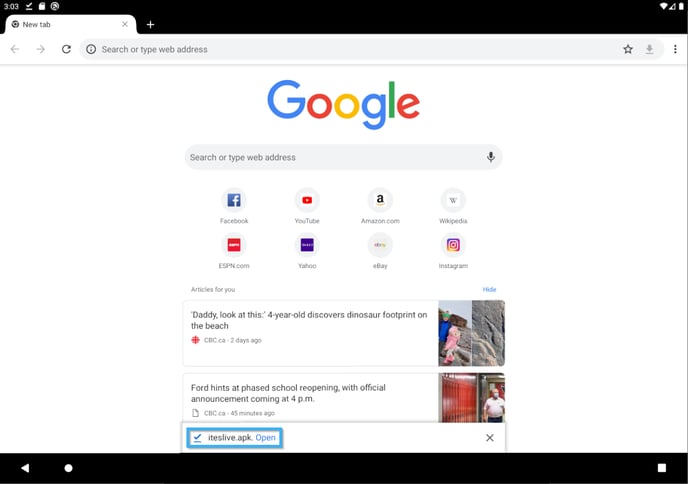
Your Android player may indicate that the application is not authorized on your device, should this occur, click the " Settings " button in the warning.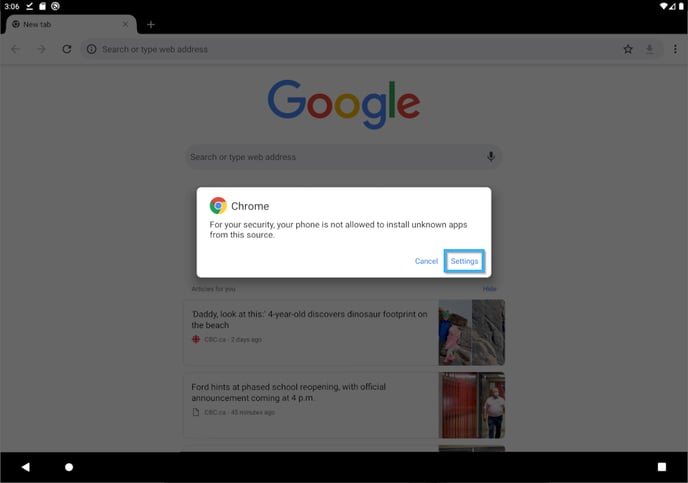
In the page named " Install unknown apps ", click on the button to the right of the text stating " Allow from this source ". Once you have activated the unknown app installation, click on the back button in the top right corner of the page.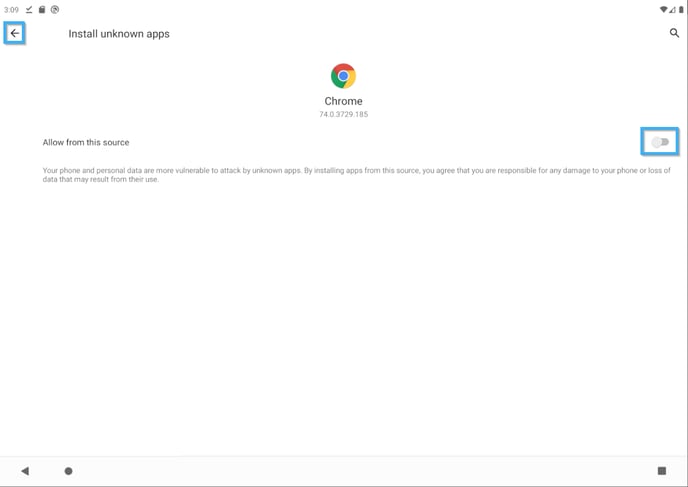
You can now complete the ITESLIVE application's installation by clicking on the " Install " button.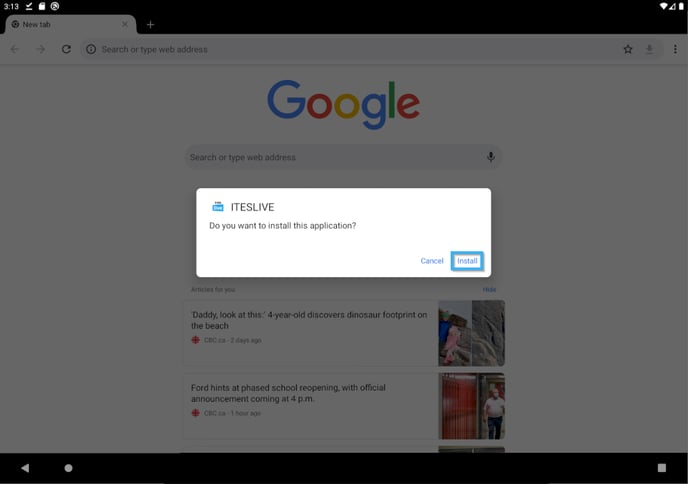
Once the installation has been completed, click the "Done" button.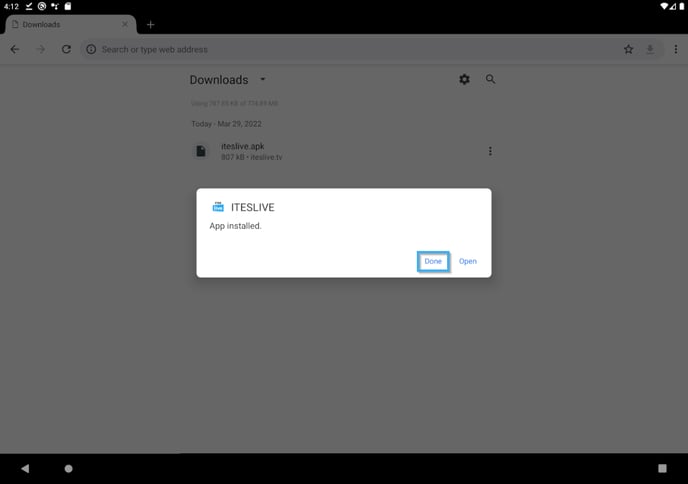
Open the application list and click the "Settings" button.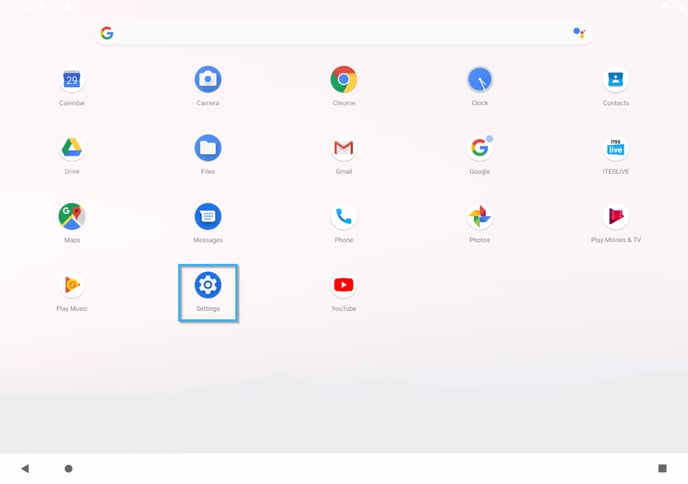
Click on the "Apps & notifications" entry.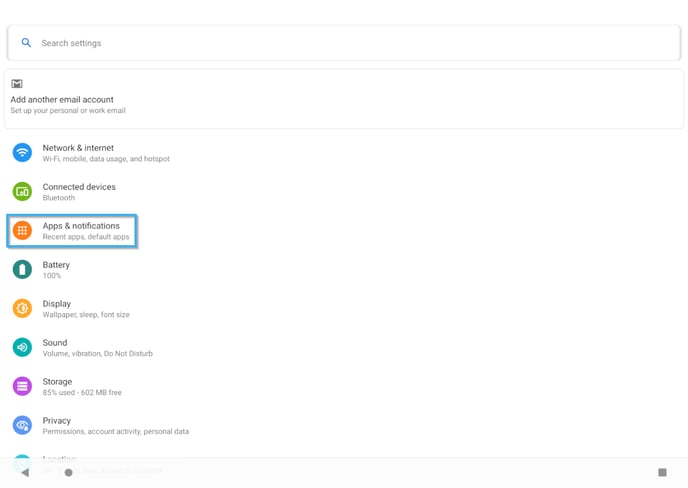
Click the "See all 27 apps" button.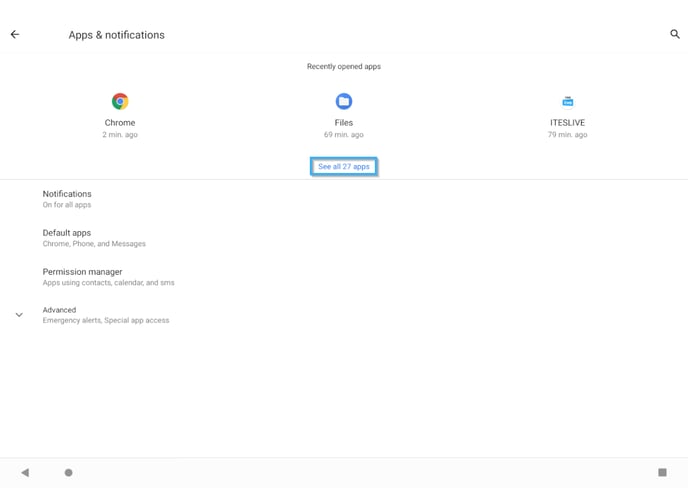
Select the "ITESLIVE" application.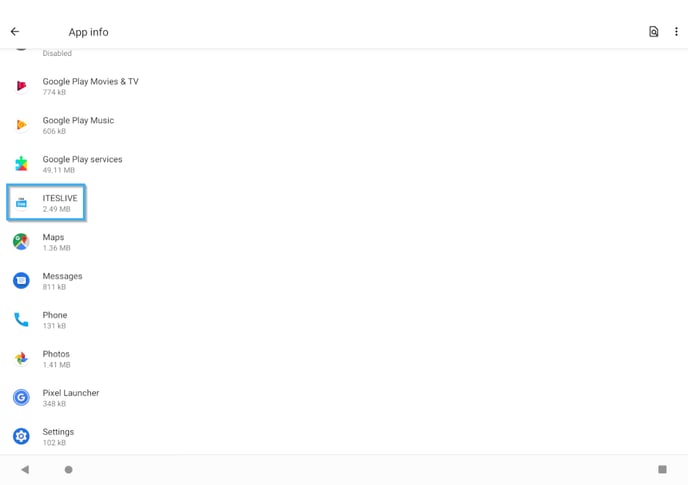
Click on the "Permissions" header.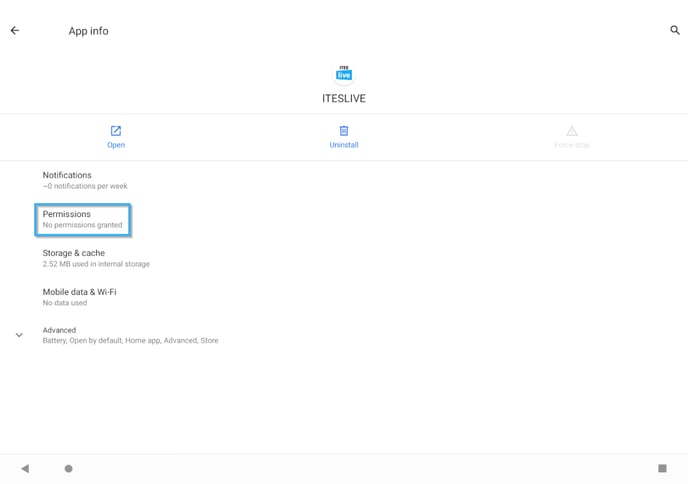
Click on the "Storage" button.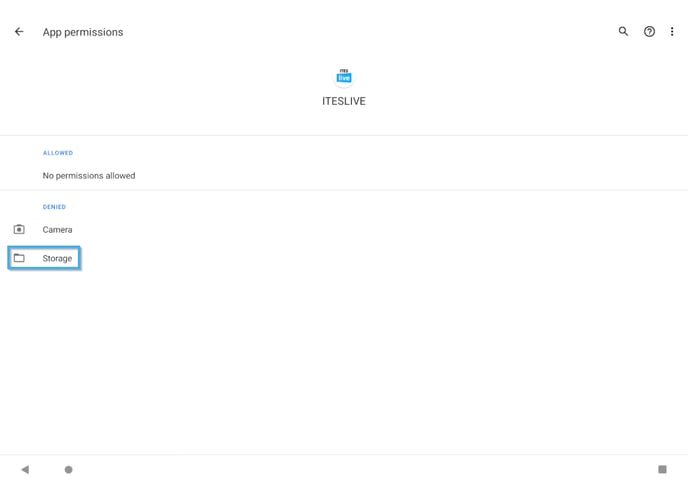
Click on the "Allow" button and return to the previous page.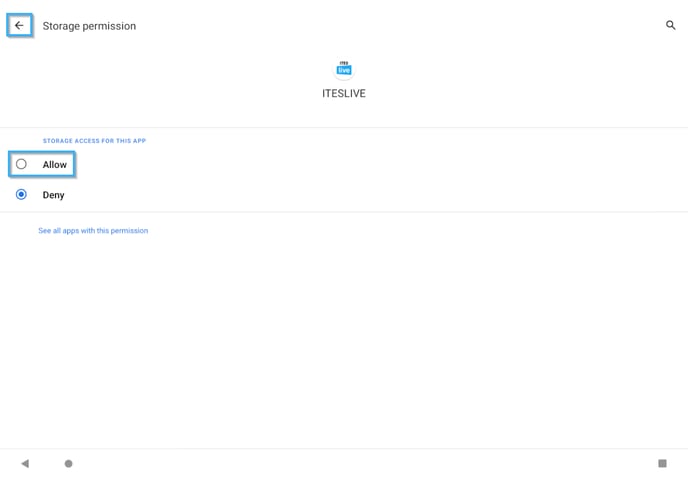
The "Storage" permission must now be under the "Allowed" header.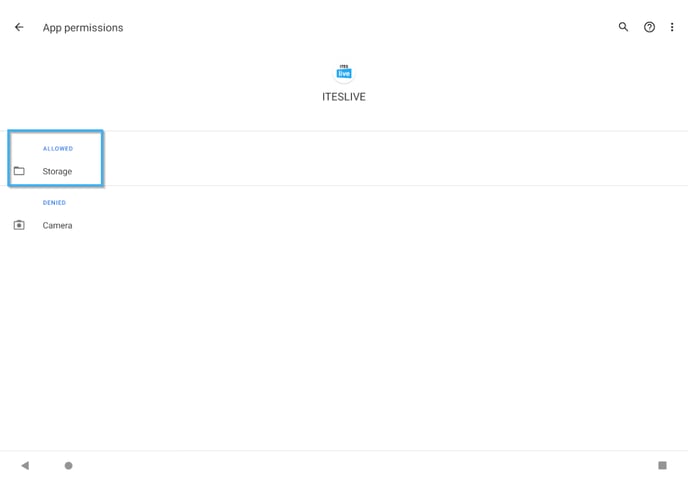
Open the application list once more and click the "ITESLIVE" application.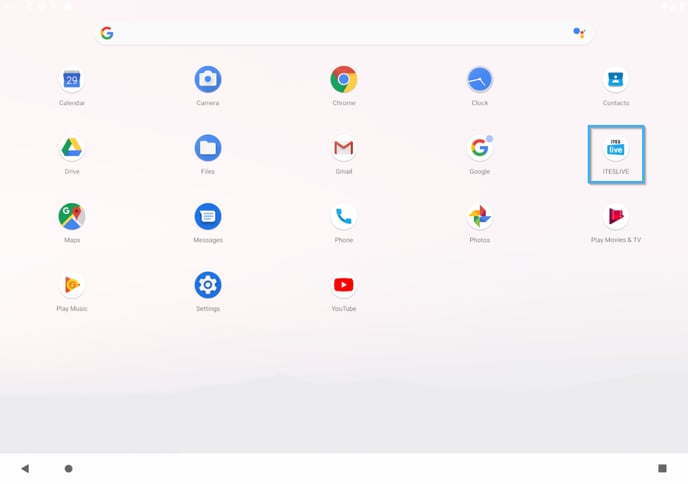
Once the application appears in the list of startup applications, you can close the window. The next time the user logs into the device, the ITESlive display will launch. However, a PIN will be required to identify the ITESlive player that will be used for the display on this device. You can either launch the application manually to enter the PIN, or restart the device so the application runs at startup. In either case, a window prompting for a PIN will appear.
Enter the PIN you noted earlier in the text field and click on the "Save" button to start the display.
See the article for generating a PIN for this step: Generating a PIN
