Welcome to your Quick Start Guide. The first part of the guide will explain what is included in the trial version, and the second part consists of a set of recommendations to acquaint you with how the system works.
The 30-day trial includes access to all of the features that come with the Pro version. The only exception is imported videos. For more information on the different types of licences and their respective features, click here.
1. Configure your profile
The first step is to configure your preferences
2. Add your logo
The second step is to add your logo to the screen layout.
2.1 Change your screen frame (optional)
If the template provided does not suit your needs (for example if you prefer a full-screen display, you wish to use portrait mode or your screen is not standard resolution), you can:
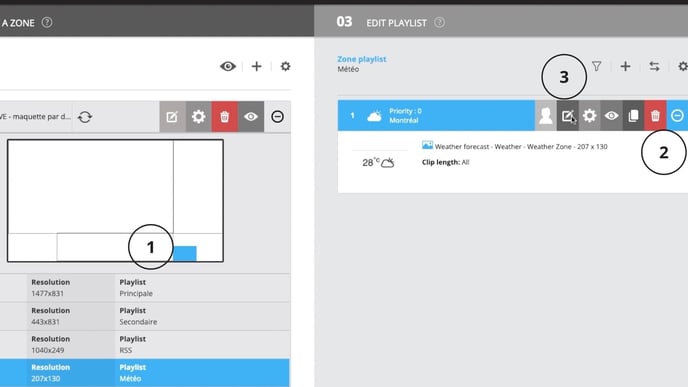
3. Change the desired city for your weather information
When you sign into your account for the first time, the default city for weather information is Montreal. Follow the steps below to change it.
3.1 Select the zone where you have a weather information clip for which you wish to change the city, than access the weather location tool
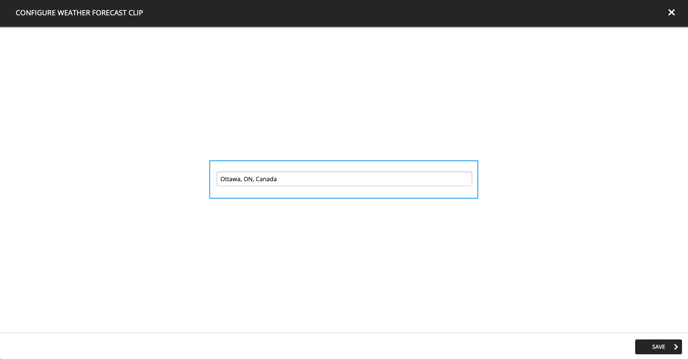
3.2 Write the city for the weather you want to display.
4. Change your playlists
You can now manage the content in the playlists assigned to the various zones of screen frame. There are many types of content you can add.
- How to add an image to a playlist
- How to add a YouTube video to a playlist
- How to add a Vimeo video to a playlist
- How to display a website in a playlist
- How to add weather information to a playlist
- How to add an RSS feed to a playlist
- How to create a message clip
- How to display a website in a playlist
- How to display a Google Docs in my ITESLIVE display
- How to display a Google Slides presentation in my ITESLIVE display
- How to display a Google Sheets in my ITESLIVE display
5. Show your content on your screen
With the trial version, you can display your content on one screen at a time, consistent with the terms of a concurrent user licence. You will receive an email with a playlist link once your account is activated. You can also find your playlist link directly in our system. To find out how to display your content on a screen by way of a Web player, click here.